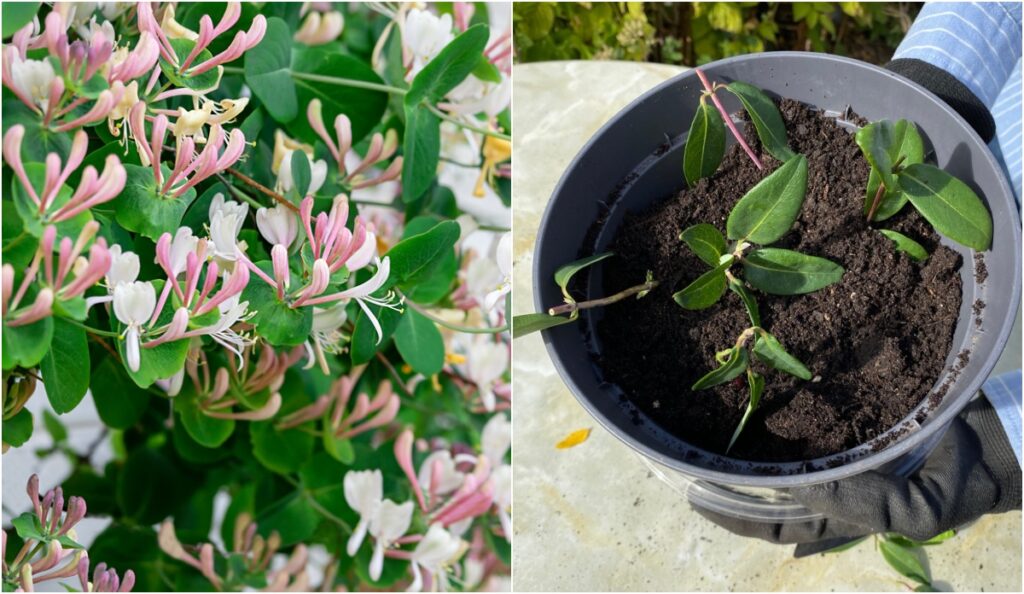

The big green wall project (the one I mentioned in this post) continues in my garden.
In a few words, I try to create a plant separation, between our property and our neighbour’s garden, on the shady side of my garden by multiplying vines that are already growing on the sunny side. I really like propagating cuttings because it’s fun, cheap, and long-lasting.
Next garden chore on my list: propagate honeysuckle from cuttings.
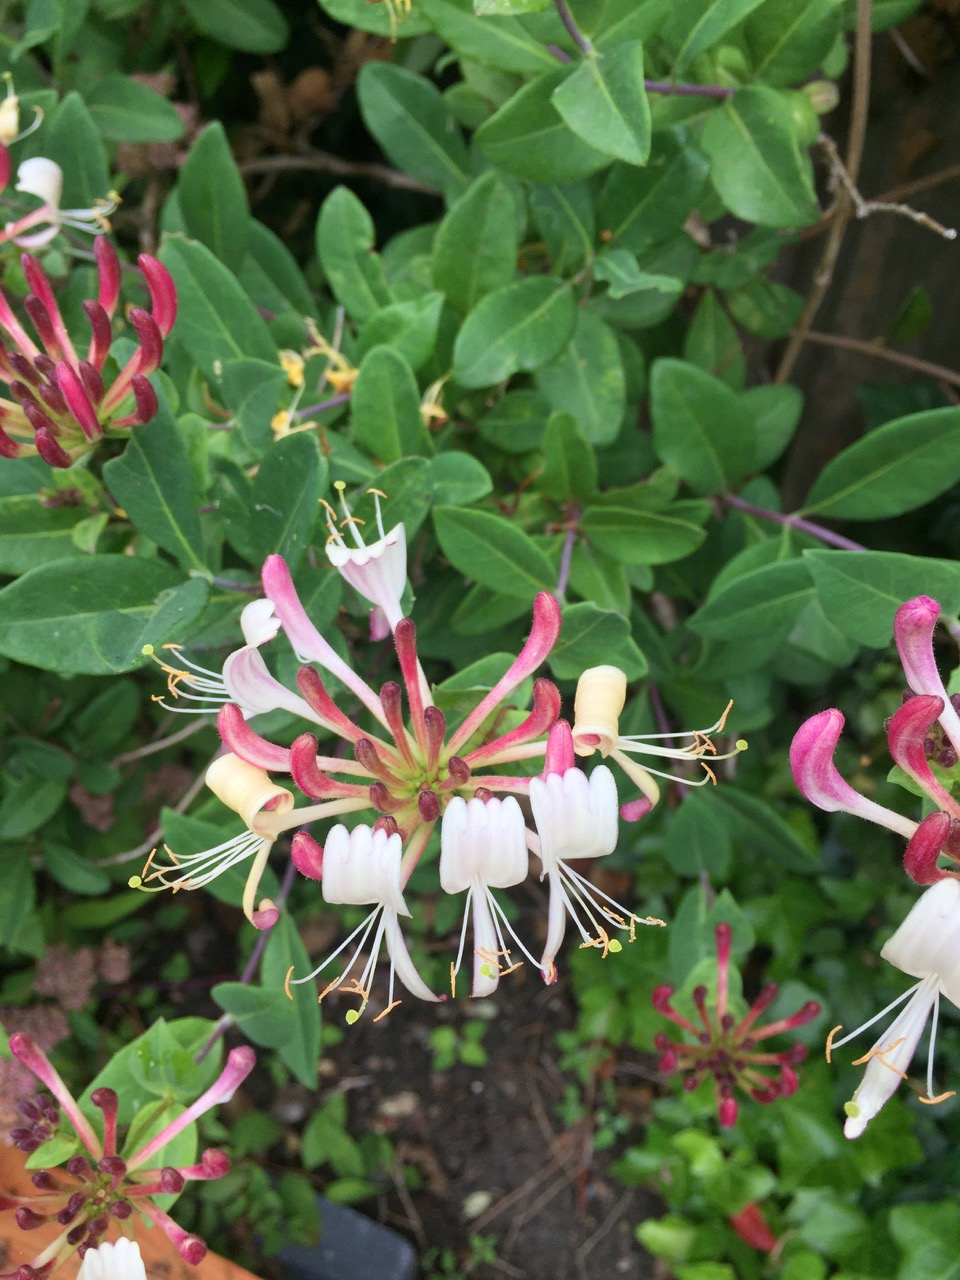 My European honeysuckle blooms in July.
Without a doubt, the easiest way to propagate honeysuckle is to layer it in the air while the vines are still attached to the parent plant. Unfortunately, in my garden there is not enough space in the soil around the honeysuckle crown to accommodate any layering. But that doesn’t matter, because getting more honeysuckle from cuttings is just as easy (almost), even if it requires a few months of extra patience.
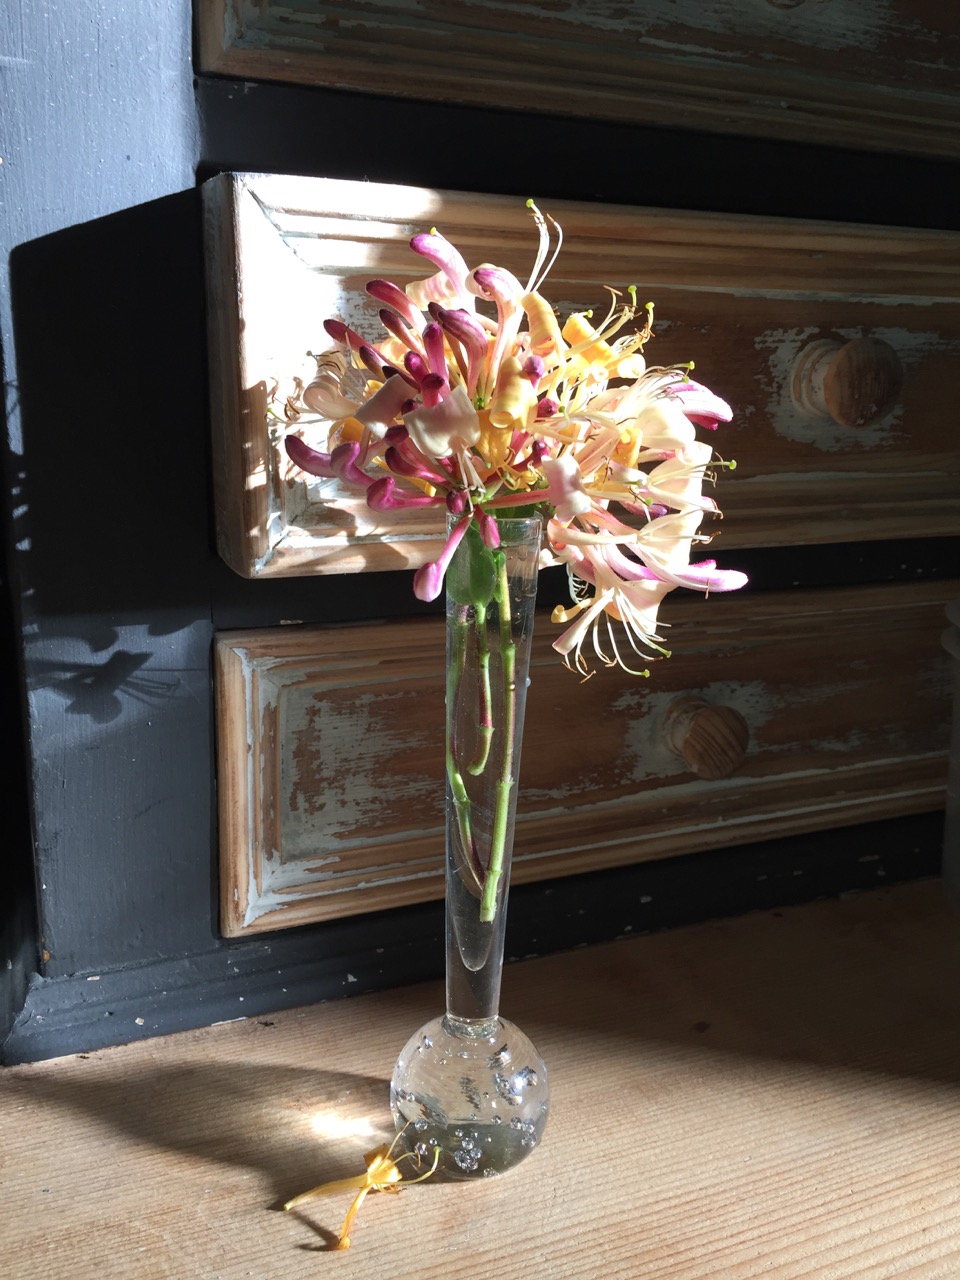 I collect small bunches of honeysuckle and bring them inside to enjoy their scent.
 You should not propagate just one type of honeysuckle.
If you’re growing honeysuckle with me, do me a favor and don’t skip this important step: decide what kind of honeysuckle you’re growing.
Is the honeysuckle you want to propagate “Japanese honeysuckle” (Lonicera japonica)? If so, is it considered invasive in your area? Although it has become naturalized in most of the United States, Japanese honeysuckle is still classified as a noxious weed in some states such as Texas, Illinois, Virginia, Indiana, and Vermont.
The best place to look for this type of information is the agricultural extension website affiliated with your local state university. For more information on what invasive honeysuckle can do to a habitat, see this Invading Species Compendium fact sheet.
Now, if you are growing European honeysuckle (Lonicera periclymenum) or American Honeysuckle (Lonicera canadensis), spreading it shouldn’t be a problem. However, you should always check your local regulations.
 Japanese honeysuckle flowers (often invasive in the US) vs. european honeysuckle
You can tell the Japanese variety from the European one by looking at the flowers and berries, although some cultivars may require you to train your eyes and look very closely.
The flowers of Japanese honeysuckle (also known as white honeysuckle or Chinese honeysuckle) typically start out white, turning creamy yellow as they mature. They are also generally smaller than those of European honeysuckle. Once the flowers have disappeared, they are replaced by blackberries.
 You can also tell the difference by looking at the berries.
European honeysuckle, also known as honeysuckle or common honeysuckle, also has creamy white flowers, but most cultivars take on a pinkish or peach hue when the bloom opens. When the flowers have finished blooming, they leave behind red berries.
These aren’t the only types of honeysuckle used in landscaping, but knowing the difference between these two types should be your go-to if you’re gardening in the United States or Europe.
4 steps to propagate honeysuckle from cuttings
Step 1: Prepare your grow pot.
Whether propagating or transplanting perennials, I like to start by preparing the plant’s final home before cutting or digging it up. This ensures that I have somewhere to put the plant once I take the cutting.
I use fresh garden compost and supplement it with horticultural sand. I plan to leave the pot outside for the first few months (until it gets very cold), and have found that if I only use compost, the pot retains too much moisture. Adding amendments such as sand, perlite or vermiculite will help improve soil drainage.
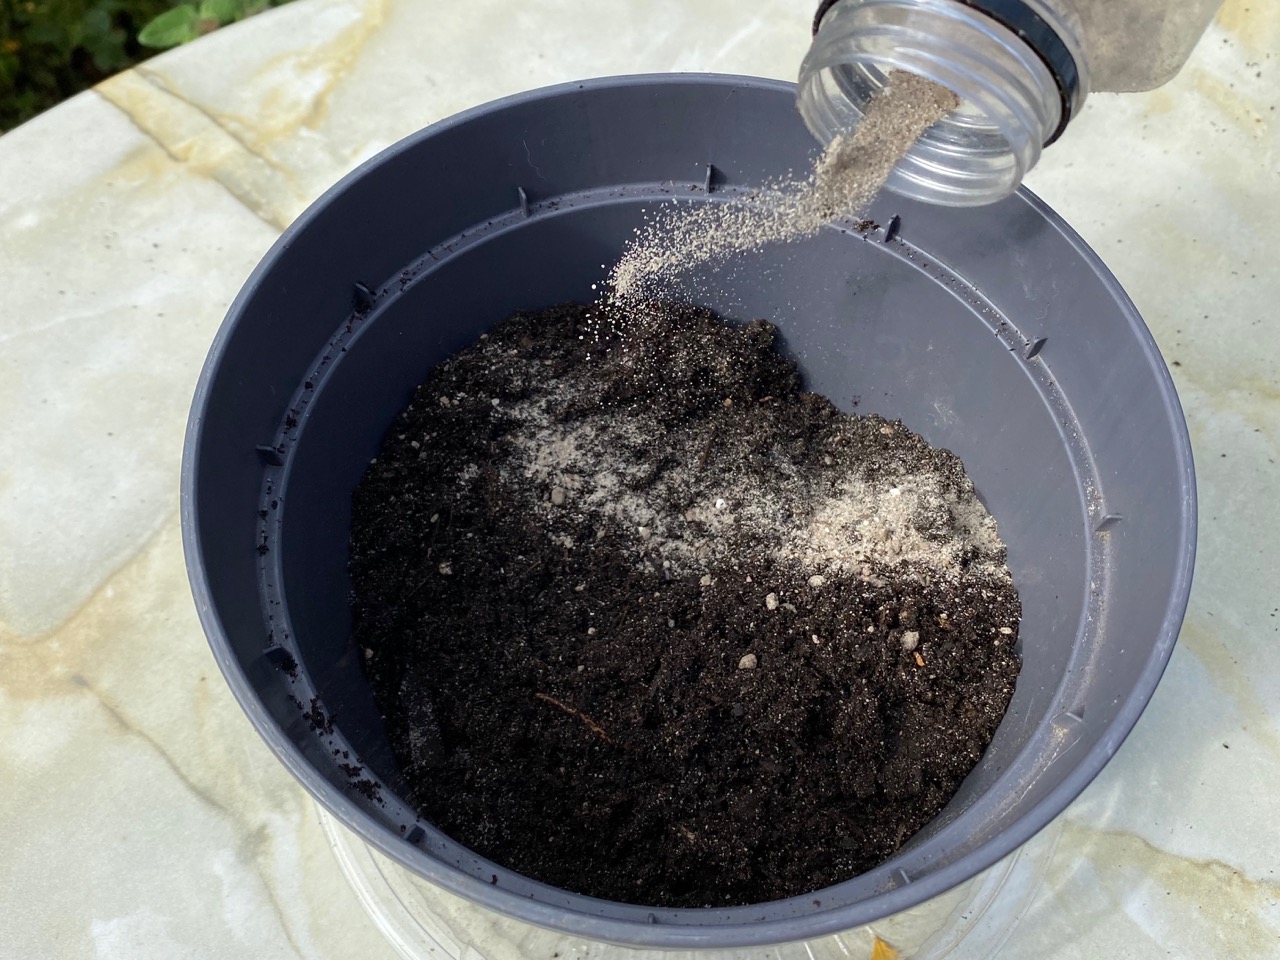 I put sand in the potting soil to improve drainage while the cuttings are not yet rooted.
For practical reasons, I chose to put all my cuttings in a larger pot. If you wish, you can give each cutting its own individual container. But putting them all in one container allows me to easily move the cuttings from sun to shade (and vice versa) and in or out of rain. I also find it easier to monitor the water needs of a larger pot. Like I said before, I’m propagating a lot of cuttings this fall, so it’s just a logistical choice.
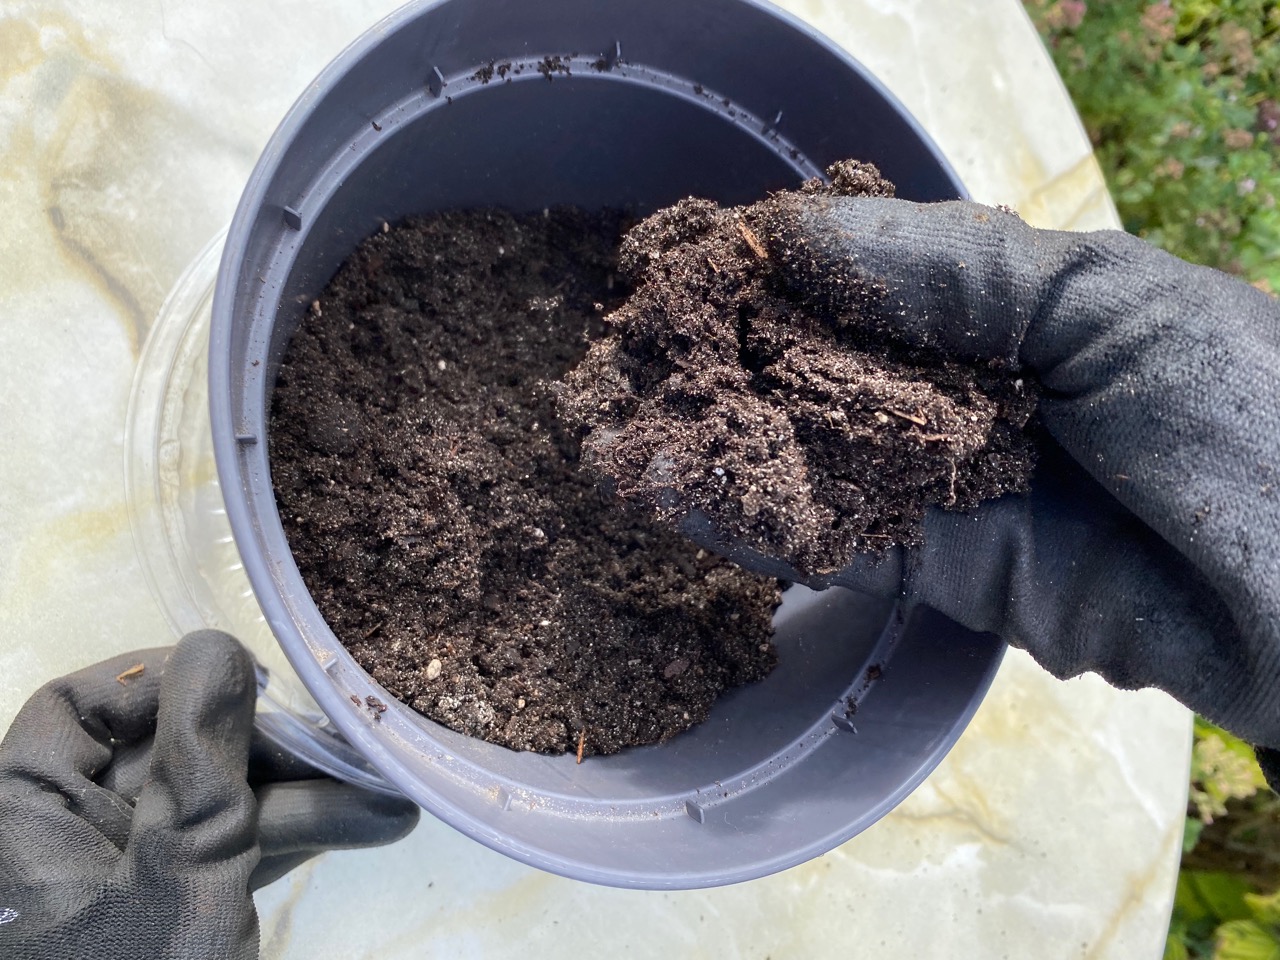 Much better! Whatever amendments you use, work them into the soil before planting.
Also, I plan to keep all the rooting cuttings together by planting them in one or two large clumps along a fence line to create a fuller effect. If you want separate small plants (for example, for different places or to share with friends), you should plant them separately from the start. Once the roots begin to grow, they become too tangled, which can make it difficult to separate small plants.
Step 2 – Choose and take the cut.
You can propagate honeysuckle from softwood or semiwood cuttings.
Softwood refers to new growth this year. It is greener and more flexible than the average hardwood and is generally easy to identify and cut in the summer.
Semi-hardwood is the oldest growth this year. It has matured enough to support its own growth. It’s still supple, but it’s starting to harden and looks more like wood than fresh vine. Cuttings of semi-hardwood (some call it “medium”) can be taken out in the fall.
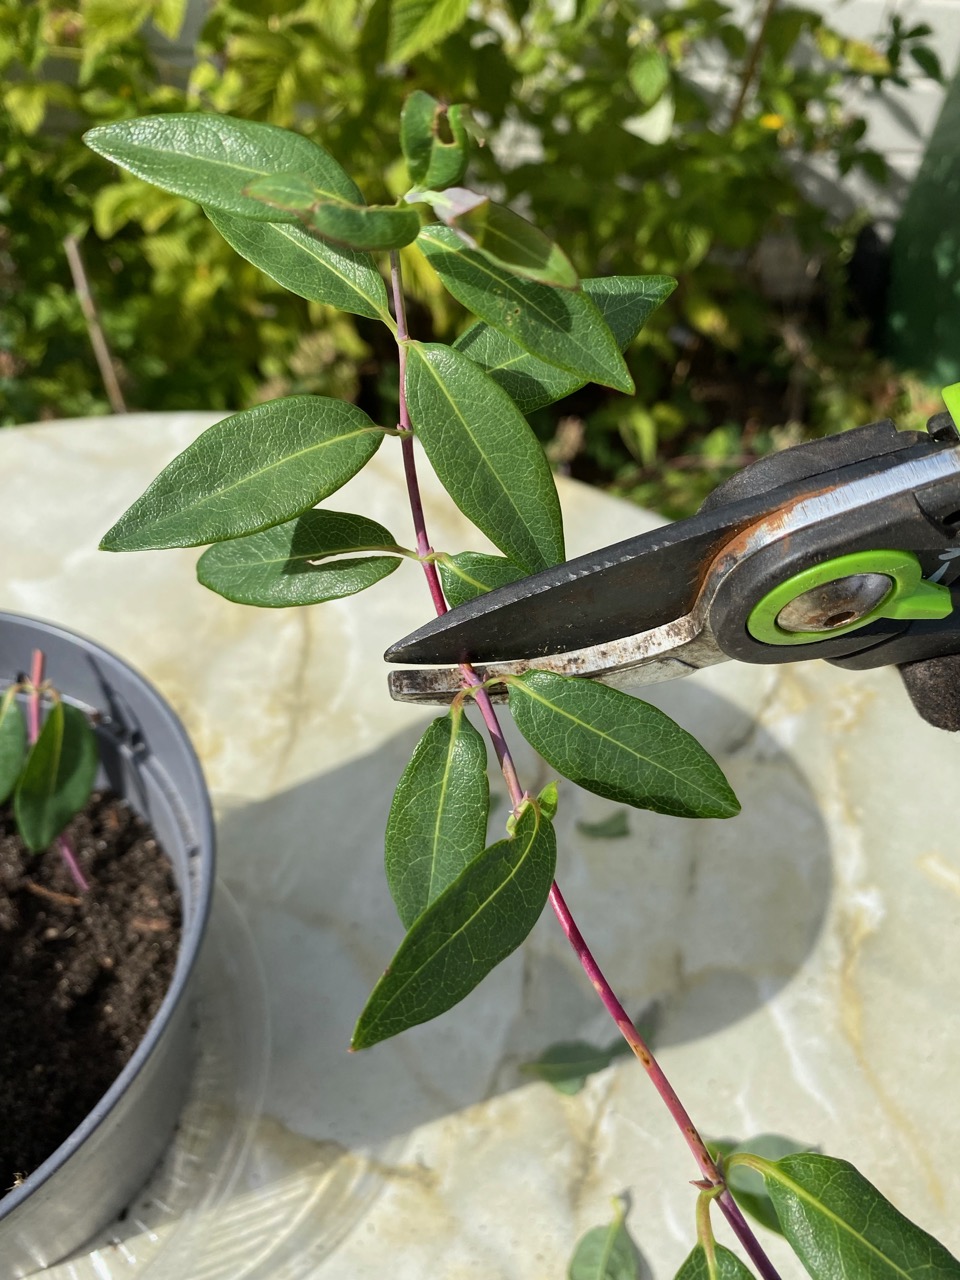 This is what one of my semi-leafy cuttings looks like.
 I prefer to propagate vines from semi-leafy cuttings for two reasons:
- Propagation in fall (instead of summer) is more convenient for me and the plant. Trying to keep a medium pot sufficiently watered during a heat wave is not for the faint of heart. I also travel in the summer, so I’m not home seeing new swimmers every week.
- I’ve had more success with semi-mature cuttings. In my experience, cuttings from old vines are sturdier and more likely to root than those from young vines.
To cut, simply use a pair of sharp pruners and cut about 10 inches (25 cm) of the vine just below a leaf node. Then, divide each cut into shorter pieces about 4 to 5 inches long (10 to 12 cm).
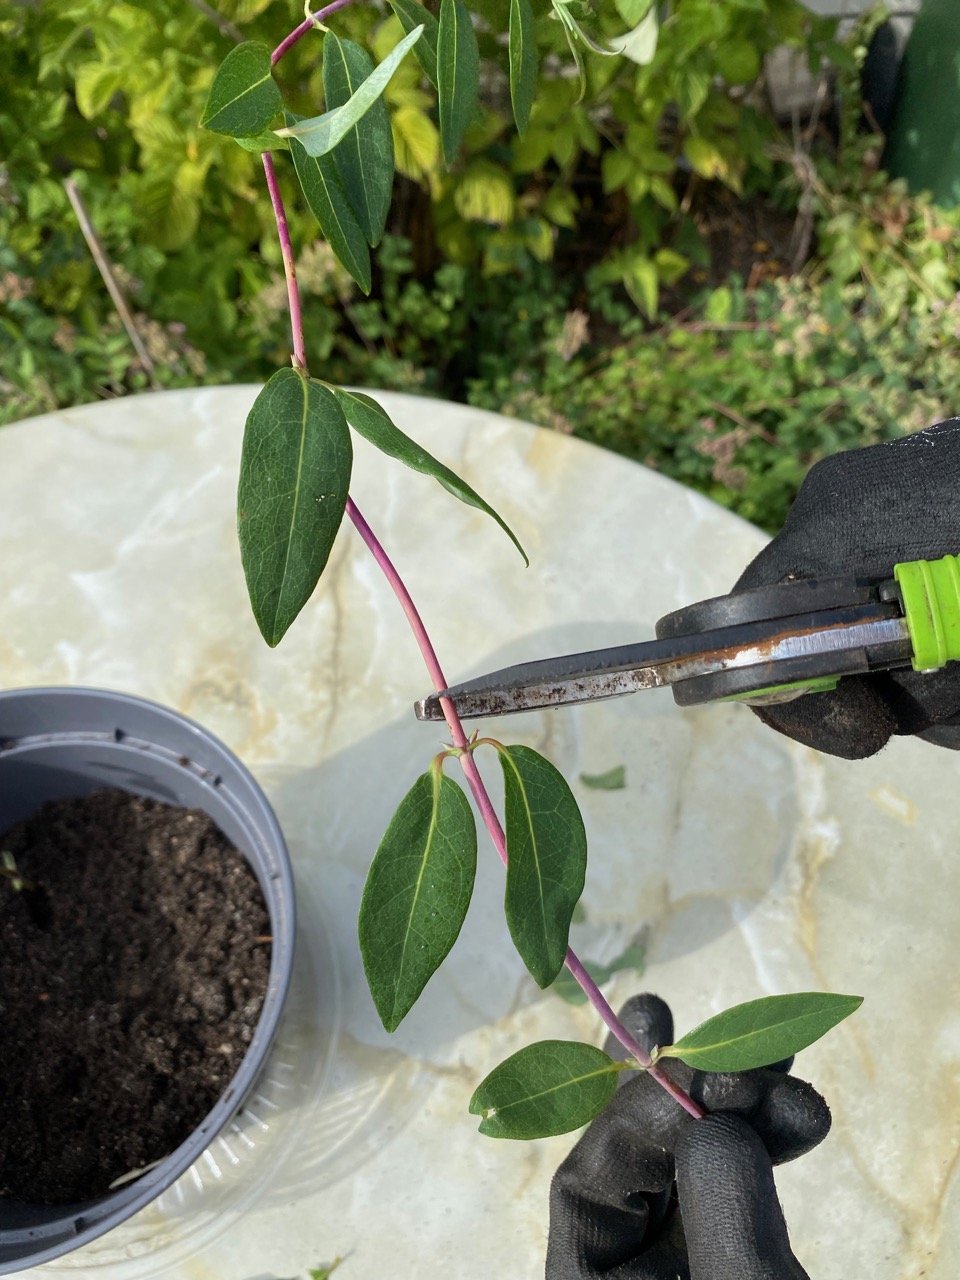 And the other cut is cut into shorter pieces.
 Be sure to remove stems that appear strong and healthy. And to avoid disappointment, take a few more stems than the desired result. Not all cuttings may develop into new plants.
Step 3: Prepare the cutting for planting.
For each individual cut, you must perform two operations: defoliate and mark.
First remove the lower leaf sets from each cutting. If you have longer cuttings with more sets of leaves, remove all but the top leaves. This is the only part that remains above ground.
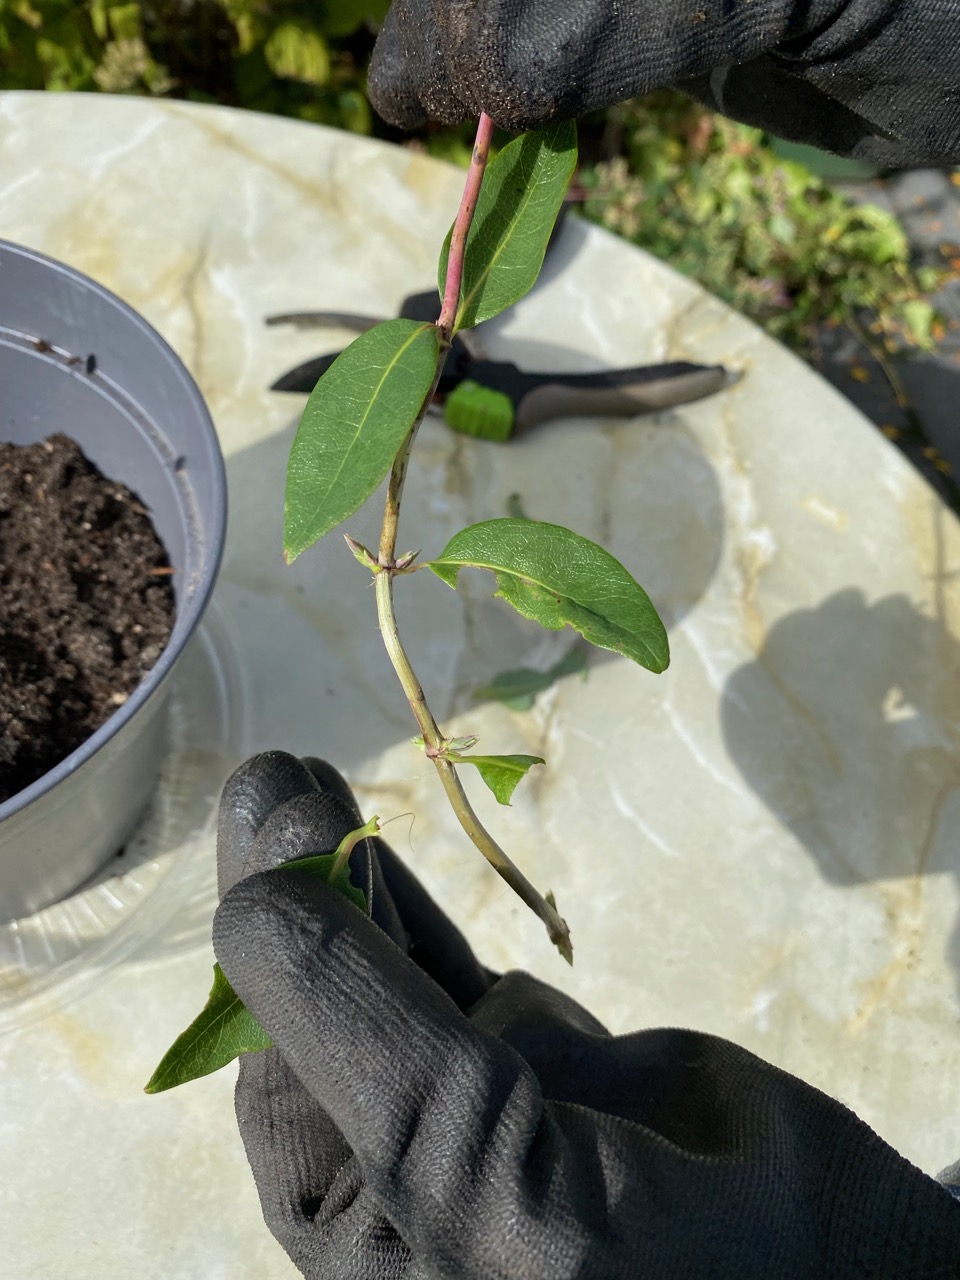 Remove leaves that would otherwise go into the ground.
Then you need to mark the cuttings. Scoring simply means removing the protective bark from the stem to further expose the cambium, the whitish-green layer underneath. In theory, this will open up more cells which can potentially become new roots.
Be sure to wear thick gardening gloves to prevent slipping when sliding the blade across the surface of the semi-hard wooden handle.
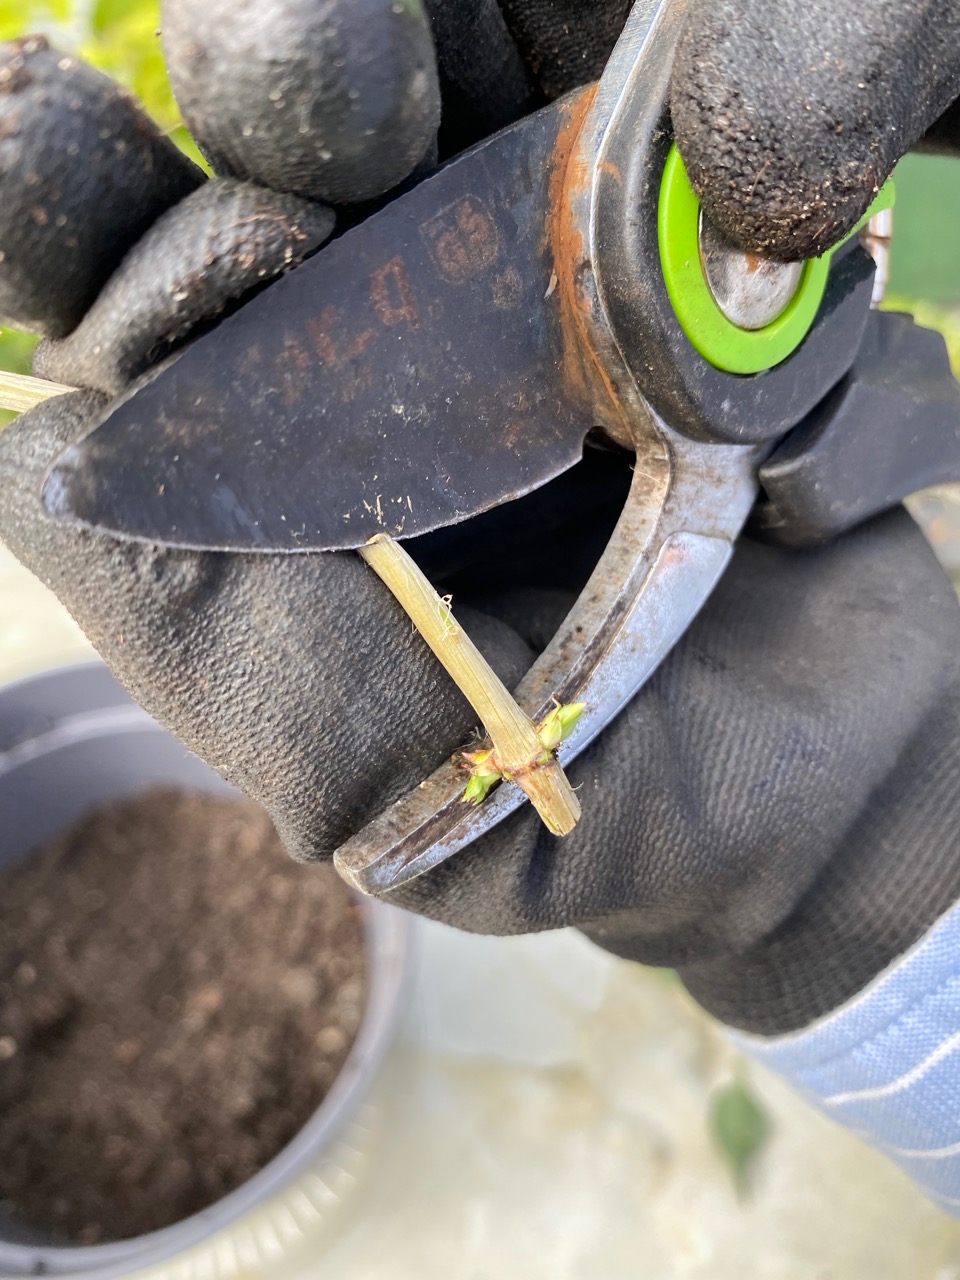 Carefully mark the stem.
At this point you can also dip the cuttings in rooting hormone. I skipped this step because I think honeysuckle is a prolific spreader that doesn’t need extra help.
Step 4: repotting and monitoring.
It’s time to push the cutting deep enough into the ground to cover at least one set of leaf nodes. If your container is big enough, it would be even better to cover two sets of leaf nodes. Finish by covering everything with more compost and watering well.
 Place at least one set of leaf nodes in the potting soil.
 Keeping the soil slightly moist (but not soggy) for the first few months is key to success when propagating most plants. Remember that your cuttings have not yet formed roots, so water uptake will be slow at first. But the cuttings need water to take root. Therefore, it is important to walk that fine line between too much and too little water.
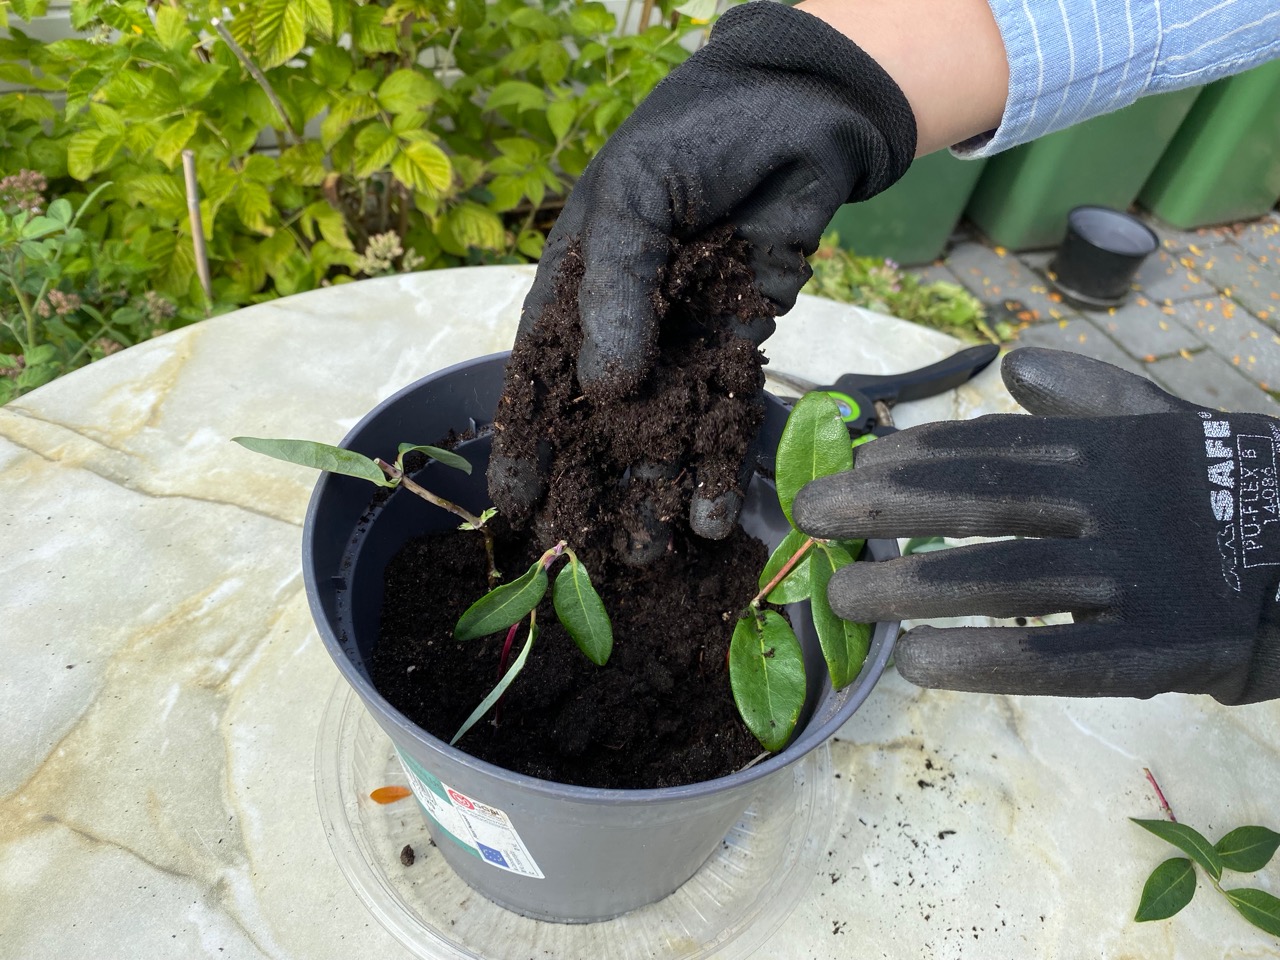 Cover it with compost.
If you are growing in the summer, you can place a garden lid or plastic bag (held by chopsticks or short bamboo sticks) on top of the pot to prevent rapid evaporation from the heat and strong light of the Sun.
I propagate this honeysuckle in the fall, so I won’t cover the pot just yet. I move it to a sheltered spot (always outdoors) when the temperature drops below zero. It takes one to two months for the root structure to form in a new cutting, depending on factors such as temperature, humidity, and the strength of the cutting you started with.
 One of my pots is ready to root. I’ll have to be patient, because it takes longer when it’s cold.
 Although I do most of my propagation in the fall, I prefer to wait until spring before transferring the plants to the garden. Milder spring temperatures combined with spring rains and more daylight make the transition easier for plants.