

An extremely decorative element that is becoming more and more fashionable in gardens and on terraces are pergolas. These structures give us a lot of play when it comes to beautifying our surroundings, but they tend to be a bit pricey. To save a little money, it is better to make a homemade pergola yourself.
For us to do well, we are going to explain to you in this article how to make a homemade pergola step by step I’m sure you will be very satisfied with your work!
How to make an easy and inexpensive pergola?
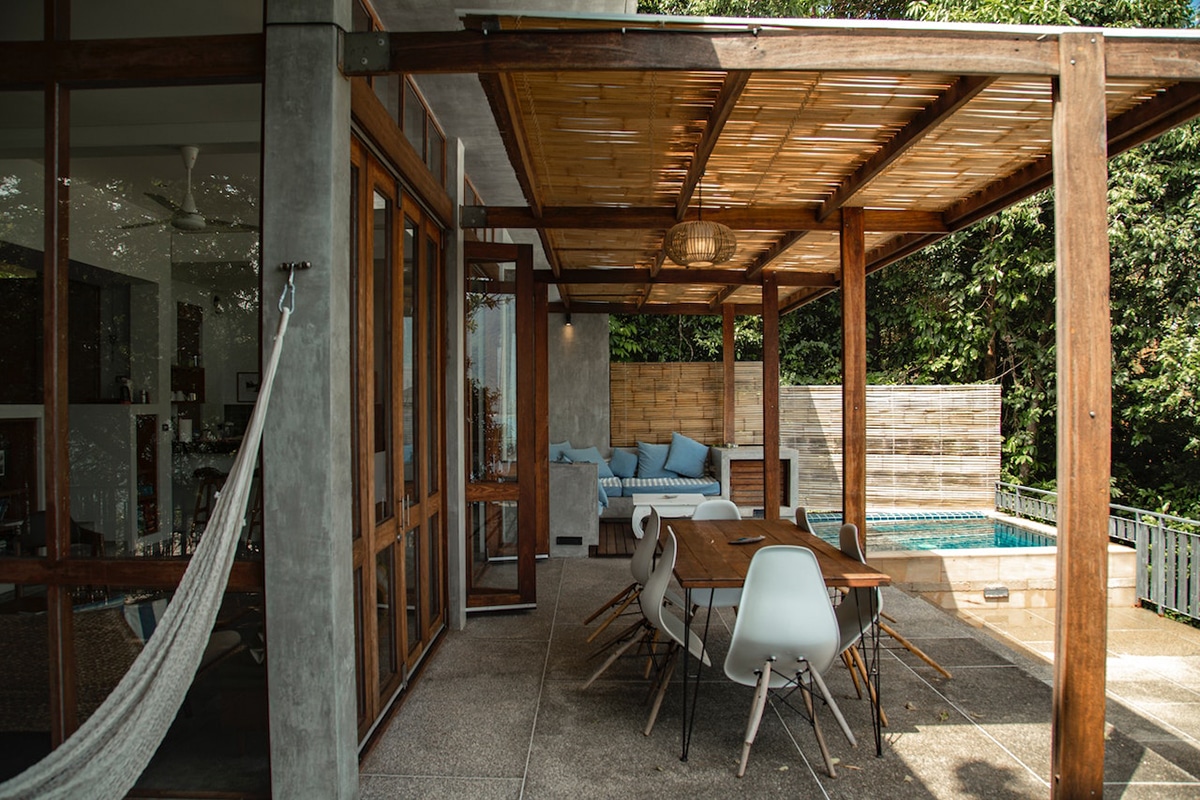
Once we know where to place the pergola, it’s time to get to work. Next we will explain step by step how to make a homemade wooden pergola attached to the wall, which is the simplest and safest.
Step 1: Prepare the messages
The first thing we must do if we want to install a homemade pergola is prepare positions. Let’s see how:
- First, the two posts must be cut using a handsaw or chainsaw. Before cutting, the cutting lines must be marked. Another option is to buy custom posts to spare us this task.
- Next, it’s time to draw two diagonals on one of the heads, for this we will use a square. Right in the middle point of the two diagonals will go the threaded rod of the adjustable support, but for this we need to open a hole. We will do this with a drill and a spade bit whose diameter is greater than that of the rod.
- Then it’s time to make pilot holes with the drill and we’ll use the plate as an aid.
- Then we have to attach the metal piece using barraquero screws using a socket wrench and the drill.
- Exactly the same thing we have to repeat in the other post.
Step 2: Prepare the joists
The next step is to prepare the beams. We need to follow these points with all but two, which we will use to create the beam that we will attach to the wall later:
Related article:
How to decorate the pergola?
- If we have not ordered them to measure, we must first cut the joists as we explained in the point of preparation of the posts.
- Then you need to shape the ends, for which we will use a template with two designs. One will help us give the undulation to one of the ends, while the other must reflect the necessary angle so that we can then attach the joists to the structure. With the template placed at one end, we will trace the outline. At the other end we will use the other drawing, which should correspond to an angle of 15º.
- Then it’s time to cut the ends off with a jigsaw, which has an extra long blade specifically for wood.
We must repeat these three steps with all the other joists, except for two, which will be the beam that we will attach to the wall later. Let’s see how:
- First we will join the two pieces of wood that we have saved. To do this, it is better to cut the ends at an angle so that the joint is stronger.
- With a wood drill and a drill, make holes in the wood so we can attach them to the wall later.
- Then you need to join the two pieces by means of pliers just at the ends cut at an angle.
- Now it’s time to make pilot holes and secure the two pieces with lag screws.
Before starting to assemble the structure, You must first sand the wood to make it smooth. Then you have to clean the dust produced and you can go to step 3.
Step 3: Assemble the structure
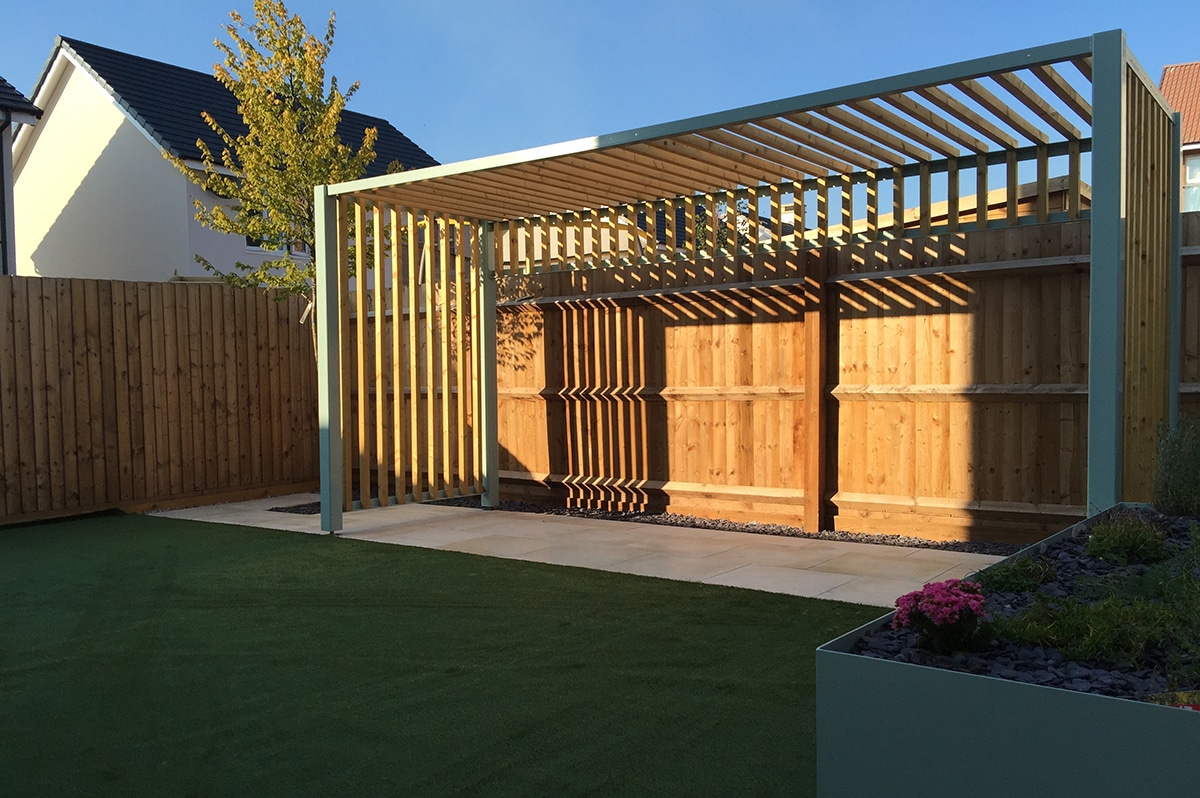
Finally we are left assemble the structure of the homemade pergola. To do this, we must follow these steps:
- First of all, the beam must be placed at a height of about 2.40 meters on the wall and, using the level, mark the fixing points. Using a ten millimeter widia bit and a hammer drill, we will make the holes.
- Then it’s time to remove the part and finish the holes. This time we will use a specific 16 millimeter drill bit to drill the concrete.
- It is now necessary to clean the inside of the holes and, if it is a hollow wall, to insert sieves.
- Now let’s move on to the chemical stuff. In the nozzle of the cartridge we will place the mixing cannula. We put this cartridge in the gun and press until the mixture is homogeneous. Then we fill the holes by inserting the nozzle downwards.
- While the product is still fresh, the threaded rods should be inserted. It is important to turn them slowly to avoid the formation of air bubbles. It is then time to wait for the chemical block to finish hardening in order to place the beam. To do this we will match the rods with the holes.
- Then it is necessary to fasten the part very well with nuts and washers. They can be tightened using a fixed spanner.
- Now it’s time to mark the fixing points on the ground. For this we will show you the adjustable bases where they should go.
- With a ten millimeter widia drill bit and the drill, we will make the holes.
- Then you need to clean the holes and apply the chemical plug.
- Before this product dries, the threaded rods must be introduced, again slowly.
- The next step is to mount the base and secure it with washers and nuts. Do the same with the other adjustable metal base.
- Then it’s time to insert the posts and turn them until they are the desired height. The most recommended is check that they are perfectly vertical using the square level.
- Then, you have to place the joist planned for the front of the pergola. It is important that the margin is the same on both sides and check its horizontality with the level.
- Now you need to attach an extra long wood drill bit to the drill and make the mounting holes.
- Using this same tool with a suitable point, it’s time to secure the joist with lag screws.
- We can now place the first crossbar. We secured it to both the wall-linked beam and the front beam with direct insertion lag screws.
- We will do the same with the other joists. It is very important that the space between them is always the same.
- Then we have to apply the base for the stain with a paint gun or a roller and a brush.
- Finally, apply the lasur, once the previous product has dried, and wait for it to dry.
We now have our own homemade wooden pergola. In addition to being extremely satisfying work, we will also have saved all the labor cost.