
Look at a list of houseplants for beginners and you’re bound to find pothos at the top.
Pothos, botanically known as Epipremnum aureumthese are some of the easiest houseplants to care for, suitable for a wide variety of growing conditions.
They can handle less light than other houseplants and aren’t too picky about humidity. Plus, they make the perfect accent piece for the home, hung along shelves or climbing a trellis for a vertical living wall feature.
But that’s not all. It is also one of the easiest plants to propagate.
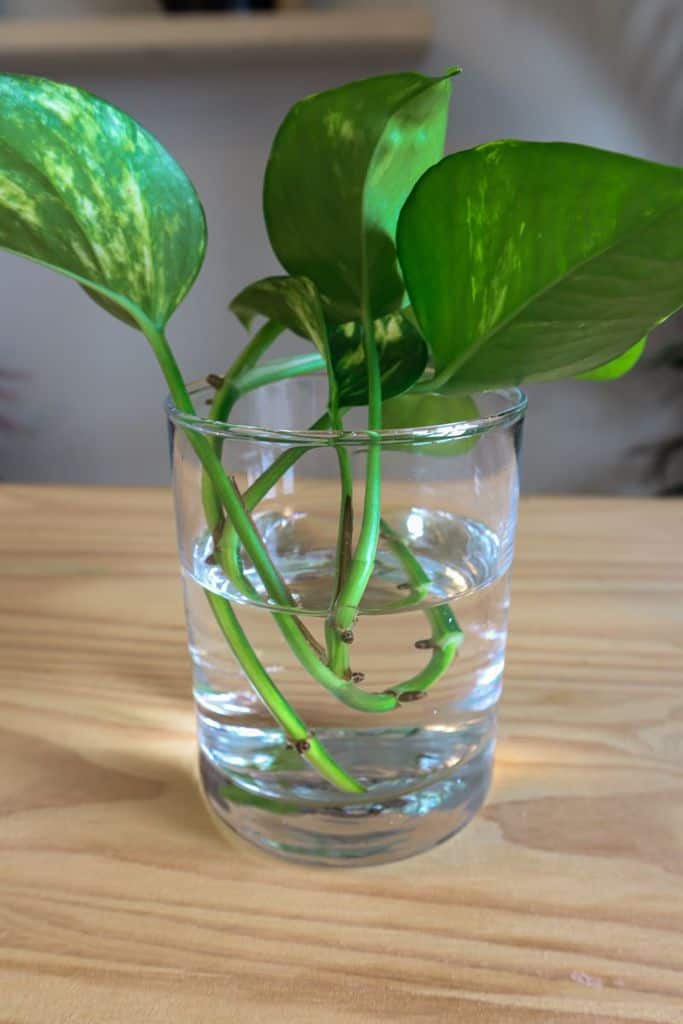
In just a few weeks, you can grow a new pothos plant and double those benefits, or even more.
Follow these easy steps to get more pothos, at no cost.
1. Remove the cuttings
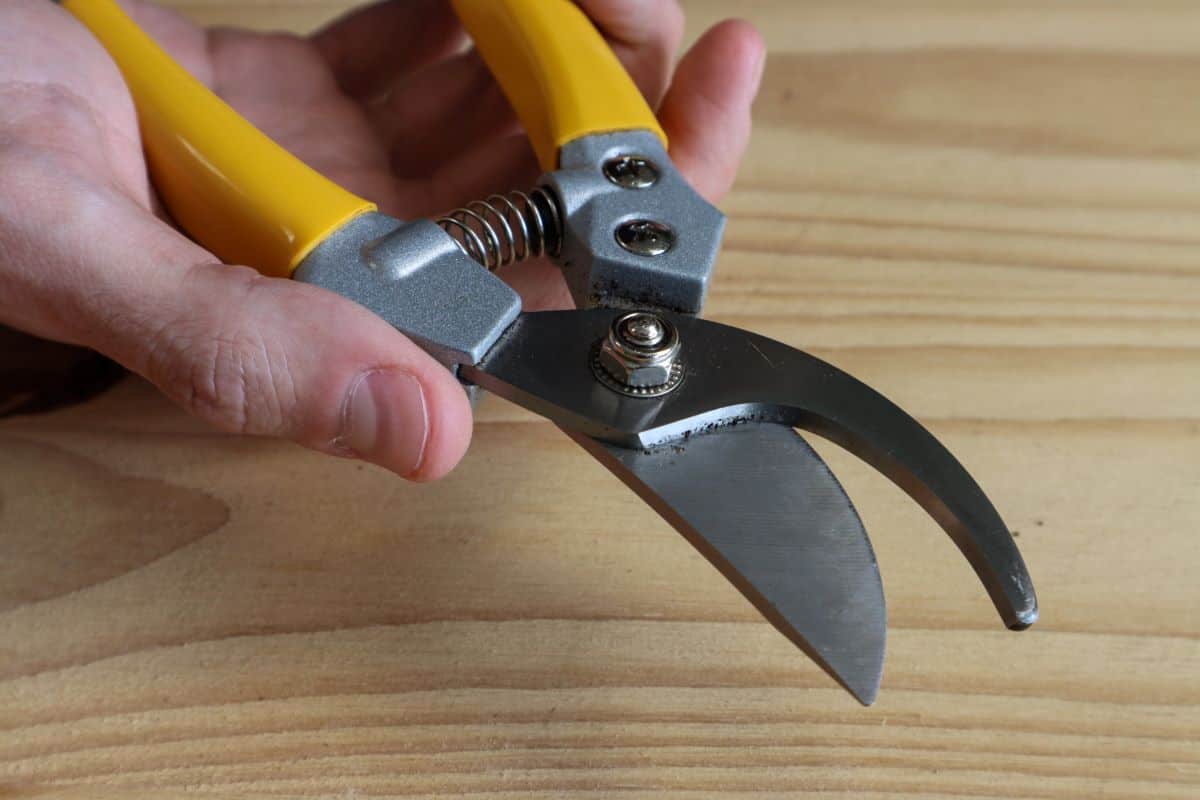
Before you begin, get a pair of clean, sanitized pruners or shears. This prevents any disease or bacteria from spreading to the new cuttings and the mother plant.
They should also be as sharp as possible to make a clean cut and avoid damaging the rod.
Choose a long, healthy stem to cut. The healthier the stem, the greater the chance of successful rooting.
Remove a section of the stem at least four inches long, just below a leaf node (where the leaf meets the stem). To have the best chance of rooting, your cutting should have at least three to four full leaves. Cut at a 45° angle to increase surface area.
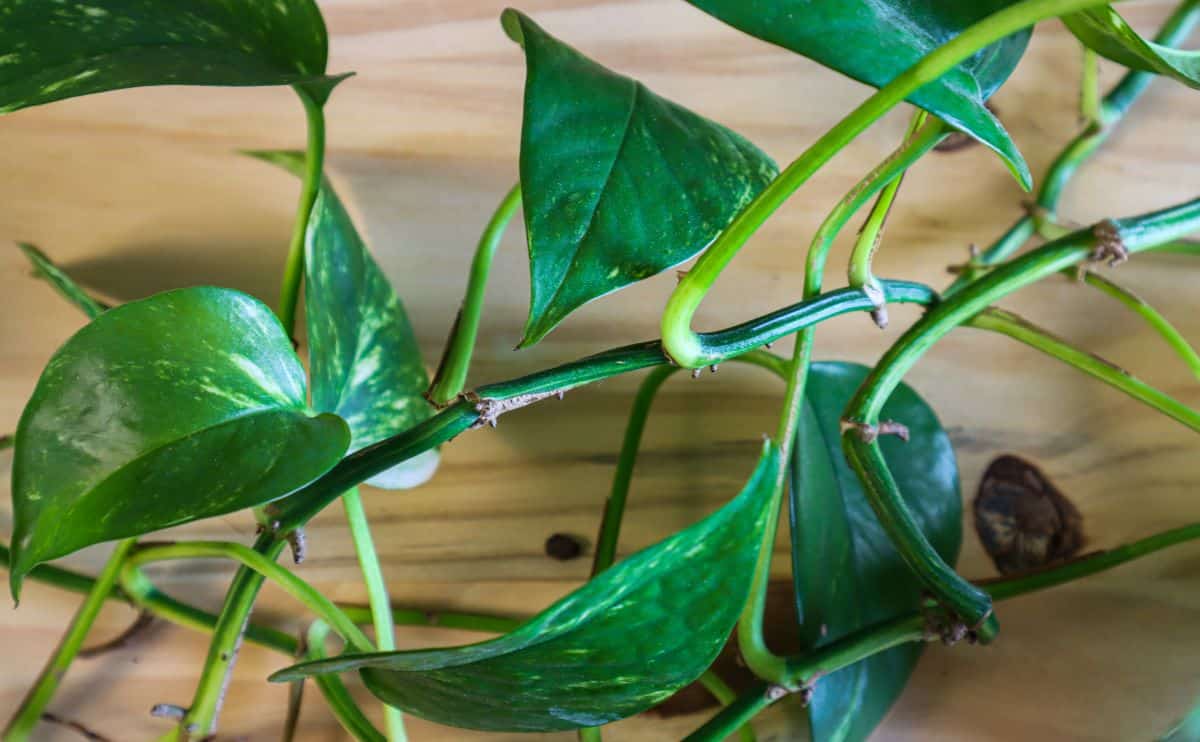
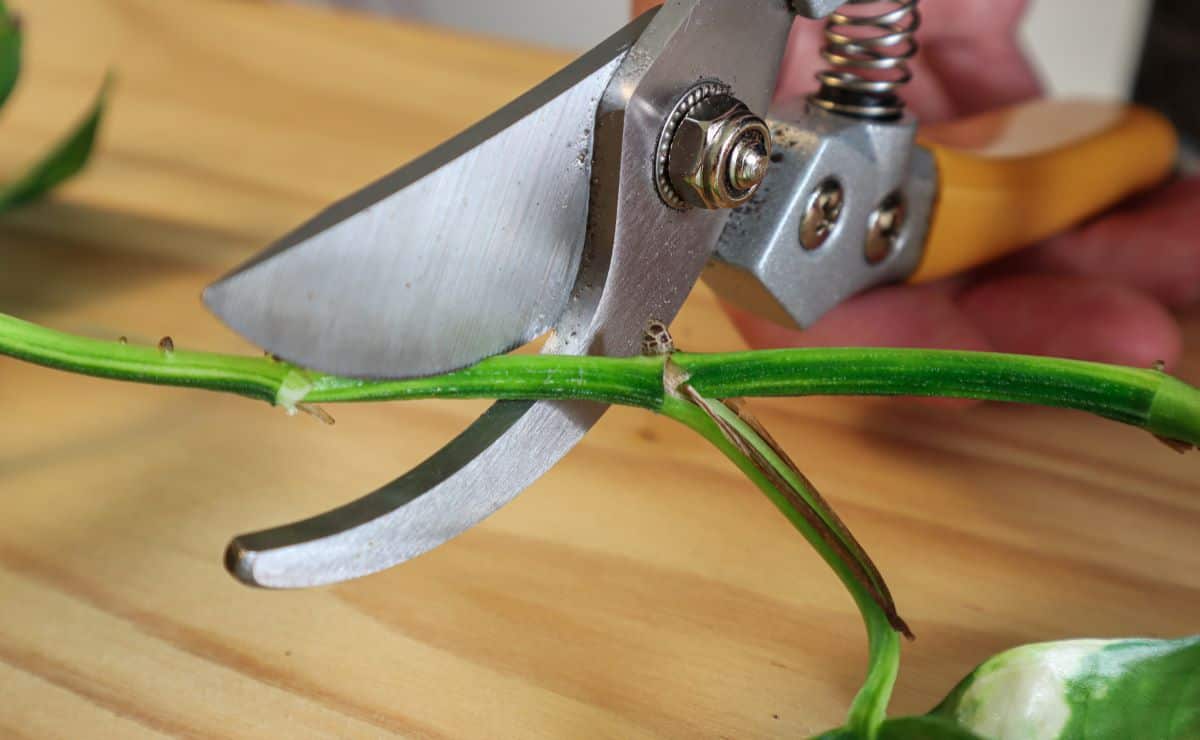
Remove the lower sets of leaves from the stem, leaving at least one or two leaves at the top. If you have a longer cut with multiple knots, divide it into two parts. The more cuttings you take, the better your chances of successful propagation.
Once the cuttings are prepared, you are ready to root. It can be done both in water and directly on the ground.
2. Root the cuttings
in water
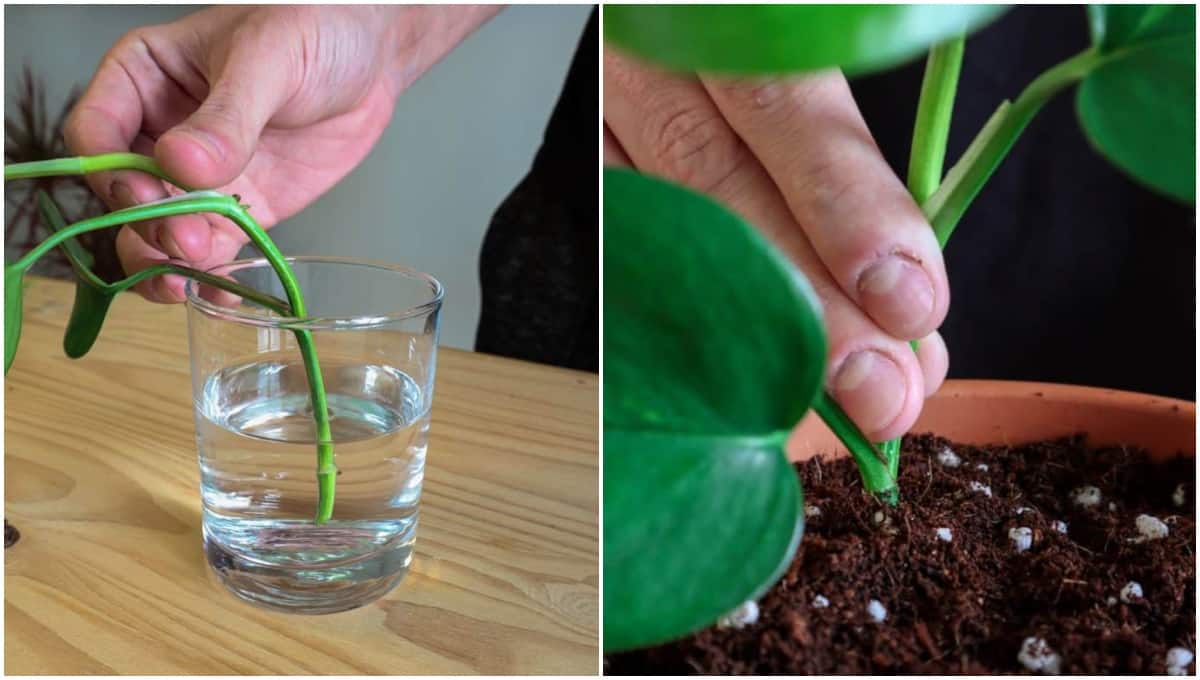
The first and by far the most popular method of propagation is in water.
This method is the easiest and does not require any equipment to get started. It’s also a fun experience to see how the cuttings take root in real time. It also allows you to follow their progress, with a clear indication of when they are ready for transplant.
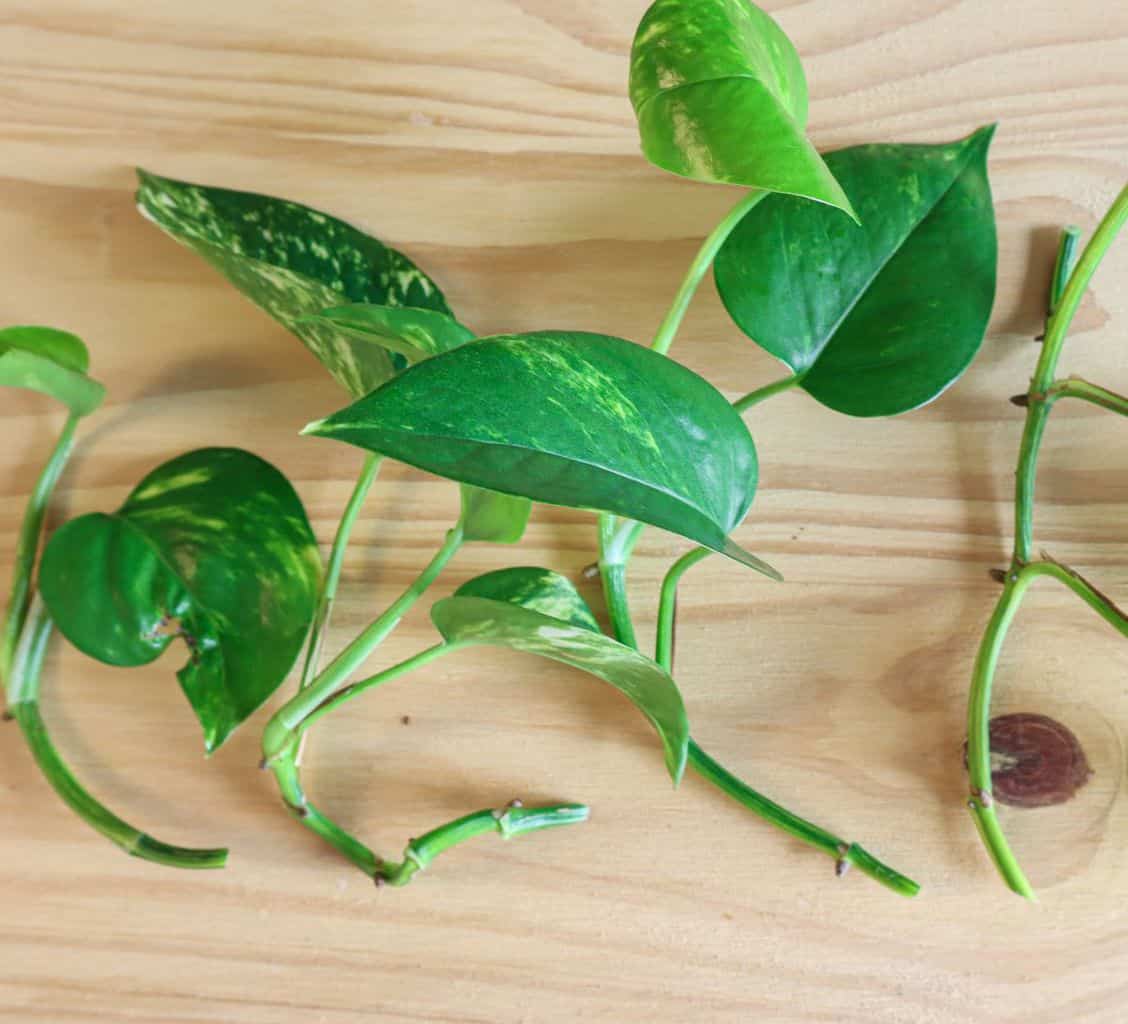
All you need is a glass and room temperature water. Filtered water is best, as the chemicals in tap water can inhibit growth, but this is not a necessity. You can also boil water and let it cool before using. Room temperature or slightly warm water is much better than ice cold tap water for stimulating growth.
Here you can be creative. Plain glass will work well, but decorative glassware like test tubes or vases turn what can be a messy or unsightly exercise into a modern accent piece. Here are some of the best propagation stations to turn your propagation into a beautiful backdrop.
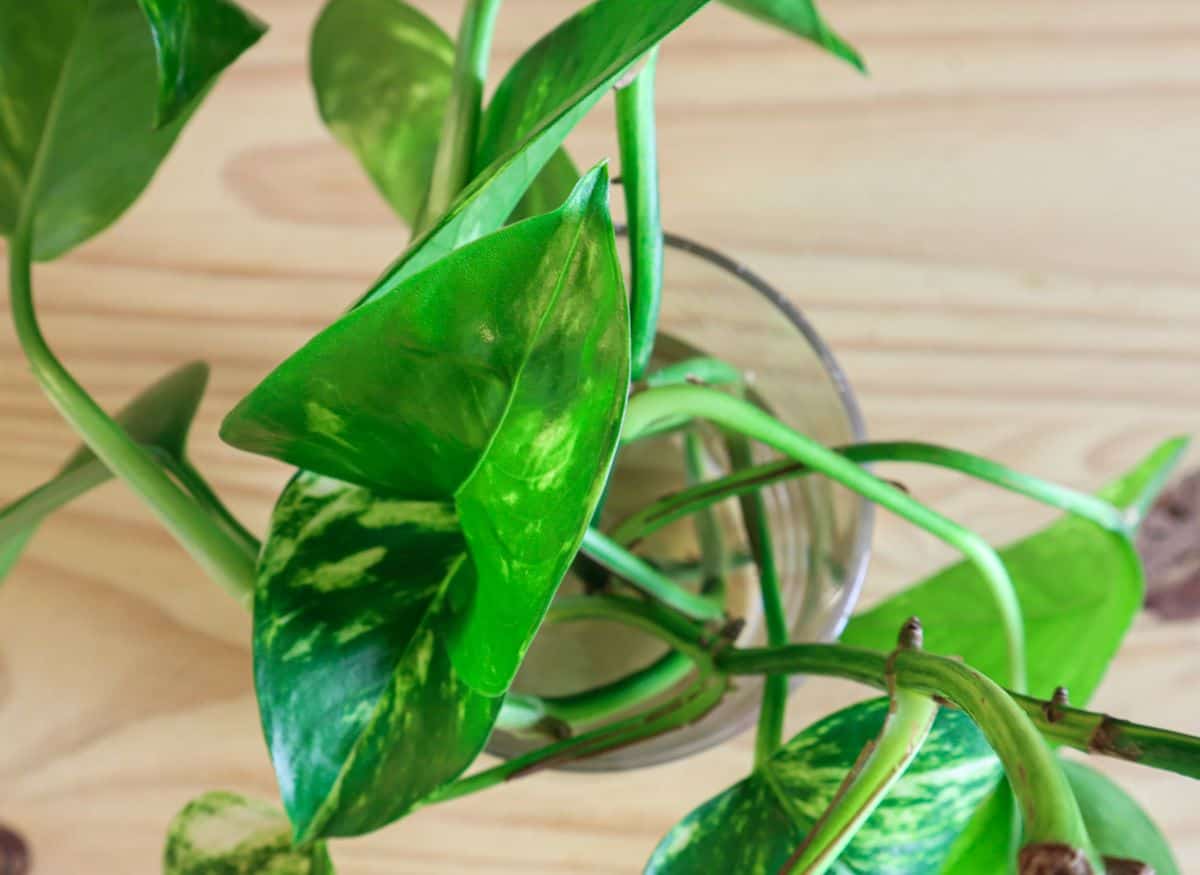
Then simply place the cuttings in water and let the stems rest on the side of the glass. Make sure there are no submerged leaves as they can rot and promote bacterial growth. Replace the water every few days or if it looks cloudy.
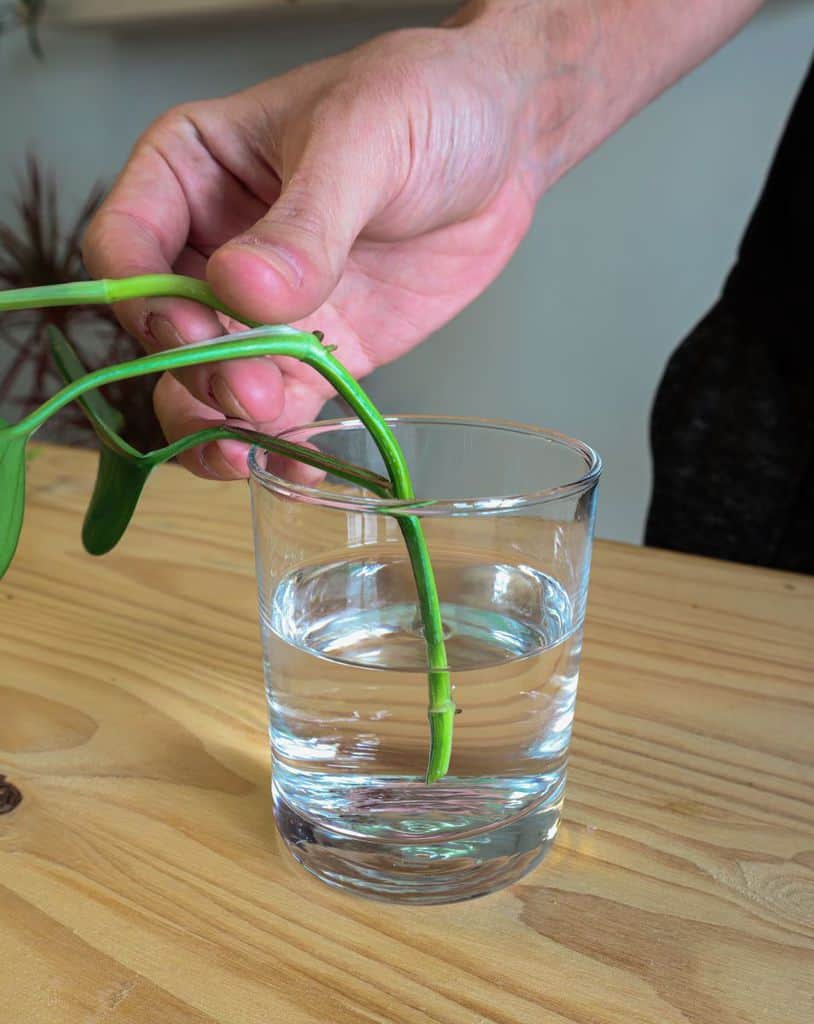
Place the glass in an area exposed to direct and indirect sunlight. It should also be warm enough to stimulate root growth. Avoid locations right next to a window in cold weather as they can inhibit growth.
On the ground
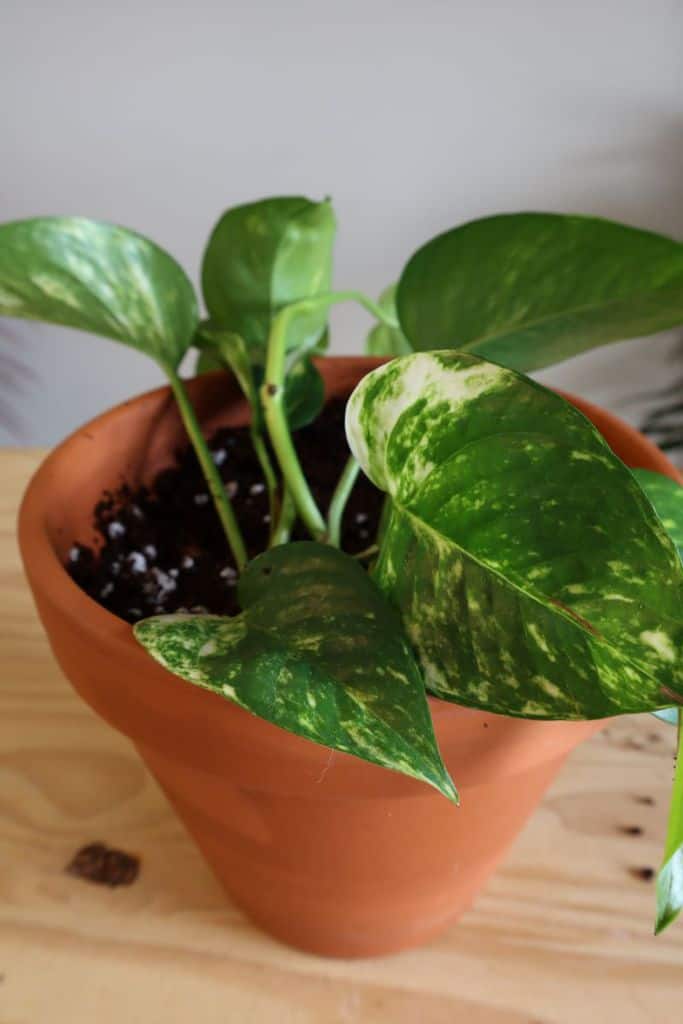
You can also plant the cuttings directly into the ground, minimizing the need for repotting later. For this method, you will need a pot and some homemade potting soil for houseplants.
Fill the pot with a mixture of potting soil, coco and perlite to improve drainage. High-quality potting soil ensures your cuttings get the best start. Good drainage is also essential to prevent rot – make sure there are plenty of drainage holes in the bottom of your chosen container.
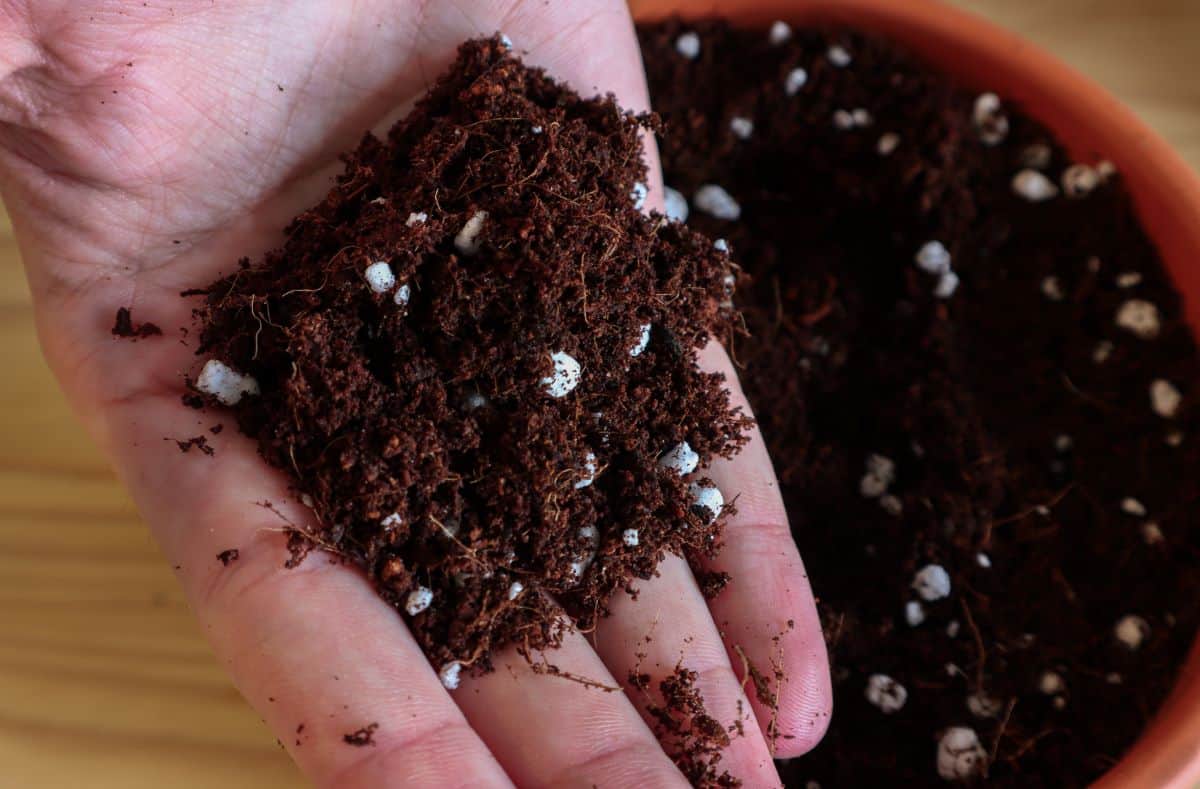
Plant a few cuttings around the edges of the pot and bury the bottom half of the stem in the ground.
If you want to increase your chances of rooting, first dip the ends of the cuttings in a rooting hormone. This stimulates growth and limits later disease problems.
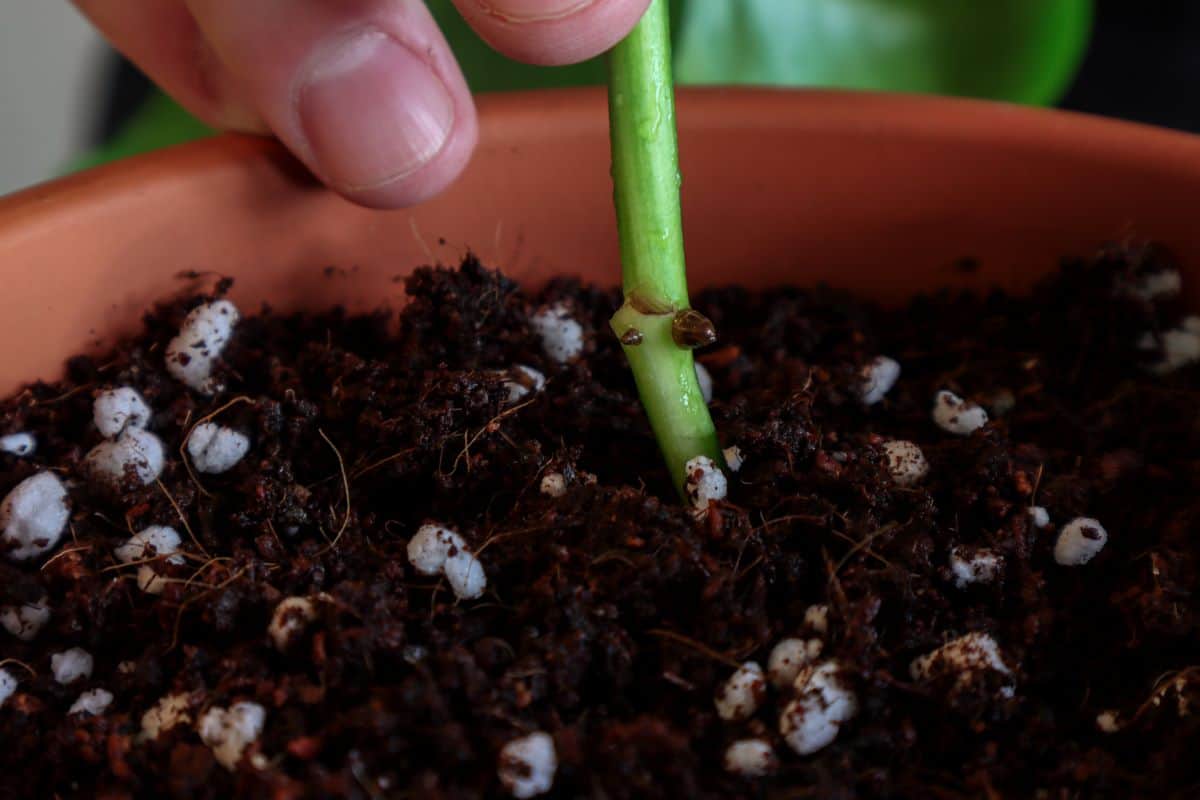
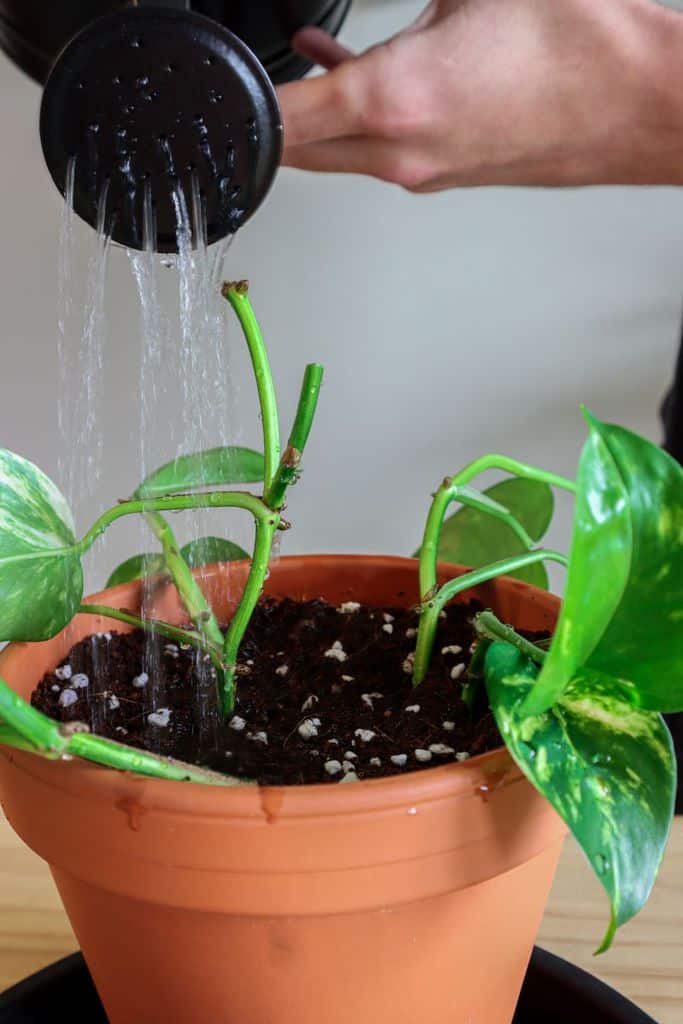
Water the pot well so that the excess drains to the bottom. Place the pot in a warm place with plenty of indirect light but no direct sunlight to avoid burning the leaves. Keep the soil moist by misting it every few days and wait for new shoots to sprout.
3. Transplant the cuttings
If you are rooting in water, you should transplant the cuttings into the ground when the roots are ready. The longer you leave the cutting in water, the more difficult it will be for the plant to adapt to the soil conditions. Earlier is always better than later, as long as the roots are long enough.
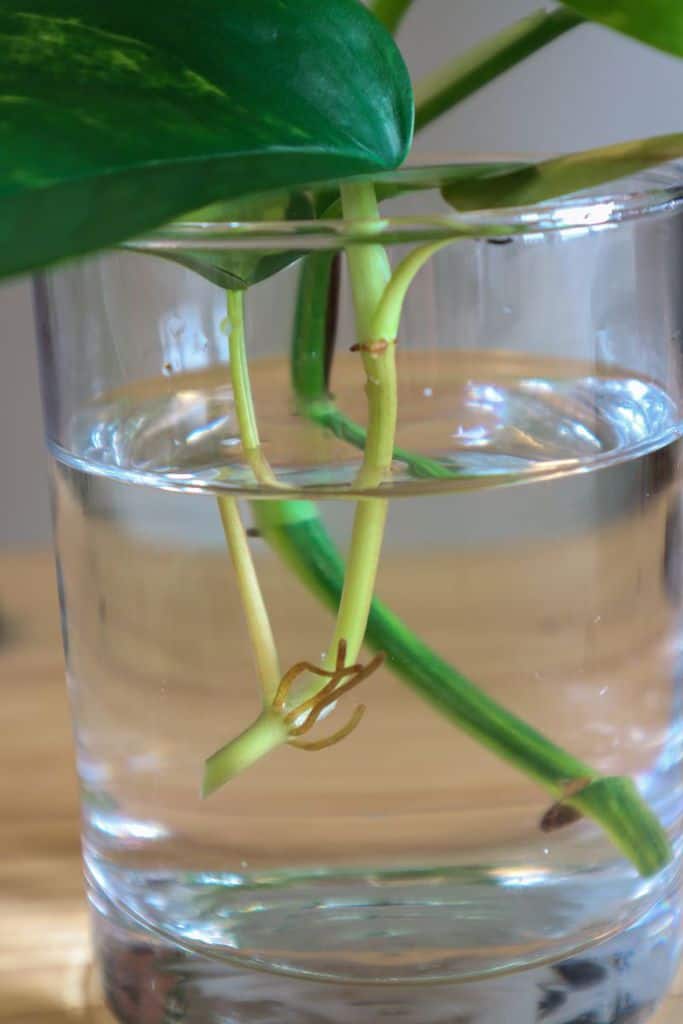
Wait until the visible roots are at least an inch long. This may take several weeks, but the cuttings can be left in water for two to three months without any problems.
When you’re ready to transplant, prepare a pot filled with houseplant soil as described above. Gather several cuttings into a plant group and plant them in the same pot. This will give you a fuller plant similar to those found in nurseries, rather than a sparse single-stemmed plant.

Fill the spaces around the stems with more potting soil, ending just below the edge of the pot. Gently press around the soil to hold the cuttings in place.
Water thoroughly after planting to eliminate air pockets in the soil and promote root growth. Keep the soil well watered for the next few months while the plant gets used to its new surroundings.
7 Reasons Your Pothos Cutting Didn’t Root
Although pothos is one of the easiest plants to propagate, no method is guaranteed. Certain problems or mistakes can prevent root growth or a successful transplant. Please review these reasons and use them as a guide to practices to avoid.
1. You cut the stem in the wrong place.
Pothos roots grow from the nodes of the stem, the area where the leaves emerge. For the roots to grow, one of these nodes along the stem must be under water or in the ground.
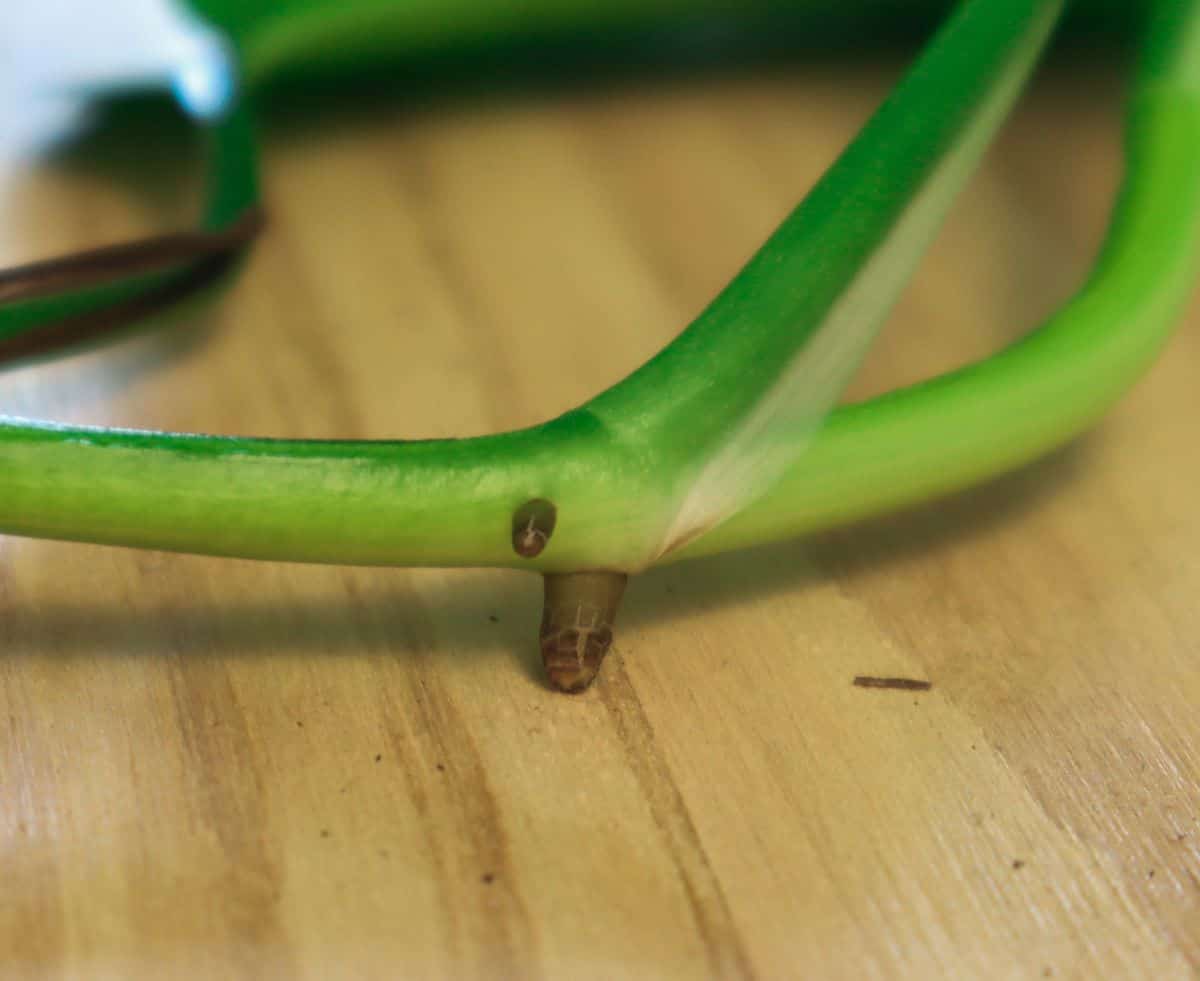
If you left too much stem under a node where it is hanging above the water, it will not develop roots. Likewise, if your cuttings have leaves at the top but no nodes at the bottom, the roots will have nowhere to grow.
2. You didn’t change the water
The roots can grow due to the oxygen present in the water. After a few days of rest, the oxygen in the water runs out. Without oxygen, as in humans, the roots will eventually suffocate.
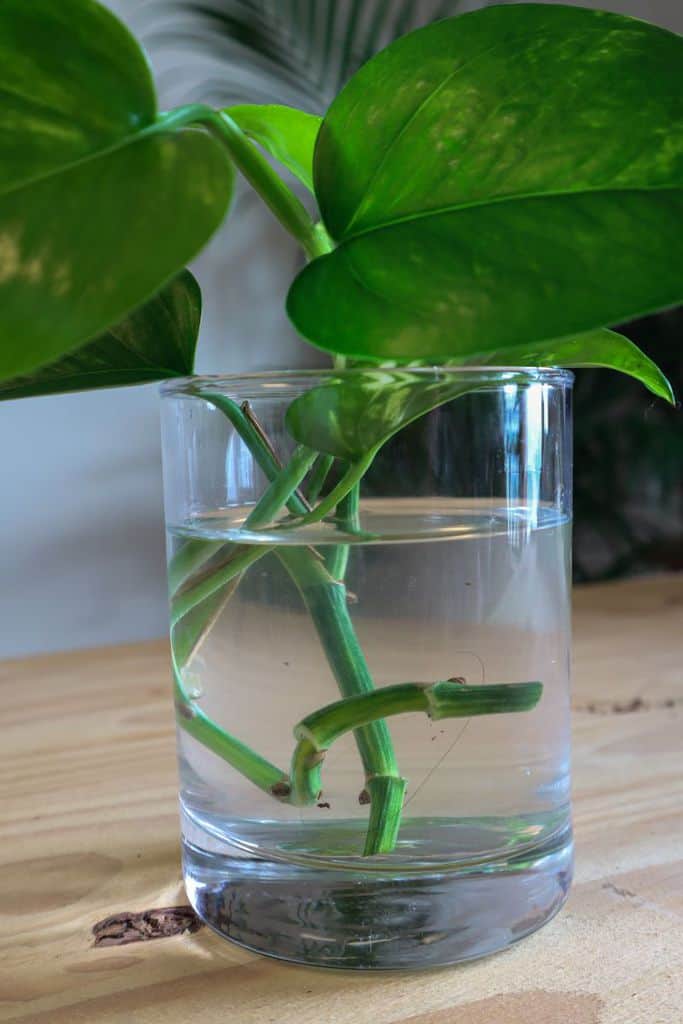
Standing water can also attract bacteria and other pests or diseases that stunt growth or rot the cutting. Be sure to change the water every few days or whenever it looks dirty to keep your bath healthy.
3. There is not enough light
Plants need sunlight for photosynthesis to produce energy. If you expect your plant to grow new roots, it needs sun.
Although pothos plants can survive in less light than other houseplants, they will still do best in a bright location with indirect sunlight. Low light plants take much longer to develop roots, or they may not develop roots at all.
4. You took a cutting from an old damaged vine
To have the best chance of success, it is best to take a cutting from a healthy, vigorous vine. This indicates that the transport systems in the stem are functioning properly and can develop roots.
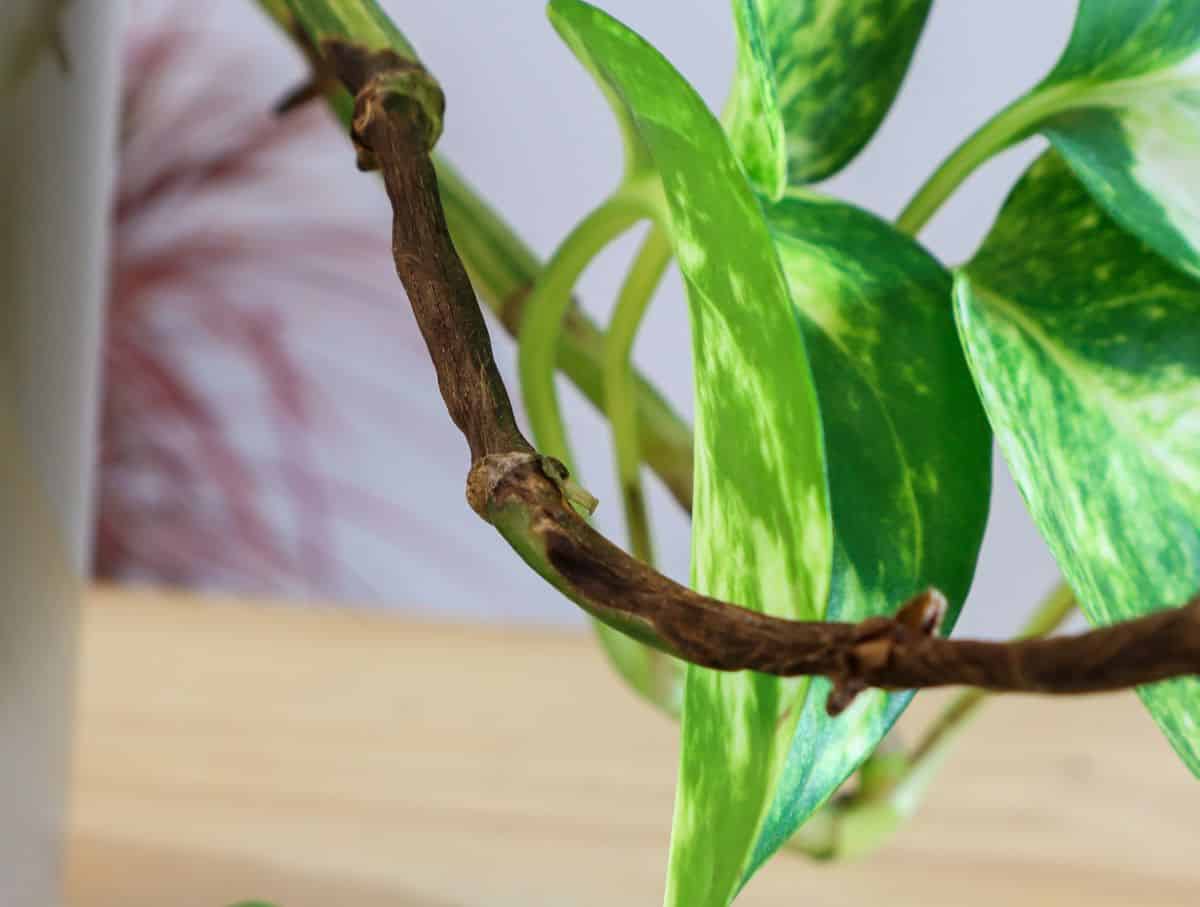
If the stem is old and partially damaged, the plant will have trouble developing roots. Even if the roots do grow, they may not be as strong or healthy as those from a better cutting. Growing carrots takes a lot of energy – pick a stalk that can do the job.
5. Not hot enough
Pothos plants are tropical and prefer warm environments with high humidity. These conditions are best for rapid growth, especially in spring and summer during the height of their growing season.
If you are growing in a cold room or in winter, expect slow or almost no growth. Always place your glass or jar in the warmest room of the house, or use a heating mat in colder rooms.
6. You transplanted too late
The roots that grow your cuttings in water are slightly different from those in soil. They are finer and more delicate, suitable for drawing all they need from water alone. The longer you let these roots grow, the harder it will be for them to adapt to life in the soil.
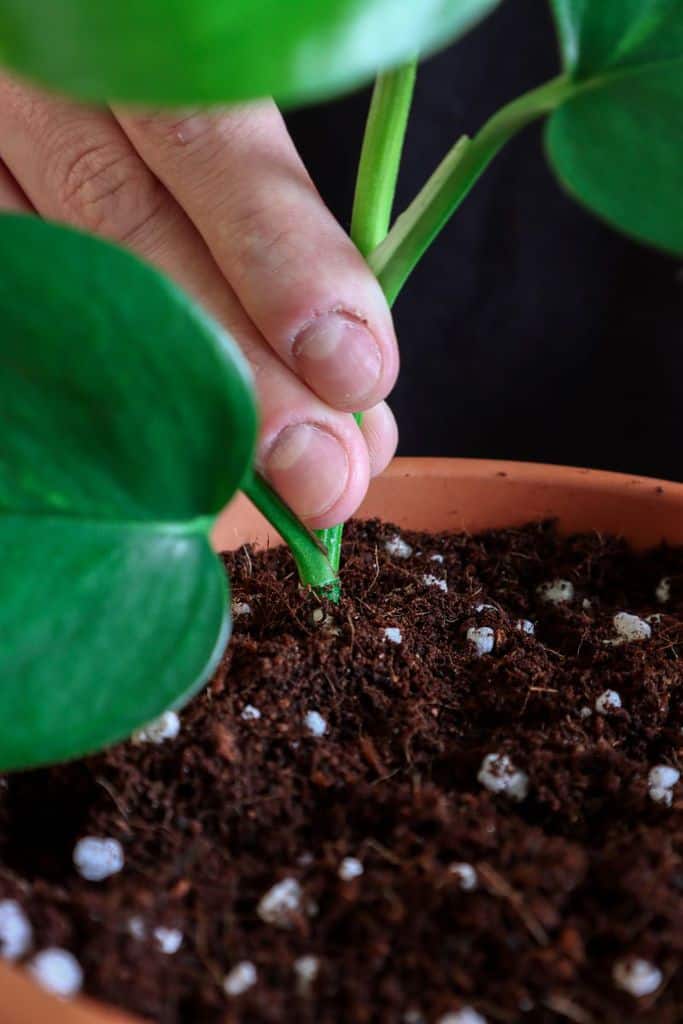
Transplanting too late can lead to transplant shock (usually indicated by yellowing leaves) or prevent your cutting from rooting properly in the soil. Transplant after the roots have grown out at least an inch or two and don’t leave them for more than a few months to avoid transplant problems later.
Another way to avoid transplant shock is to slowly introduce the growing medium into the water. Once the roots are ready, add a teaspoon of coco or perlite to the soil daily until the glass is full. This will help the roots slowly acclimate to new conditions, avoiding shock.
7. They need more time
Reading may be easy, but it’s certainly not fast. The roots take at least four weeks to reach the grafting stage, possibly longer. In the plant world, growth is quite rapid, but for us impatient gardeners, it can take a long time.
If your cutting isn’t rooting and it’s only been a week or two, start by giving it a bit more time. If no growth is seen after a month, you may have another problem, but any previous problems shouldn’t worry you.