

Hostas reward gardeners with an ever-changing landscape as they regrow year after year. Lush spring foliage, summer blooms and subtle fall foliage color make for beautiful mass plantings in the sun.
Found in endless varieties, these hardy plants pair well with popular shade plants such as astilbes, ferns and heucheras, or as a foreground planting supported by spring flowering shrubs such as hydrangeas, rhododendrons or mountain laurel.
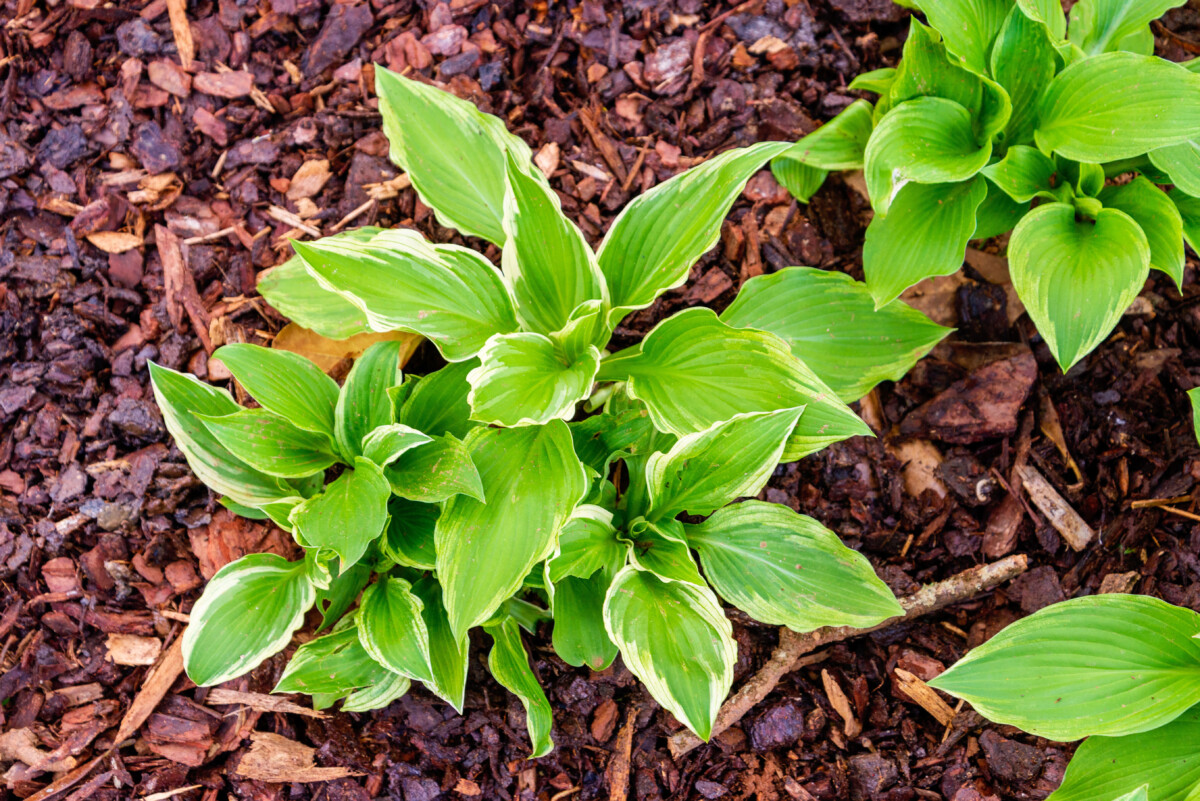
Like other garden perennials, these easy-care plants thrive with little landscaping. But “least concern” does not mean “no concern”. Read on to learn how spring maintenance can keep your hostas looking their best and growing their best.
1. Dig and divide Hostas to increase your collection.
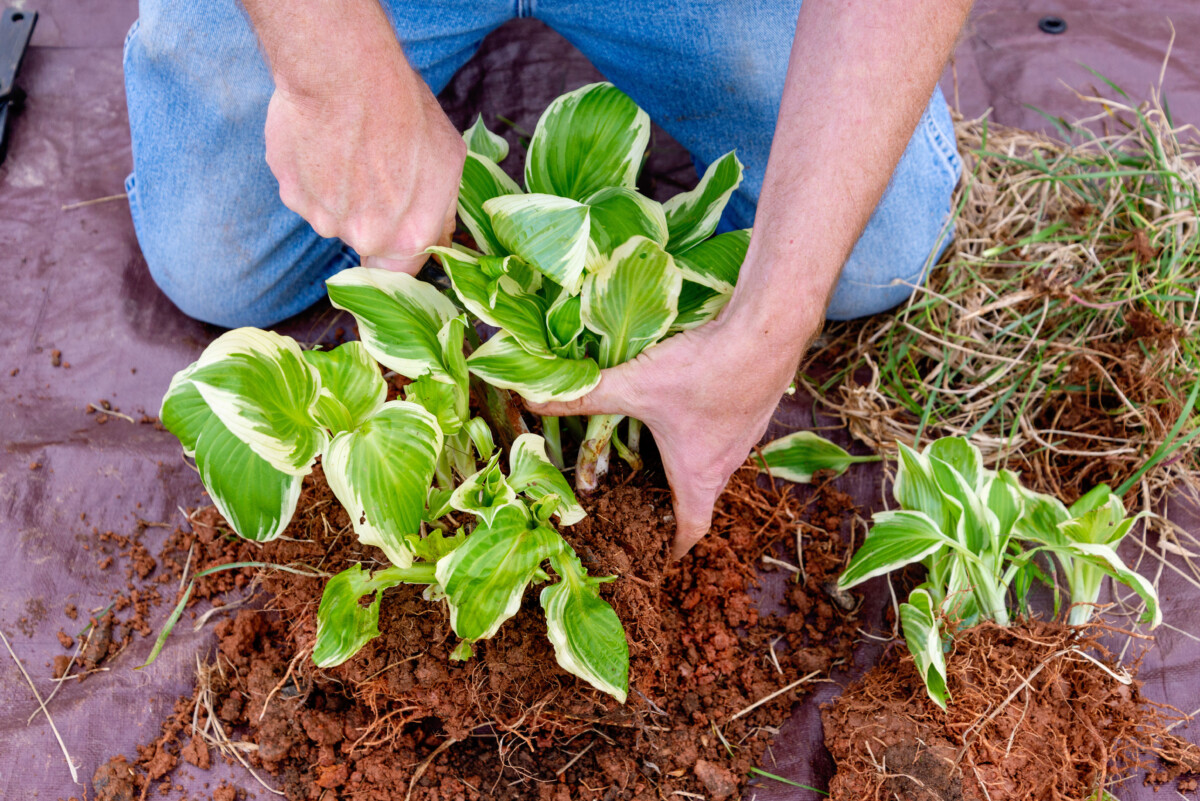
Unlike other perennials, undisturbed hostas grow strong and healthy for years. The group will grow each season or, if space is limited, it will grow more slowly. But thrifty gardeners know that dividing is a great way to get more plants without buying them. Dividing hostas every four to five years is also a good way to maintain the look of a garden bed.
The best time to divide hostas is in early spring, just as new leaves are emerging from the root crown. This is also the best time to transplant hostas.
Start with a healthy clump with at least six buds or eyes. Dig it out of the garden with a sharp shovel, leaving plenty of roots around the edges. Use your shovel or a sharp knife to cut straight through the clump, making roughly equal sized portions with 3-5 eyes in each.
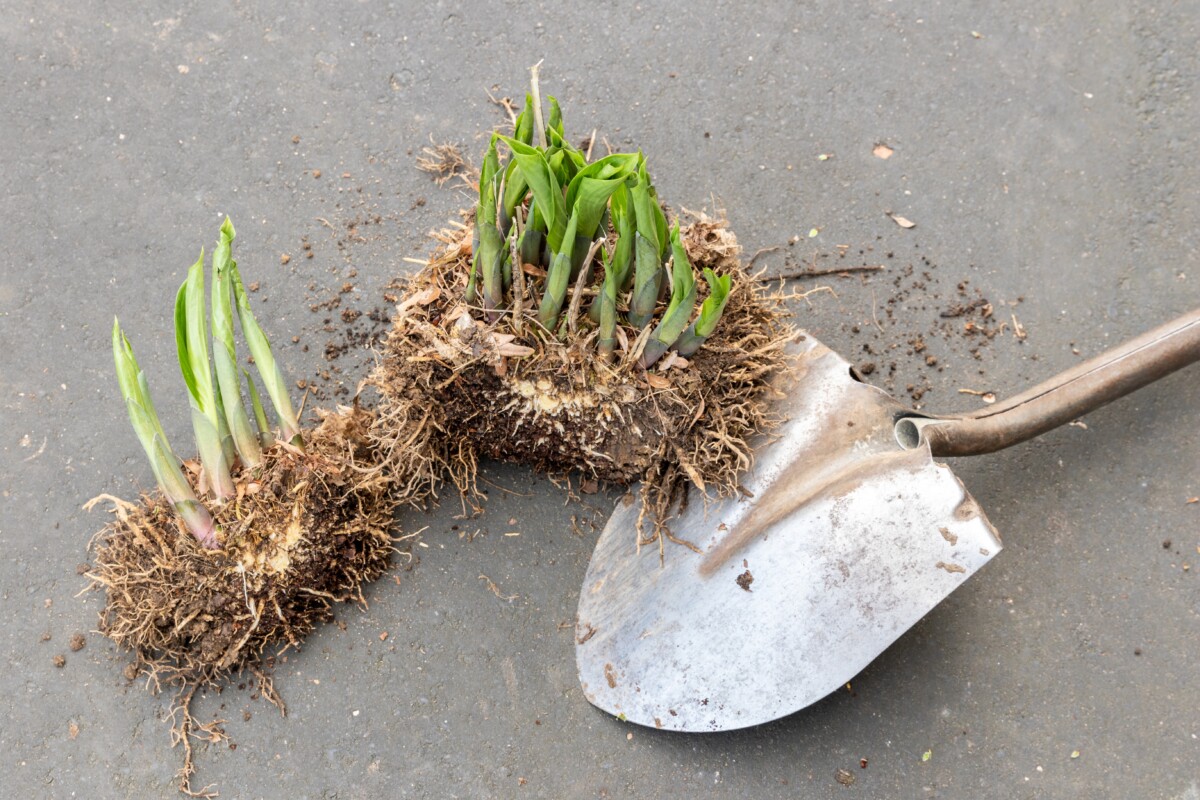
Remove weeds or moss from the divisions before replanting. If you are starting a new garden bed, amend the soil with plenty of coarse compost to improve texture and drainage.

Plant the hosta divisions at the same height as the original or slightly higher to account for soil compaction. Finish by applying a 1 to 2 inch layer of mulch.

2. Fertilize Hostas in the Spring to Promote Balanced Growth
Providing optimal plant nutrition is a great way to maintain strong roots, beautiful foliage and abundant flowers. Hostas have evolved to survive winter and emerge in spring by storing essential nutrients in their thick, fibrous roots throughout the growing season.
Fertilizer is best applied in a form they can carry slowly and over a long period of time. Avoid quick-release granules and liquid fertilizers that can damage or wash plants away without nourishing them.
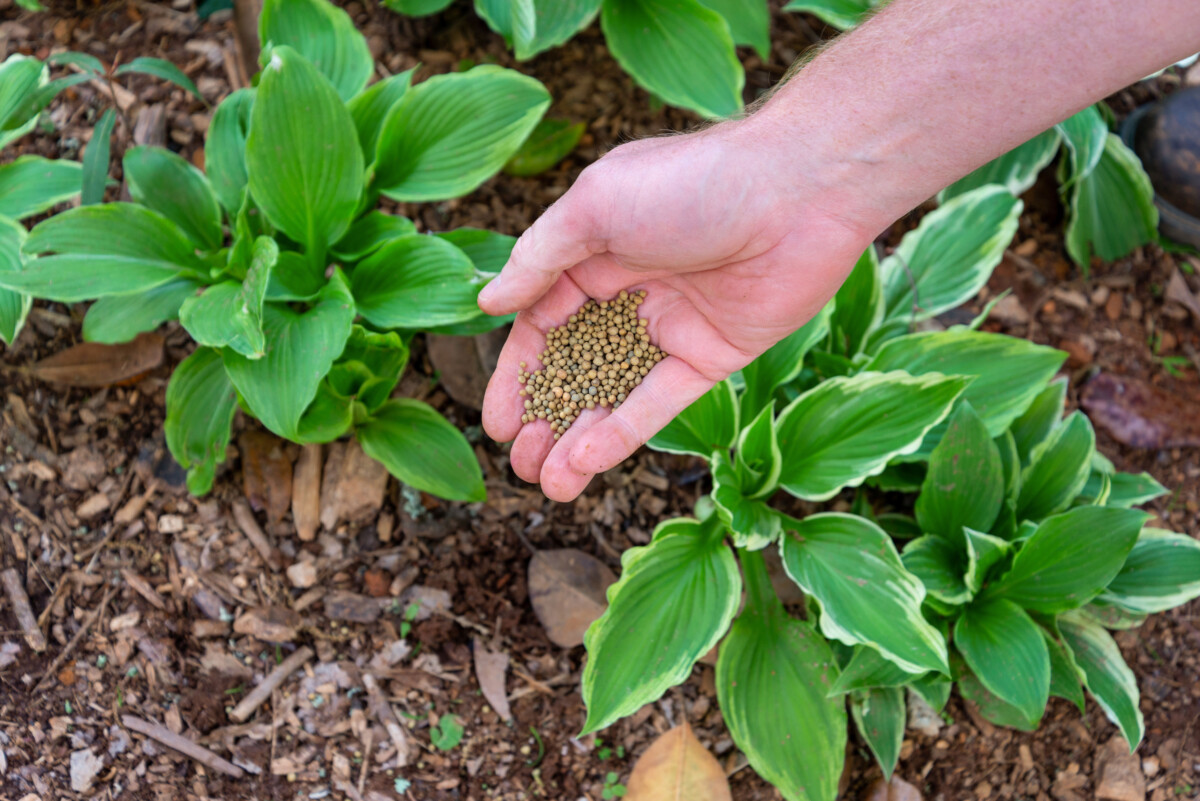
After the hosta leaves emerge in the spring and after dividing the plants, apply a balanced or slow-release organic vegetable fertilizer according to the directions on the fertilizer package. Feeding in mid-spring is usually sufficient for the season.
Refresh the mulch with a fresh layer, if necessary, after feeding. Water thoroughly after feeding and as needed throughout the growing season to prevent the root zone from drying out completely.
3. Cover hostas to save water

Hostas grow well in many different types of soil, but they do best in soil rich in organic matter. This material helps store and release plant nutrition and promotes healthy water balance in the root zone.
After planting, maintaining a layer of mulch on the soil surface is the best way to ensure a healthy soil structure. Initially, the mulch shades the soil, buffers temperatures, reduces weed competition and minimizes evaporation. As the mulch slowly breaks down, earthworms and other soil builders move the material into the soil, feeding beneficial microbes that promote strong root growth.
Hostesses aren’t picky about what kind of mulch you use. They do well under compost, shredded hardwood or pine bark, pine needles or needles. The best options are locally available materials at little or no cost. Mulch liberally, 1 to 3 inches deep, in the spring, adding later in the summer as needed.

4. Protect hostas from deer, slugs and other garden pests.
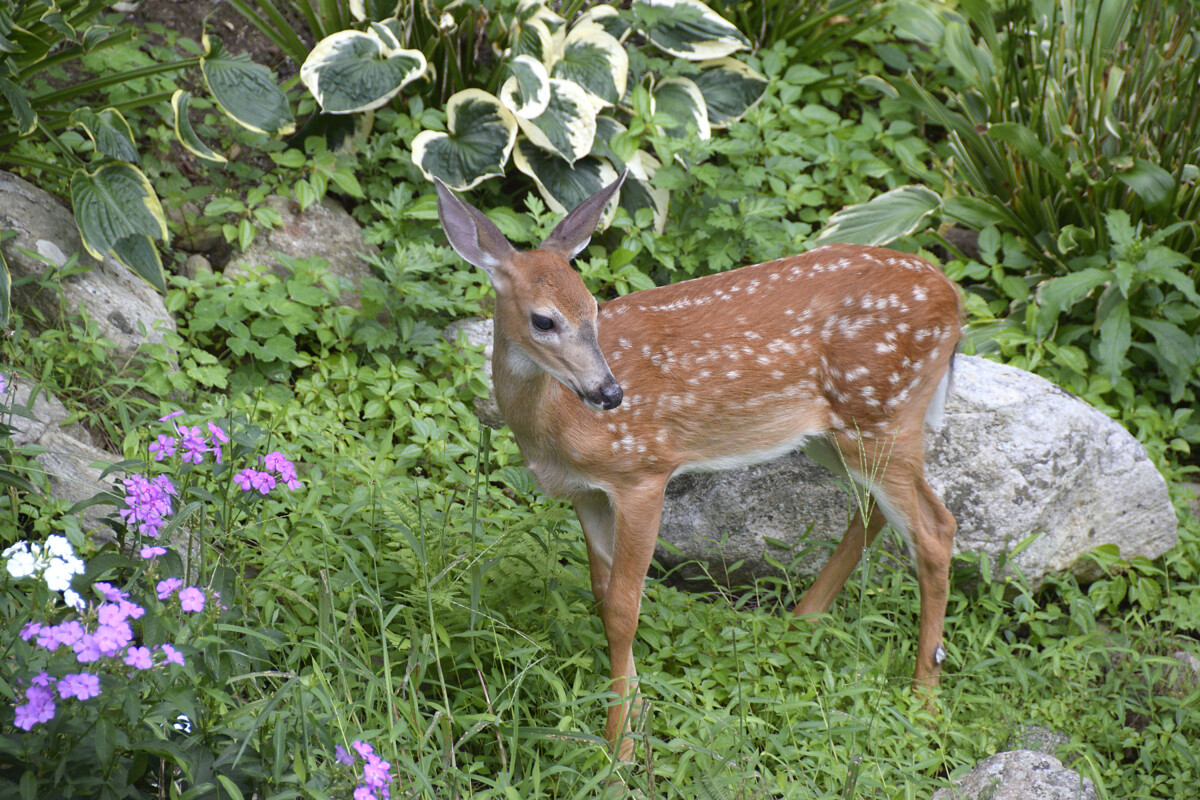
Although hostas can be easy to grow, pest damage is a challenge that many gardeners face, especially in the spring.
The soft, fleshy leaves look like treats for deer, rabbits, slugs and slugs. And did you know that hostas, especially in early spring, are also a treat for humans? Here’s how to eat your hostas.
Nibble a little, or even eat the soil once, the plants will grow back. But where pest pressure is constant, you need to take steps to protect your hostas.
Deer and rabbits may react to applications of repellent odors or aromas. Usually a product works for a while, but the effect wears off over time. When this happens, you should try a new repellent approach. For some, a rotation of two or three repellents works. For others, especially where deer populations are high and natural habitat is lacking, repellents don’t work.
Other options for controlling large herbivores include fences, netting, and motion sensors that control water jets, lights, or sirens.
If slugs and slugs are the problem, baits and repellents can be helpful.

These insects hide near the soil line during the day and climb on plants to feed at night. Place a board or piece of cardboard in freshly watered soil under the plant and check underneath throughout the day. Remove slugs and slugs by hand daily to reduce their numbers.