
If you purchase an item through links on this page, we may earn a commission. Our editorial content is not influenced by commissions. Read full disclosure.
Spider plants are among the hardiest houseplants. These bright, effusive little green plants can survive a lot of neglect. If you are tired of keeping your houseplants, you should grow spider plants.
They are also prolific. They grow adorable little seedlings that you can pot up and grow. It’s like having several plants for the price of one.
These days I have six spider plants cluttering up my little house – I keep them going, but only because I keep giving tiny pots of young spider plants to friends. Here’s how you can make them thrive in your home.

Meet the Spider Plant
I grew up in a house full of plants. My mom loves to grow things. She has a bright veranda full of her favorites, including a towering rubber tree plant she inherited from her mother. When I moved into my own home, she gave me some of her hardiest plants and mounds of good advice.
Of course, I still managed to kill off most of my early houseplants. At the end of my first year with houseplants, I only had one sad-looking spider plant left. Now, spider plants are known to be hardy, which is why this little guy survived.
Despite this hardiness, it took me most of the summer to get my sad little spider plant back into shape.
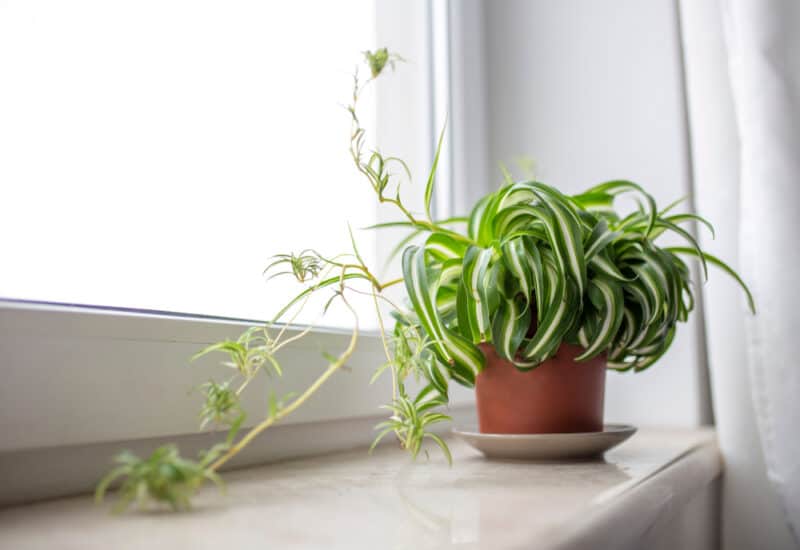
If you signed up for a houseplant 101 course, spider plants would be one of the first lessons. This plant is so forgiving. It doesn’t need direct sunlight, tolerates neglect, and spreads incredibly easily.
Spider plants can brighten up almost any room and require minimal care to thrive. Named after the small seedlings that grow on trailing vines, the spider plant (Chlorophytum comosum), can reach about 15 inches in height.
When healthy and happy, spider plants look lush and full, spreading their leaves over almost two feet of foliage and then sending up seedlings as well.
Because they produce a visual cascade of greenery, spider plants look great hanging in pots. Even better, the spider seedlings produced by Chlorophytum comosum can be planted to form new independent spider plants. They make a perfect housewarming gift.
In warm climates, spider plants can live outdoors. Planted in the ground, they spread quickly, forming a lush ground cover. But they are not cold hardy. These South African natives will only live as outdoor perennials in USDA hardiness zones 9-11.
Those of us up north need to get our spiders inside before the temperatures drop below 35°F.
Varieties of Spider Plants
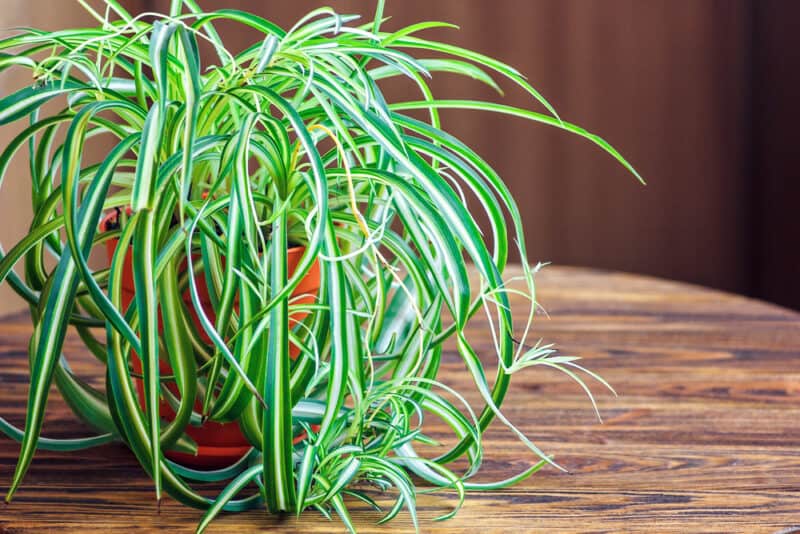
There are strong green cultivars of spider plants and variegated varieties. Variegated cultivars (green and white stripes) are the most common. Although you can sometimes find solid green spider plants in nurseries. The best place to find strong spider plants is online.
‘Milky Way’, ‘Varigatum’ and ‘White Stripe’ are common varieties of variegated spider plants. Non-variegated spider plants usually belong to the aptly named “Solid Green” variety.
There is also a curly variety of spider plant called “Bonny Curly”. The leaves and vines of this unique plant curl. This is a nice option for spider plant lovers. Like “Solid Green”, “Bonny Curly” is hard to find offline.
Start Spider Plants
The easiest way to start spider plants is to get a seedling (spider plant aficionados call them “pups”) from a friend or your local plant store. I have also seen small rooted seedlings at the grocery store.
From seed
Although it is possible to start spider plants from seed, the seeds do not store well and even newly purchased spider plant seeds have a low germination rate.
If you start spider plants from seed, be patient. It can take two to three weeks for spider plant seeds to germinate and begin to grow. Once the seeds have germinated, you will need to give them even more time before transplanting them.
Young plants hate having their roots disturbed, so make sure they have plenty of true leaves before you transplant them. I try to start the seeds in 3 inch pots so they don’t have to be transplanted for a few months because successfully transplanting spider plant seedlings is so difficult.
Repot the puppies
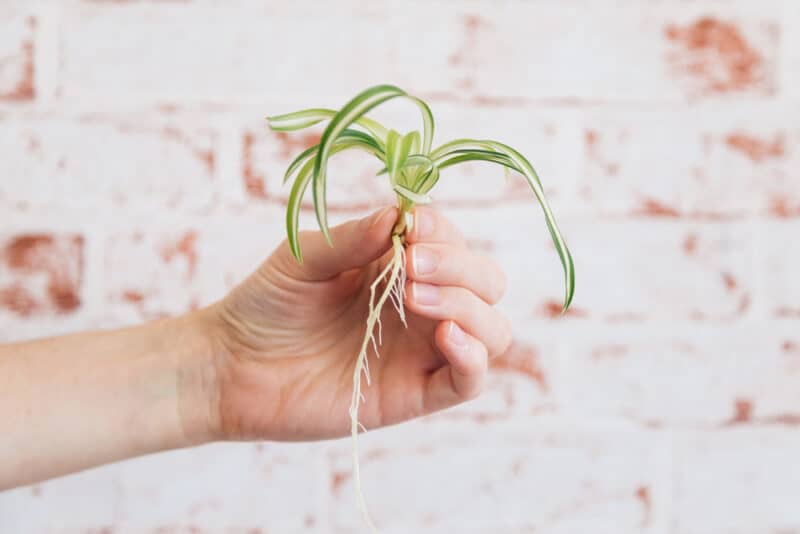
The easiest way to start spider plants is to repot the seedlings that form at the end of long trailing vines. These “puppies” are designed to root easily and grow into new plants.
To pot them, simply fill a small pot with potting soil and put the pup in it (still on the vine). Sometimes these pups will have a partial root forming at their base. If so, cover the rootlet with soil.
If there is no rootlet, just place the bottom end of the pup in the ground and hold it there. Water gently every other day, keeping the soil moist but not saturated.
Do not cut the pup from the vine until it has formed a healthy root system and started to grow into the soil. Once your pup is rooted in the ground, you can cut the vine.
This rooting can take a few weeks or up to a month, depending on the season, the consistency of your watering, and the maturity of the pup. I’ve planted pups that root in a week, and others have taken almost a full month. So be patient, each puppy grows at a different rate.
Spider Plant Care and Feeding
Spider plants don’t need much care. This is one of the reasons why they are so perfect for new growers. But just because spider plants can handle neglect doesn’t mean they don’t appreciate a little TLC.
Watering
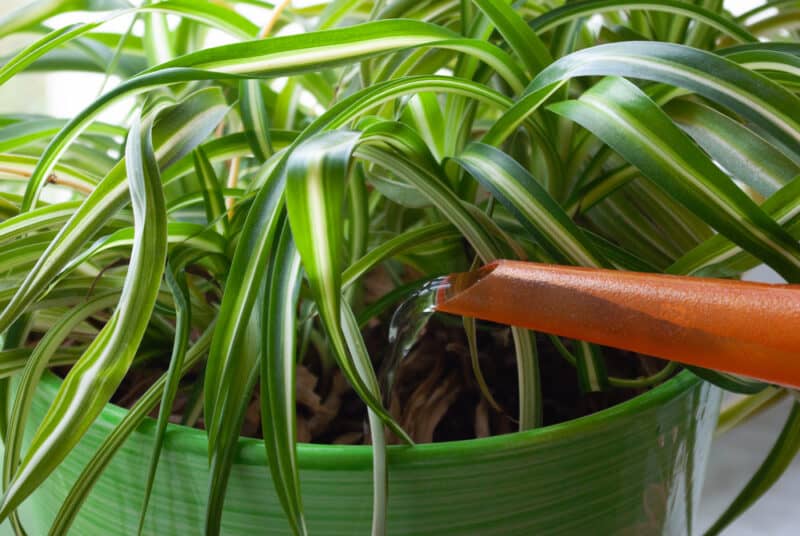
I water my spider plants once a week (most days). I keep the watering light on most of the time, to make sure the spider plants have time to dry out between waterings. The spider plants had soggy roots, so avoid overwatering.
Bringing back a dry spider plant is much easier than cutting off the rotten roots and replanting an overwatered plant.
But if you’ve overwatered, don’t worry, just give your spiders a chance to dry out a bit before watering again. If your spider plant’s soil is too soggy, let it dry out completely before starting a more gentle watering routine.
Fertilizer
Spider plants don’t need a lot of fertilizer to keep growing, quite the contrary. Too much fertilizer will prevent your spider plant from producing seedlings. But every 4 months, a light application of balanced organic fertilizer is beneficial.
I like to use my bonsai fertilizer, which is a 3-3-3 organic liquid. But fish emulsion (5-1-1) works too.
Ideal location
Every houseplant has an ideal space in the house. Spider plants like bright, but indirect light. Don’t expect them to thrive in direct sunlight. Instead, hang them near a bright window, but out of direct sunlight. It’s also important to give your spider plants the opportunity to enjoy cooler temperatures for at least part of the year.
Spider plants like temperatures between 55 and 65°F. Try to avoid putting your spider plants in hot rooms. Keep them away from heaters and wood stoves in the winter.
Spider plants also like moderate humidity. They can do well in damp rooms, but if you shower every day, the bathroom might be too humid for your spider plants. In winter, mist your spider plants occasionally if your home tends to be dry.
Transplantation
Spider plants grow quickly. They also prefer to live in a slightly pot-bound environment. Unless you notice bits of root sticking out of the soil or you’re having trouble watering your spider plant, there’s no need to repot.
I usually end up repotting my spider plants every 2 years or so. When transplanting, you can also divide the roots of the spider plant. The roots of spider plants are thick and white. They grow clumped together and division can be tricky.
When dividing spider plant roots, use a sharp knife. Slice cleanly any roots that appear strangled or unhealthy, then gently separate the root mass. Usually I just split the root mass in half and repot each mass in two separate containers.
Once you’ve repotted in fresh new soil or repotted the entire plant, water thoroughly and give your spider plant time to rest and readjust.
Repair
Spider plants have a few constant problems: aphids, spider mites, and brown leaves.
Spider mites and aphids are easy to control with a little insecticidal soap. As soon as you notice mites or aphids on your spider plant, spray it with insecticidal soap. Treat with soap every 2 weeks until problem is resolved.
Browning the leaves
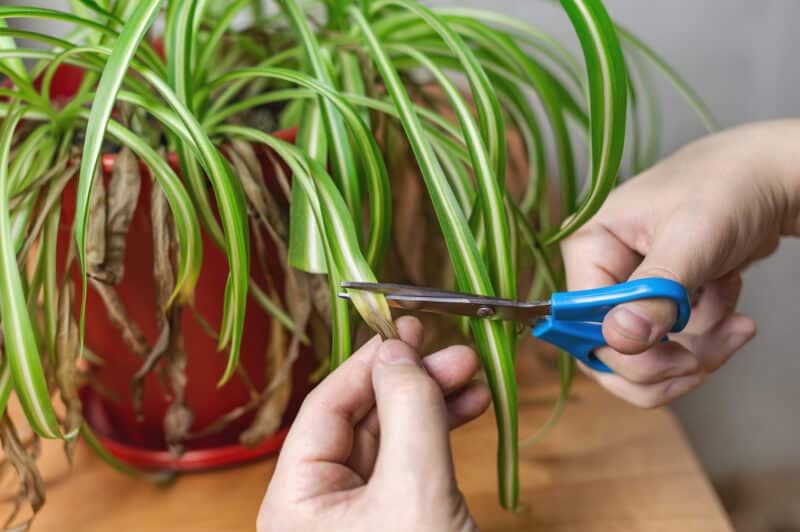
Leaf browning is part of the life of spider plants. It’s not always a sign of distress, but it can be. If you notice a few leaves turning brown around the edges, don’t worry. But if more than a third of the leaves turn brown at the tips, take a look at some possible causes.
The leaves of spider plants turn brown if the plant does not get enough water or the air is not humid enough. Over-fertilization can also cause the tips to turn brown. But often spider plants turn brown at the ends due to fluoride or chlorine in tap water.
When this happens, the best thing to do is to switch to rainwater for a while to give your plant time to flush the toxins from its soil.
Was this article helpful?
Yes No ×
We appreciate your helpful feedback!
Your response will be used to improve our content. The more feedback you give us, the better our pages will be.
Facebook pinterest