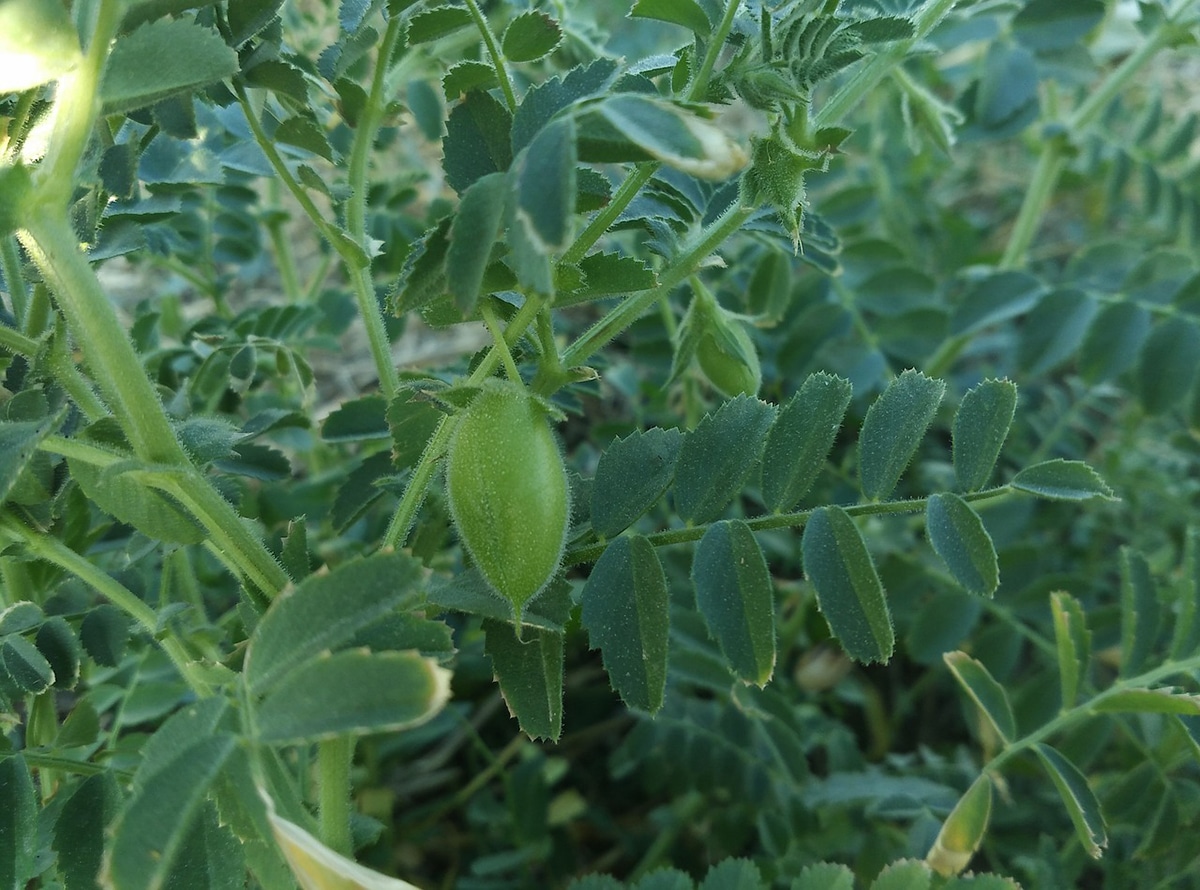
Of Turkish origin, the chickpea is an annual plant very rich in starch, fibre, phosphorus, proteins and vitamins. These legumes are very popular in gastronomy, thanks to all their nutrients and flavor. In addition, chickpeas are a great help in regulating blood sugar and keeping blood pressure stable. It is therefore not surprising that this legume is very popular in the garden, which is why we are going to explain how to plant chickpeas
Regarding the cultivation of these legumes, it should be noted that the procedure is very similar to that of other legumes. However, in this article we will explain when and how to plant chickpeas, indicating every step we have to follow to do it right. We will also comment on how to harvest them, so that no information is missing. Feel free to read on if you want to grow your own chickpeas.
How and when to plant chickpeas?
In case we have decided to grow chickpeas, it is essential that we know how to do it, when to plant them and what requirements must be met. The sowing period of this legume is in the spring, more precisely In April and May. Since it does not tolerate transplants very well, it is best to sow chickpeas directly into the ground. It is important that the land we choose for this is well exposed to the sun, since these vegetables need a lot of light to develop and grow.
While it is true that chickpeas are somewhat cold tolerant, its ideal climate is warm or temperate. For optimal growth of these legumes, the temperature should be between 25°C and 35°C. In case the temperatures are lower, germination will take longer to take place.
Regarding soil, chickpeas prefer airy and well-worked soil. The substrate is best if it is silico-clayey and devoid of gypsum. This last piece of information is very important, as soil containing gypsum can make the entire chickpea crop poor quality and difficult to cook. It can also negatively affect plants if the soil contains organic matter that has not completely decomposed. When it comes to pH, for chickpeas, the ideal is between 6.0 and 9.0. However, it is important to note that substrates with high levels of acidity can cause disease.
Related article:
Characteristics and types of soil
In addition, it is recommended not to grow chickpeas on the same land again, unless they have passed at least four years. It must be said that these vegetables combine very well with garlic, broccoli, Swiss chard and eggplant, for example.
Although chickpeas are very drought tolerant, constant watering greatly increases both the quality and yield of production. That is: In general, the water these plants get from rain is usually enough for them to grow and develop properly, but watering them with some consistency will improve the harvest.
How long does it take for a chickpea seed to germinate?
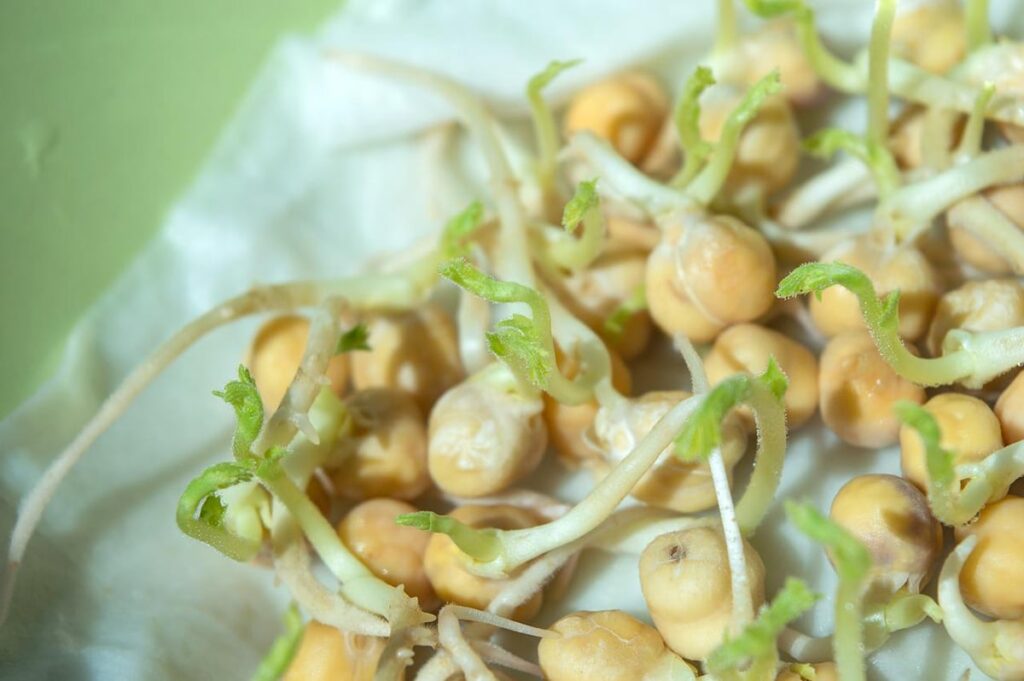
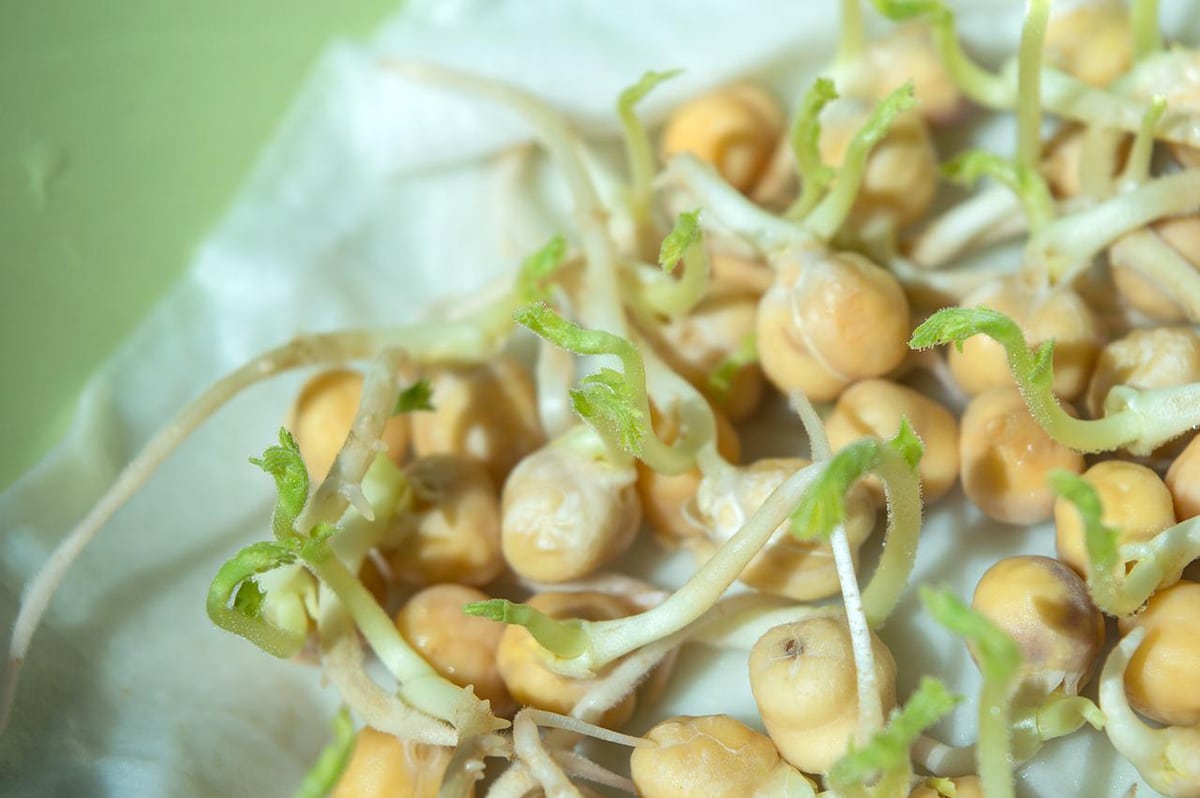
After planting the chickpeas, their seeds will start to sprout in about twelve days. However, we will only be able to harvest these delicious legumes about six months after planting them. We will know the plant is ready for harvest when its leaves turn yellow. It should be noted that at this stage the chickpeas are still green.
How to plant chickpeas step by step
Now that we know a little more about growing these legumes and their needs, let’s see how to plant chickpeas step by step:
- Clear the field: First we need to remove all the remains of plants and weeds from the ground, extracting them from the root. This will ensure they don’t regrow and the chickpeas get all the nutrients they need. Then, the soil must be removed with a rake to aerate it.
- Land preparation: It is best to moisten the soil before introducing the seeds into the ground. Otherwise, we run the risk of the water pushing out the seeds due to the force of the irrigation. It is also important to fertilize the soil. To do this, we need to mix the fertilizer five centimeters deep. In case we have grown cereals on the same land, there is no need to add fertilizer.
- Introduce the seeds: When the ground is ready, it’s time to form ditches every 45 centimeters. Each of them should contain mounds of earth with a distance of thirty centimeters between each. We will introduce two or three chickpea seeds in each mound. They should reach a depth of four to five centimeters. Then it remains only to cover them with a little soil and water the earth abundantly.
- Select the strongest and healthiest seedlings: Twelve days after sowing, the seeds will have already germinated. If there is more than one seedling in a hole, keep the strongest one. It is not necessary to uproot the weak seedling, pruning at ground level is more than enough to avoid damaging the leaves.
Chickpea harvest

As mentioned before, chickpeas are ready to harvest when they are still green and their leaves are turning yellow. Generally, harvesting these legumes This is usually done manually. It’s very simple, because all you have to do is cut the vegetables a little above ground level. Then you have to pile them up and let them dry for a week before beating them. After harvesting the chickpeas, they can be stored in a well ventilated and dry place. Another option is to put them in glass containers and refrigerate them.
We already know everything about how to plant chickpeas, we just have to get to work. It is highly recommended to have these legumes in the garden, as they are easy to grow and very rich in nutrients. In addition, they are perfectly preserved and we can enjoy them throughout the year: In winter we can make chickpeas with soup or stew, and in summer delicious chickpea salads with tomato and tuna, for example.