Transplanting orchids is one of the most important steps we can take to cultivate this type of very particular plant. Initially, we should transplant when we detect a problem, so we don’t recommend doing this step too soon.
The orchid transplant should be done in the springjust before the start of the growing season for this type of plant.
Another recommendation before getting to the heart of the matter is do not transplant when the orchid has flowers.
If we do it correctly, this operation should not be a problem or stress our plants. In this way we prepare them for a future season of successful development and spectacular flowering.
When transplanting your orchid, remember that the selection of the container and the type of substrate is the key, and that is that orchids are more resistant than you think.
Contents
Why transplant an orchid
This question is quite important before seeing the stages of transplanting an orchid. We must perform this operation if any of these 3 conditions appear:
- The orchid has grown very large and takes up almost all of the available pot.
- The roots protrude well above the substrate, even reaching beyond the edge of the pot.
- The orchid substrate is partially or completely disintegrated into small-diameter particles and the pot no longer oxygenates well.
Key tips on how to transplant orchids
We are going to see step by step to carry out the conditioning of our orchid in a larger container (or the same but dividing the plant), as well as renewing the substrate chosen for the good development of our plant.
Choose a new container
There are many ways to grow an orchid. You can place them in wooden crates, or grow them in plastic or clay pots, place them in hanging baskets, or hang your orchid directly on a wire.
However, the easiest option will always be grow it in pots.
Orchid pots usually have side cutouts for allow optimal drainage. You can find pots in the form of metal or plastic nets that permanently oxygenate the substrate.
However, in general, clay or ceramic pots are ideal as they are heavy enough to hold the plant upright and hold only a little moisture.
Preparation of the container
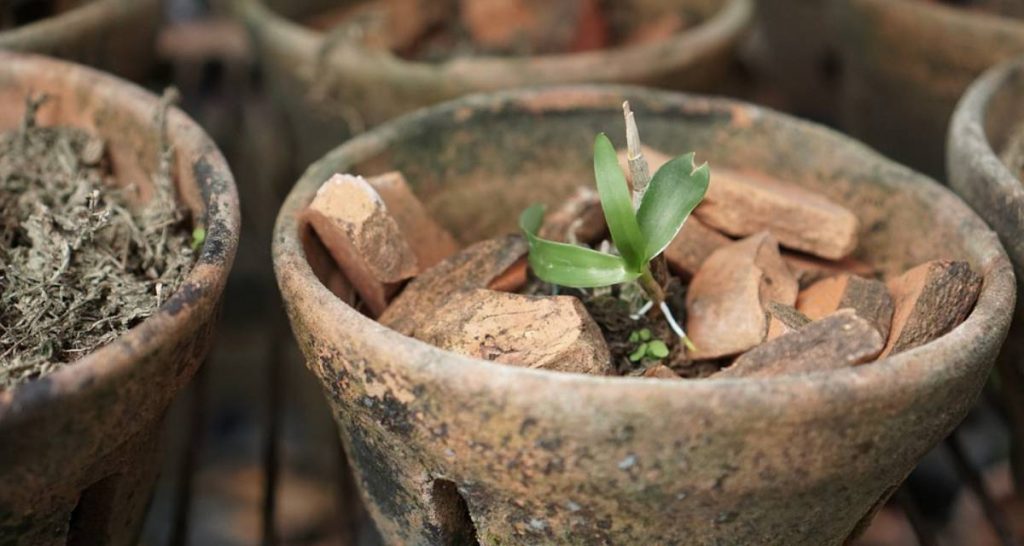
For the care of an orchid, drainage is the most important thing. If you don’t want to fill the pot with expensive substrates made specifically for orchids, you can add other materials such as broken pottery, styrofoam balls, or any other trash you can think of that is strong and sturdy. will not decompose easily.

Choice of substrate for orchid grafting
The choice of substrate for orchids This is a controversial issue among growers of this plant, where many make their own (and secret) mixes where they introduce materials such as coconut shells, clay granules, bark from different trees , perlite, polystyrene, vermiculite, akadama, foam and many others. others.
Whichever mix you use, you should take into account the following considerations:
- Organic mixtures decompose faster. If you use conifer bark (they can be bought quite easily), they last in perfect condition for about 1 year.
- If you water regularly, choose a substrate mix with inert components, such as vermiculite, perlite or polystyrene.
If you do not want to complicate the task, there are also commercial substrates for orchids prepared directly.

Orchid substrate 5l.
- Coarse-grained substrate that facilitates root aeration for these plants.
- It facilitates the power to carry out photosynthesis through this complex root system with which they are endowed.
- Formulated with expanded clay beads and
- high quality coir shavings
If you need to mix this substrate with other components to improve its drainage, here are some of them:
Remove the orchid from the old pot
Remove your orchid from the old pot as carefully as possible. The roots will have stuck to the edges of the pot and you may be able to break some off, but don’t worry.
Once you have taken the plant out of its container, carefully inspect the roots. Using sharp scissors, cut off dead or blackened roots and remove clinging soil.
read more: 5 fertilizers that will put your orchids like a motorcycle.
If the orchid is very large, divide it
Only sympodial or pseudobulb orchids, can be divided when transplanting.
keep at least three pseudobulbs per plant and check that there are healthy roots in each separated part. Always cut the stem with sharp scissors sterilized with alcohol.
Some orchids with very small roots, such as Oncidiumthey are easy to divide into 2 separate groups. Instead, the division of Phalaenopsis rarely possible unless the parent plant has produced seedlings on a flower stalk (called keikis).
Place the plant in its new container
Orchids are not like land plants, they don’t need soil to thrive.
First of all, create a base with the substrate mixture be the support of the plant. Later, to place your orchid in the new pot, gently balance it on the potting soil so that the aerial part of the plant is level and overhangs the edge of the new container.
Carefully fill in the substrate mixture around the orchid. You can store the orchid clips until the roots grow enough to hold them in their new environment. If you don’t have an orchid clip, that’s okay, but keep in mind that the plant is not stable in its new container until new roots form.
Make a first intense watering
Your newly planted orchid will need a little dampness just after transplanting. The best irrigation for orchids is to submerge them completely for 5 minutes, then drain as much water as possible.
Note that some orchids they will not flower until the following year to transplant. Orchid care takes patience, and often the plant will be more vigorous than ever once it has established itself in its new pot.