If you purchase an item through links on this page, we may earn a commission. Our editorial content is not influenced by commissions. Read full disclosure.
Canned fish has been an important source of food for people throughout the centuries. When you visit a supermarket, you’ve probably seen rows of canned seafood. But you don’t have to buy seafood; Canning it yourself is super easy.
Canning is a great way to keep your fish fresh so it will last longer. Stock your pantry or share it with friends and family.
To can seafood, you need to know how to process the fish safely so that it is not exposed to bacteria or foodborne illness. Here’s your guide to seafood canning.

What seafood can be canned?
Many types of seafood can be canned, such as fish, shellfish and crustaceans. Here are specific types of seafood that can be canned at home:
- Clams (live)
- Crab (king, blue, sleeper, etc.)
- Mackerel
- Salmon
- Trout
- Tuna
- Oysters
- Redfish
- Catfish
- northern pike
- Smelt
After catching fish, it is essential to gut and clean them within two hours if you plan to can them.
Proper handling of fresh fish
The first step in handling fresh fish is to place the seafood on ice or in a cooler or refrigerator where the temperature is 40°F. If you do not plan to process the fish immediately afterwards, you can freeze it. Wrap it in aluminum foil or plastic wrap to protect it, then freeze it.
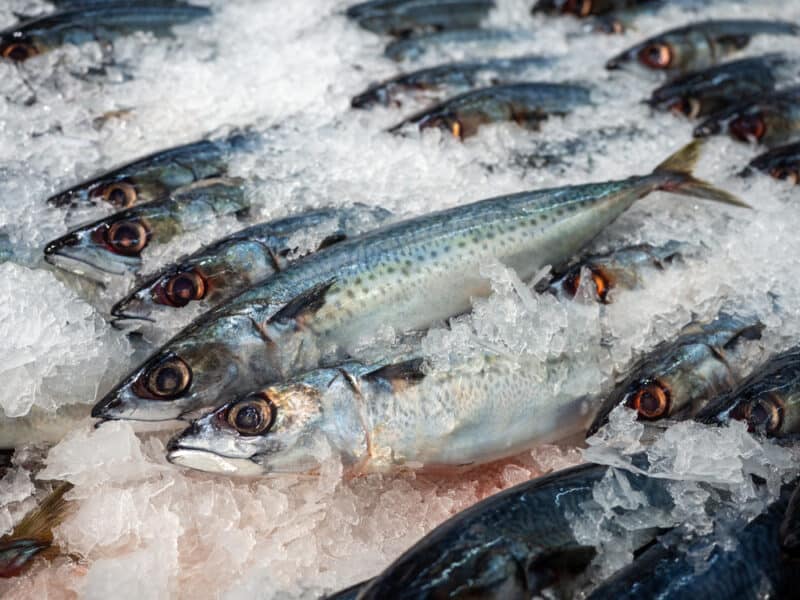
Remember to thaw the fish completely when you decide to process and can it.
As a general rule, you should avoid rough handling of fish and never pile fish on top of each other. This can damage the fish and bruise the skin, so be extra careful when handling fresh fish.
For live shellfish (clams, oysters and mussels), you can keep them in a damp and cold place. Ideally, you can keep them in a bowl with a damp cloth to cover them. The crab is not as delicate, so you can place it on ice.
Fish are sensitive to Clostridium botulinum, a bacterium responsible for the serious disease botulism. Keeping your utensils and work area clean and keeping seafood fresh is essential when handling raw fish.
Seafood preparation
Start by removing the head, fins, tail and body scales (if the fish has any). Remember that you should already have gutted the fish after catching it. Wash the fish. Slit the fish on the side, remove the bones and cut into 3-inch slices.
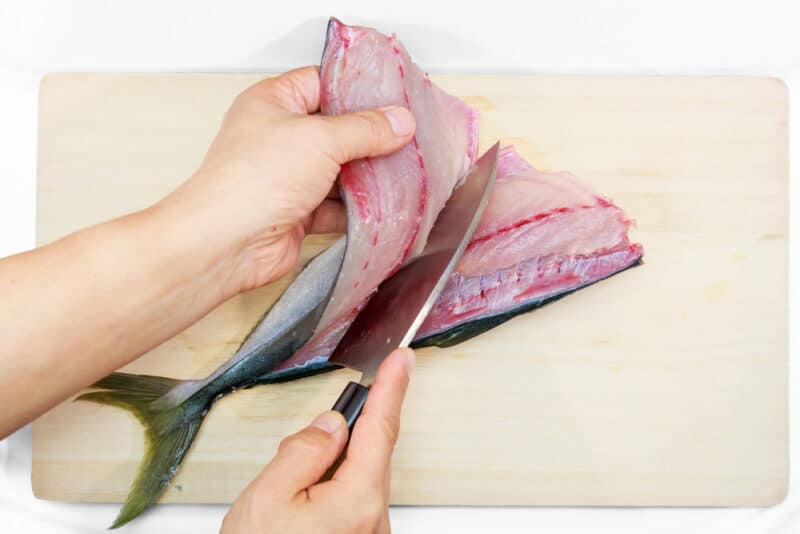
You can leave the skin on or remove it depending on your preference.
For shellfish, rub them then steam clean them for a few minutes to open the shells. Keep the juice inside and wash the clams, oysters or mussels in water with a pinch of salt. Then boil them for a few minutes in water with a few tablespoons of lemon juice.
The crab must be steamed before being opened. Crab and shrimp meat should be removed from the shell and cut into pieces.
When the fish has been cleaned and prepared, you can pack the meat in jars such as half-pint jars or quarter-pint jars. Depending on the type of seafood you’re using, you’ll need to fill the jar with some sort of liquid like clam juice and maybe water. This liquid must be hot.
The crab should be filled with hot water and a squeeze of lemon juice.
Fish should be packed dry.
Leave an inch of headspace no matter what type of seafood you are canning. Clean the rim with a paper towel and rub the lid with vinegar.
Now you will need to take out the pressure cooker. You cannot safely fish without one.
What is a pressure cooker?
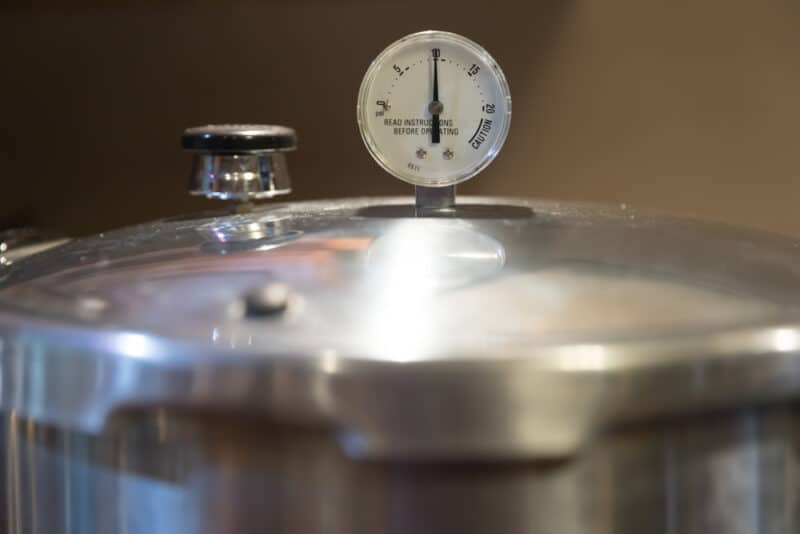
Pressure cookers have been used for years to preserve foods such as meat, fish and produce. This piece of equipment can be intimidating to use at first, but once you know how to use it, it’s handy to have on hand.
A pressure canner is a large pot with a lid that locks tightly and a weighted feature that lets you control the pressure inside. They get extremely hot and release steam when you open them, so it’s essential to be careful when using a pressure cooker at home.
You can find three pressure cookers with different regulators for added safety. Here are the most common options:
- Monobloc pressure regulator
- Dial regulator
- Weighted Gauge Regulator
Each model is useful for specific situations. The most popular design for new users is a one-piece pressure regulator, which alerts you to high temperatures with a snapping feature on the lid.
We’ve checked out some of the best options available if you’re looking for more information.
How to use a pressure cooker for seafood
Every pressure cooker is a little different, so be sure to read the manual before using. We also have a pressure cooker guide.
These kitchen appliances do not require a lot of water. Fill with 4-5 inches of water for fish and 3-4 inches for other seafood. Water should not exceed 140°F but should not be cold.
If you are concerned about the smell of the canning process, you can add a little white vinegar to the water.
Place the jars on the rack inside the pot, leaving a small space between each jar. This will allow steam to circulate through the jars so that each container has equal humidity. It is essential to keep the jars upright in the pressure canner.
You should also test the lids of each jar to make sure they are tight so that no steam gets inside.
Some canners allow you to use multiple racks to store a larger batch of food. Just make sure there is space between each pot.
Start steaming
When the jars are placed in the pressure canner, you can set the fire to the highest temperature and lock the lid. You should leave the vent open for 10 minutes and allow the steam to evaporate from the pressure canner.
The safety valve will let you know if the pressure is correct, but you can adjust the weights on the regulator for weighted gauge canners. You can change the temperature so that the valve makes a clicking noise on those equipped with it.
Fish is usually steamed for 100 minutes, clams and crab for 60 minutes. Oysters need about 75 minutes and shrimp 45 minutes. Check your recipe and your canner’s manual to be sure of the timing.
After completing the steaming process, you can turn off the heat and open the lid. But be careful to wait until the steam has escaped so as not to burn yourself when removing the jars.
The final step in the process is to allow the jars to cool. Simply remove the jars from the rack and place them on a tea towel.
Let the jars cool on the mat for a few hours, then place them in a cool fridge, cellar, or cupboard. It’s a good idea to write down the date so you can keep track of the age of your canned seafood.
If your jars are unopened, they can be stored at room temperature in a dark, cool place. You don’t need to store them in the fridge or freezer. Once the jar is opened, it should be stored in the refrigerator and will only last a few days.
Tips for eating canned seafood
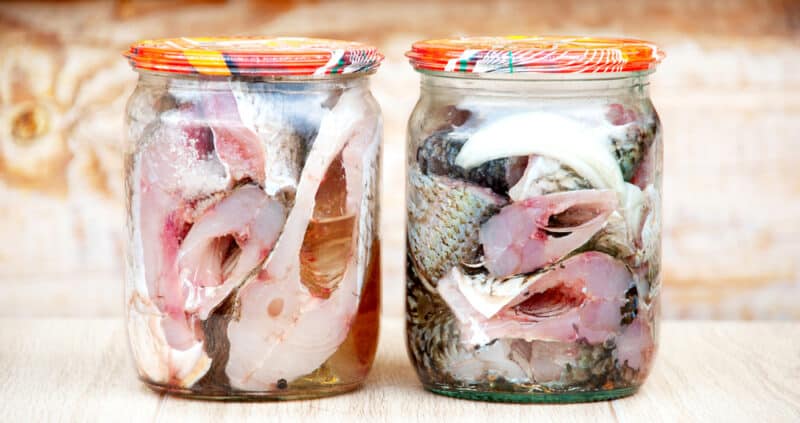
Once you’ve successfully canned your seafood, you can enjoy this delicious snack whenever you want! Take it on a picnic or use it to cook dinner.
No matter how long you have stored canned fish, you should always examine the jar for spoilage and leaks. The main things to look out for are discoloration, cloudy liquid, or air bubbles. Toss out any jars with lids that tilt outward dramatically.
These are warning signs that the fish has rotted, so you should throw it away.
You can heat canned fish if desired in an oven or on the stovetop to prepare it for a meal. Or enjoy it cold. There are many wonderful cookbooks for using canned fish, including The Magic of Tinned Fish by Chris McDade.
Benefits of canned seafood
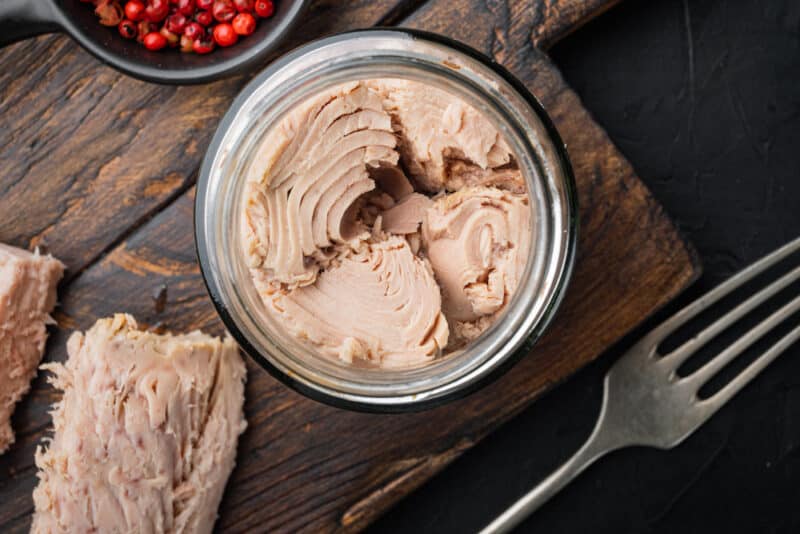
Canning seafood allows you to preserve the meat without the same risk of infection from disease and toxins. The last thing you want to do is ruin fresh seafood because you can’t eat it right away.
Seafood canning is also ideal if you want to take it on vacation or as a gift for friends. It is easier and more convenient to transport than fresh fish.
Even if you can’t get out on the water, you can still enjoy delicious seafood dishes made from freshly caught fish!
Another reason for canning seafood is to preserve flavor. You can add as much or as little salt as you want to the meat, along with herbs and other ingredients to flavor things.
Was this article helpful?
Yes No ×
We appreciate your helpful feedback!
Your response will be used to improve our content. The more feedback you give us, the better our pages will be.
Facebook pinterest