
If you purchase an item through links on this page, we may earn a commission. Our editorial content is not influenced by commissions. Read full disclosure.
Canning season isn’t just one season – depending on where you are and what you like to preserve, it can last a year. In the spring in the northeast, I can maple syrup and pickled eggs. Later, we move on to radishes, violet jelly and floral syrups.
By the time summer rolls around, early season abundance will be safely on the shelves. Then I can focus on zucchini, cucumbers, tomatoes and other summer specialties.
Although I am a fairly effective curator, there is always something new to learn. I discovered that the double boiler and pressure canning aren’t the only ways to preserve food. I came across information about atmospheric steam canning and it changed my canning game.
What is atmospheric steam canning?

If you’re like me, you learned how to can from your mother and grandmother. Most of your canning is done in a boiling water bath, where you process high-acid foods like pickles, relishes, jellies, and jams.
You can also pressure can, but you probably spend most of your time pickling and canning.
Atmospheric steam canning is not as popular as its equivalent, boiling water canning. This is because for many years there was not enough research for the USDA to confidently recommend this method. But, with new research proving the safety and effectiveness of steam canning, it’s starting to take off.
Using a steamer, canners can safely process highly acidic foods using less water than they would need for a double boiler. With only a small amount of water to boil, steam canning doesn’t take as long to start. Shallow water takes less time to boil than a large pot of water.
The prepared jars sit on a rack above the water, and when the water boils, the hot steam seals them, just as boiling water does in a boiling water bath pot.
In short, a steamer can process jars using less energy because it uses less water and takes less time to reach safe processing temperatures.
Since steam canning processes the jars for the same amount of time as double boiler canning, you can use the same recipes and successfully complete your canning in less time.
If you have a steamer, it can help streamline your canning, making the whole process faster and more efficient.
But, there is still some uncertainty around steam canners. Food safety experts encourage us to avoid using the recipes that come with the steamer. Recipes provided by steamer pot manufacturers have not yet been proven to be safe, so use them at your own risk.
How to use a steamer
You can’t simply steam by not filling your pot enough with boiling water. Although the jars may seal, there is no certainty that they will be treated safely. To steam, you need a specially designed steamer. There are also “multi-cans” on the market – jars that can be used as steam or boiling water cans.
Steamers are designed to retain steam and create a warm, purely steam-filled environment. Pure steam will heat the inside of the pot to 212°F. This heat gives a steam pot the same sterilizing power as a boiling water bath.
To create the pure steam environment, it is essential to evacuate all non-steam air before the treatment time begins.
Steam canning step by step
Start by following the instructions on your steamer. Most steamers require about two liters of water in the bottom of the pot. You can preheat this water, but since such a large amount of water heats up relatively quickly, you don’t need to preheat.
Preheating the canning jar will help keep your jars of food warm while they wait for processing to begin.
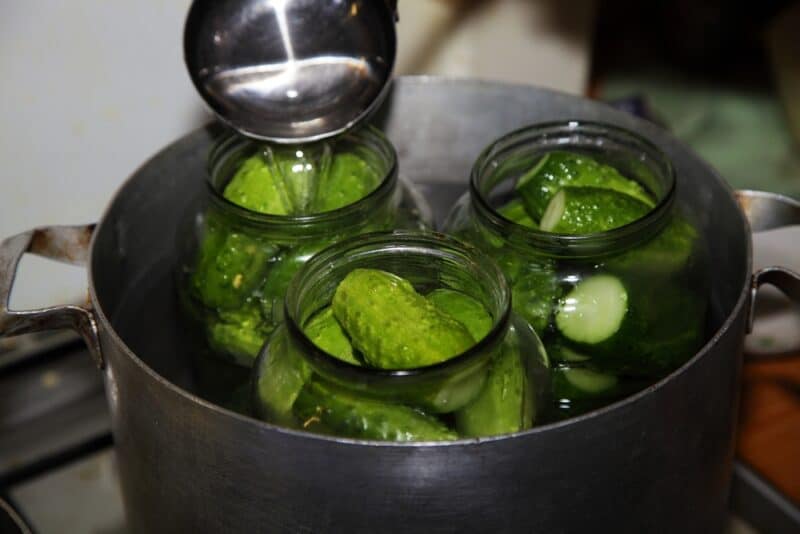
Preheat sterilized jars and fill with hot liquid (for packaged raw foods) or hot packaged foods. Be sure to follow all of your usual safe canning practices, such as keeping the rim of the jar free of food. Quickly pack the jars and screw on the sterilized lids. Don’t give the jars too much time to sit before processing them; we don’t want the food inside to get cold.
Remember that only steam can contain foods that can be safely canned in a double boiler. Do not attempt to store low-acid vegetables, meats, or seafood in your steamer. These foods can only be processed safely in a pressure canner.
Processing of jars
Load the jars into the canner rack. Some canneries have better racks than others. If you notice that the stand that came with your pot is wobbly or unstable, try replacing it with a better one. The Presto pressure canner holder fits most (but not all) steamers. It will not harm the canning process to move to a more stable rack.
Once the jars are in place, close the lid of your pot and increase the heat. It may take up to 10 to 15 minutes to boil the water, depending on your cooker, the amount of water in the pot, and whether or not you preheated.
When the water boils, release the vent to allow all non-steam air to escape. This is essential to maintain a temperature of 212°F in the cannery. The temperature should remain at 212°F or above for the entire processing time.
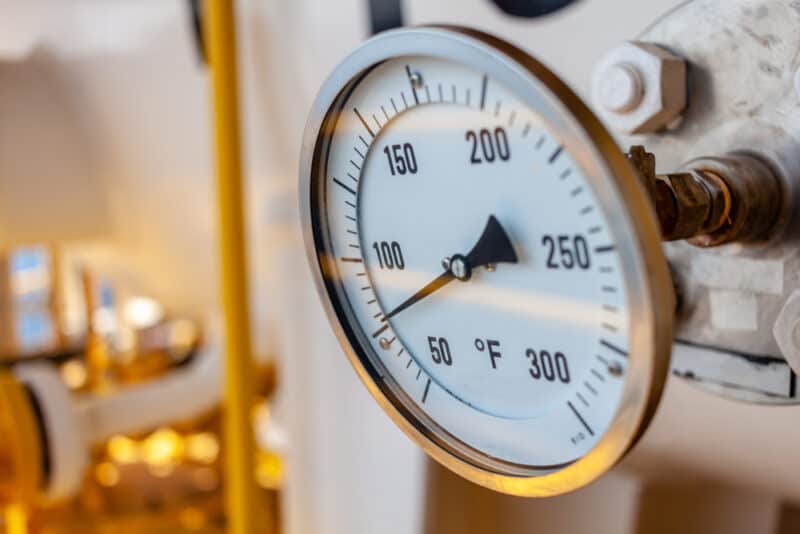
Some steamers come with thermometers. If your stockpot doesn’t have one, carefully insert the tip of a kitchen thermometer into the vent hole to monitor the temperature.
Treat your jars for the same amount of time as using a boiling water canner. After processing, turn off the heat, carefully remove the lid and allow the jars to sit for 5 minutes before removing them from the pan.
Cool the jars
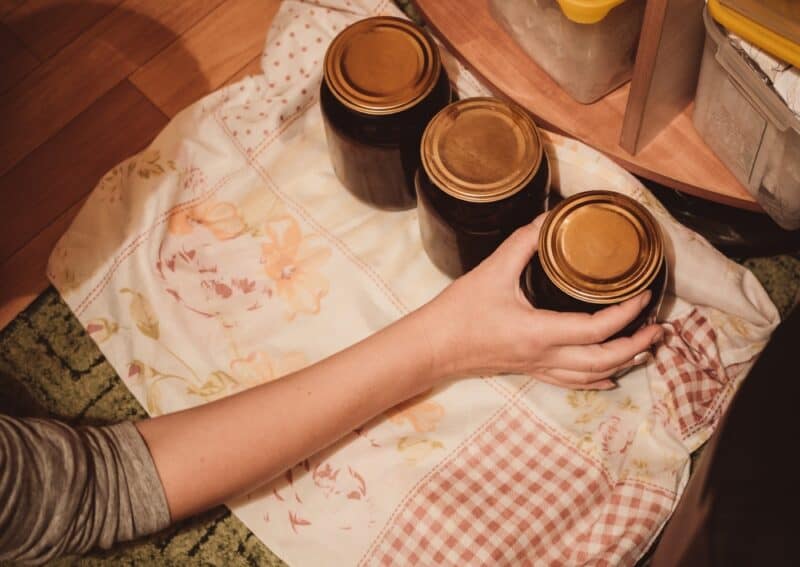
Place your processed jars on a towel or wire rack to cool slowly. Keep them away from drafts and don’t try to cool them too quickly. A slow cooling period not only prevents cracking, but also helps kill pathogens more completely.
I like to cover my jars with a towel while they cool. It will probably take them about 12-24 hours to completely cool to room temperature. After that, make sure they are all sealed, label them, and save them for future use.
That’s it! If you are used to canning in a boiling water bath, you will notice that it is a very similar process.
Benefits of Steam Canning
With rising fuel costs and unpredictable weather, it’s good to have a canning option that uses less fuel and water. Atmospheric steam canning can give us the results of water bath canning while using fewer resources.
Depending on how long it takes your pan to boil a few gallons of water, steam canning could save you 10 to 30 minutes in processing time. And if your well runs out or you’re just trying to conserve water, steam canning can cut water use by more than half.
A steamer is much more manageable if you’re not prepared to lift heavy pans. Two gallons or more of water is worth at least 20 pounds, while just a few liters is significantly easier on tired backs.
Disadvantages of Steam Canning
But steam canning isn’t perfect. The biggest downside is, of course, that you have to buy a new canning jar. Although multi-purpose steamers can be used as double boilers, you can’t just upgrade your double boiler.
If you’re thinking of trying steam canning, try to find one of the multipurpose jars and then put away your old canning jar. It’s worth finding a better version of the steamer and saving pantry space.
Steam canners are also only recommended for processing times under 45 minutes. Indeed, depending on the model, there is a good chance that all the water will evaporate after 45 minutes, leaving you with no vapor to hold onto.
Many people say their steam canners worked well for 45 minutes, but since every model is different, it’s important to be careful and see what your canner is capable of before stepping out of the guidelines.
Personally, I feel like steam canning needs a little more attention. If you tend to be sloppy – multi-task while canning – this may not be the method for you. Although all canning requires attention, I never worry about running out of water in a double boiler.
Because steam canning is gaining popularity again after being discouraged for the past 40 years (due to lack of research), it seems very new and uncertain. But in reality, steam canning is not much different from canning in a water bath. Process both pots in 212°F H2O.
Flat top pans

You should get a flat-bottomed pot if you have a flat-top stove. Whether you’re using a steamer, double boiler, or pressure canner, pots with rippled bottoms don’t work as well on flat-topped pans. So keep that in mind when shopping for a new steamer.
Altitude
If you live at high altitudes and you can, you already know that you have to adjust the treatment time according to your altitude. Steamers are no exception to this rule. Use the same settings in your steamer that you use in double boiler canning.
Was this article helpful?
Yes No ×
We appreciate your helpful feedback!
Your response will be used to improve our content. The more feedback you give us, the better our pages will be.
Facebook pinterest