
If you purchase an item through links on this page, we may earn a commission. Our editorial content is not influenced by commissions. Read full disclosure.
Homesteading is full of opportunities to learn new skills. From canning to homemade cheese and wine, there’s always a chance to make a little more at home. When it comes to winemaking, it often starts with an overabundance of something in the garden.
For us, that glut was rhubarb. Overwhelmed with rhubarb stalks, we quickly learned that rhubarb wine is a tasty way to use up our extra stalks.
Once we started making rhubarb wine, we discovered all kinds of other “garden wines”. Homemade wines are easy to prepare and they add a unique flavor to your meals and celebrations at home. They also make ideal gifts.
Begin
There are a multitude of home winemaking products on the market. If you want, you can spend thousands of dollars installing your wine cellar. But don’t worry, most winemakers get by with very few supplies.
Remember that people have successfully made their own homemade wine for thousands of years. Long before there were specialized carboys and airlocks, there were housewives brewing batches of elderberry wine in old pots.
Of course, there’s nothing wrong with buying modern equipment if it’s within your budget. But don’t limit yourself. Go ahead and start with whatever you have on hand.
1. Essential Equipment

You will need some sort of large container to hold the wine while it ferments. Some people use beautiful glass jugs called demijohns. These beauties turn your fermenting wine into home decor throughout the fermentation process, but they can get expensive. Some people just use food safe 5 gallon pails.
At home, we use fermentation jars for the first stage of fermentation. Then we transfer the wine to clean, used bottles for the second fermentation.
Airlocks are another useful item to have on hand. You can make wine without using an airlock, but it can be tricky. Luckily airlocks are pretty cheap. The interest of an airlock is to allow the wine to ferment in a closed environment without letting the pressure rise (fermentation produces gases).
A siphon is the last basic tool you will need. The siphon will allow you to smoothly transfer your wine from one fermentation area to another without dragging all the sediment with it. Siphons are usually very simple and inexpensive.
2. Ingredients needed
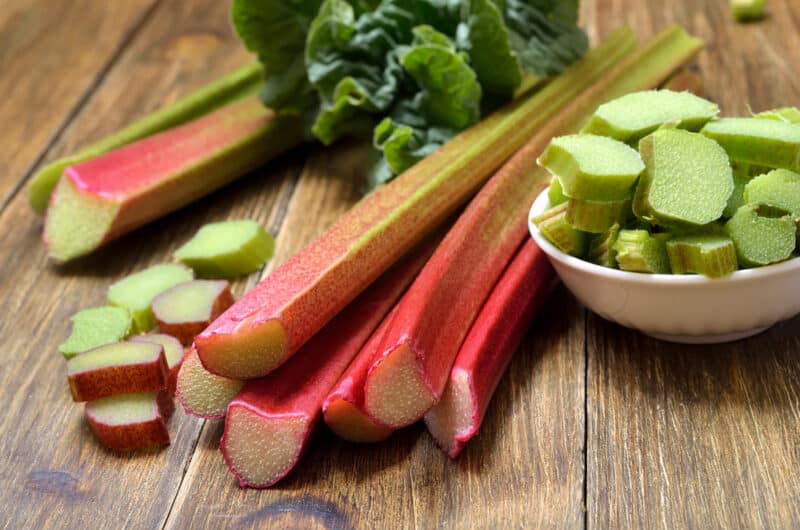
Ok, now for the ingredients themselves. First of all, you need some kind of juice or tea to make your homemade wine. Grape juice from crushed grapes is obviously an option, but don’t limit yourself.
Strawberry, elderberry, pear, apple, and rhubarb are all great options. I have also made wine from dandelions and lemon balm.
You will need yeast, but baker’s yeast is not the best option. Choose one of the many winemaking yeasts instead. These yeasts are bred to work well in winemaking and avoid the bad taste that baker’s yeast can bring to the blend. There are a variety of winemaking yeasts available at most health food stores and online.
The yeast will need sugar to feed itself during the fermentation process. If you’re making grape or strawberry wine, you may not need much, if any, extra sugar in the mix. But if you’re working with something without a lot of natural sugars, you’ll definitely have to add some yourself.
Filtered or untreated water is another essential. Use untreated well water, spring water or rainwater rather than unfiltered tap water. Depending on your city’s water treatment plan, your tap water may contain high levels of chlorine, fluoride, or other chemicals that can kill yeast.
make wine
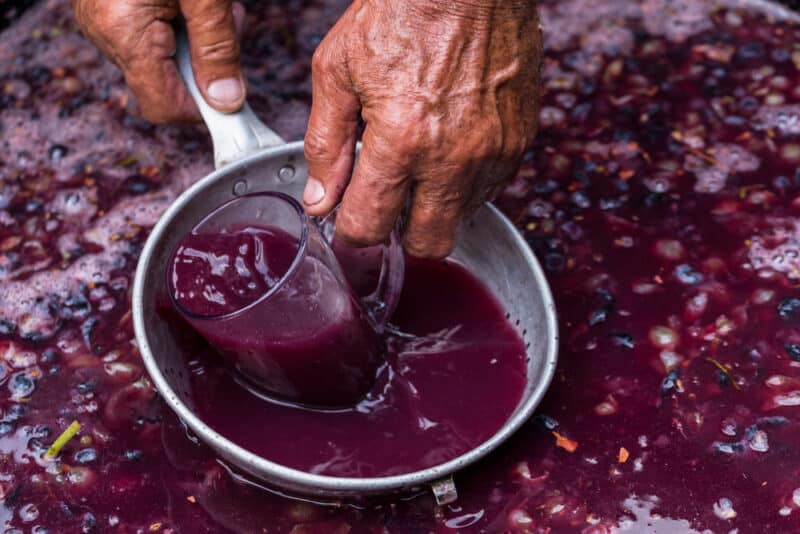
Start by sanitizing your carboy or bucket. You can buy special disinfectant tablets, but it is just as effective to wash the container in hot soapy water and then rinse it in hot water.
Then simply add all your ingredients to the container. You will need to crush the fruit to release the juice or make a strong tea with the dandelion flowers. Then add the juice or tea to the container. Add yeast and sugar (if necessary).
Since not all juices need added sugar, some people like to use a tool called a hydrometer to measure sugar levels. But, since it’s a good idea to work from a recipe in your first batches of wine, you may not need it right away. Your recipe will tell you whether to add sugar and how much.
Once all the ingredients are added, leave it alone to start working. Wine ferments best at around 70-74°F, which is an easy temperature to maintain in the summer but can take a bit of work in the fall and winter.
Within 12 hours you should start to see the yeast working in the wine mixture. You will notice tiny bubbles start to form and rise to the top. You are now on the right track to enjoying your homemade wine.
Leave this mixture on for about a week or two. Each recipe is slightly different, keep an eye out for the recommended times for your specific ingredients.
Filter
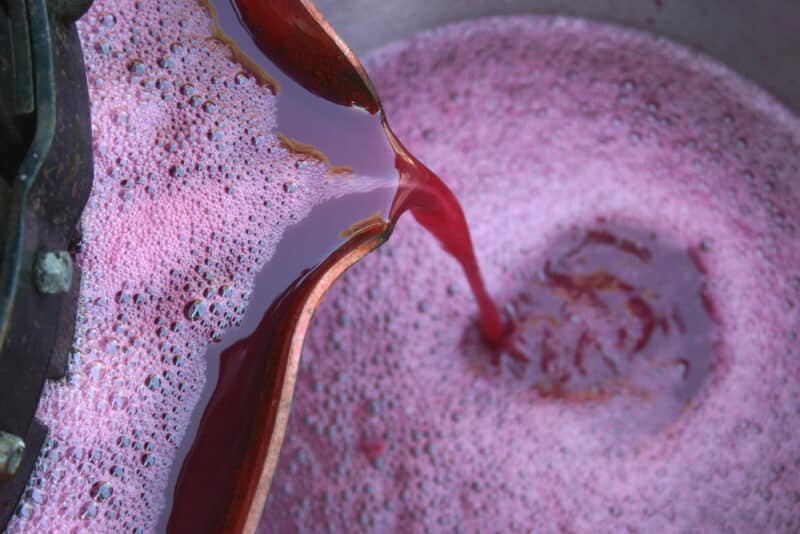
After the initial fermentation, you will need to strain out some of the sediment. You can use your siphon, especially if you are moving wine from one heavy container to another.
But, if you don’t have a lot of sediment, you can simply skim off the foam and leave your wine in the large container until it’s time to rack it.
Alternatively, if you have a narrow-neck carboy or easy-to-handle jug, you can pour the wine through a strainer to remove sediment and foam from the fermenting mixture.
Your homemade wine now continues to ferment for another three weeks to two months.
Siphoning and racking
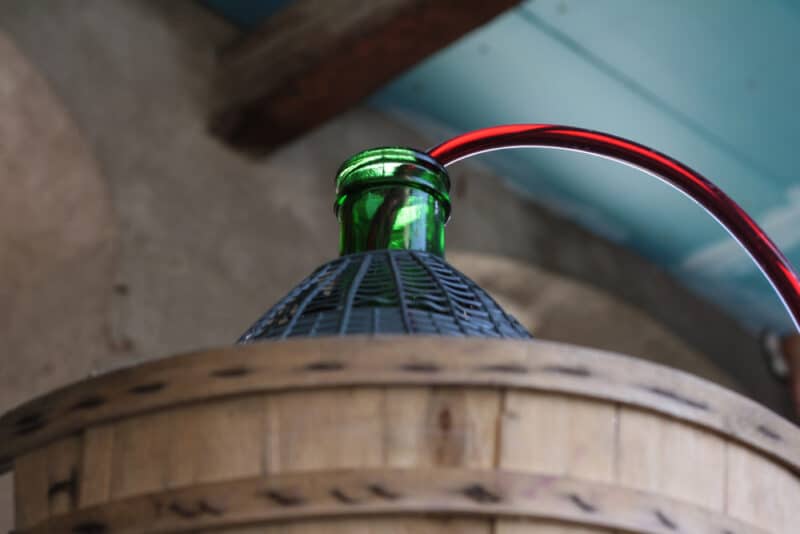
After this long fermentation, you have real wine! It’s not quite ready to drink yet, though. At this stage the wine is still very fresh and sweet – not all the sugar has yet been converted into alcohol. It’s time to rack the wine and put it on the shelf to age for a while.
Use your siphon to move the wine into another carboy or into bottles. If there is a lot of sediment at the bottom of your fermentation vessel, you may want to siphon the wine twice. Put it in a fresh carboy, clean out the old one, then put it back in the freshly cleaned carboy.
You can continue racking and racking your house wine every month or two until most of the sediment is gone, or you can let the wine sit after the first racking. It’s your wine, after all!
Whether you racked your wine from a demijohn or from a collection of old bottles, you’ll need to find a way to sass it. If you cork the wine so early in the fermentation process, gases will simply come out of the cork when they build up too much. Since airlocks are inexpensive, it is relatively simple to siphon in bottles and then fit them with an airlock lid.
Bottling and corking
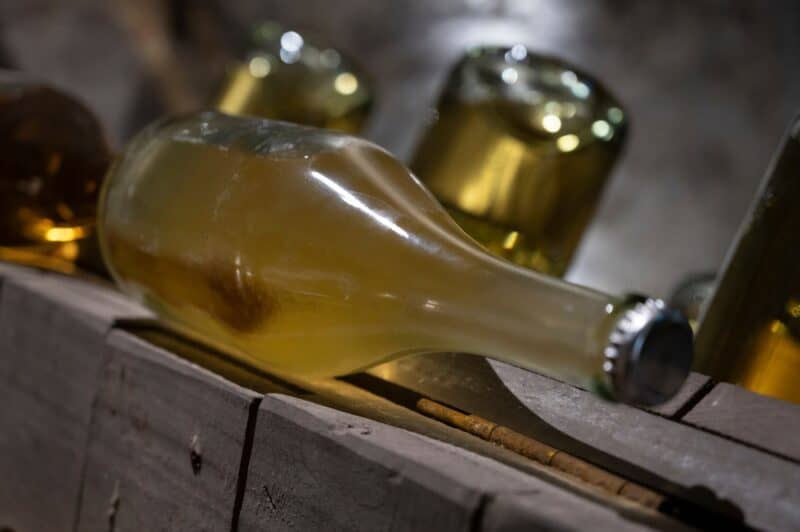
Now that your wine is racked, it can rest for a few months, or even almost a year. But eventually, it will be time to cork the wine in bottles. If your wine is racked in bottles and you no longer want to rack it, all you have to do is replace the lid of the airlock with a cork stopper. If your wine is racked from a carboy or large container, you will need to siphon it into clean bottles.
When filling your bottles, be sure to leave about half an inch of headspace as well as the space you will need for your cap. Insert the corks into the bottles. Then store your wine bottles upright for the first 3-4 days (just in case there is more fermentation gas than you thought). After that you can seal the caps with wax if you wish and store the bottles on their sides.
At this point, the ideal temperature to store your wine is around 55°F. Store these bottles in the basement or wine cellar and let them mature.
Maturation
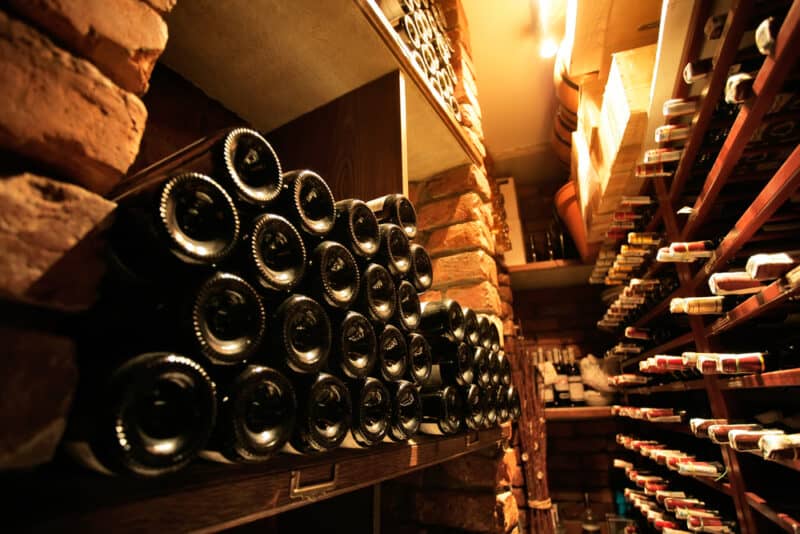
Each wine is different, especially when it comes to maturation. If you’re making wine from grapes, red wines generally need at least a year to mature from corkage to consumption. Most white wines only need about six months.
Elderberry wine usually needs about a year to mature as well. Rhubarb wine only needs 5-6 months but becomes much smoother after about eight months.
Each recipe will have advice on how long the wine should age. But I like to cork a few small bottles to try my own timing. Cork one to open six months, one to eight months, one to one year, and one to one and a half years to explore what time does to the flavor of your farmhouse wine.
Was this article helpful?
Yes No ×
We appreciate your helpful feedback!
Your response will be used to improve our content. The more feedback you give us, the better our pages will be.
Facebook pinterest