If you purchase an item through links on this page, we may earn a commission. Our editorial content is not influenced by commissions. Read full disclosure.
Happy houseplants are a wonderful thing. Most require little maintenance or special skills. But below the soil line of a flowering plant, the roots grow and become crowded. At this point, you need to repot your plant.
Even if your plant isn’t crowded, repotting is a necessary step you should take every few years to refresh the soil.
Don’t worry though. Follow our guide and you’ll see that this is an easy task that you can do quickly so you can start enjoying your plants again.

Why you should repot your houseplants
There are several reasons why you should repot your houseplants. It’s not something you can put off for too long if you expect your plant to thrive. Sometimes the soil needs to be changed, or other times it’s because the plant outgrows its space in the container.
1. Soil loses nutrients
Your potting soil leaches nutrients every time you water. It’s just a fact of life. Eventually, the soil will be completely depleted, and even ordinary fertilizer won’t be enough to feed your houseplant.
2. Soil becomes hydrophobic
Over time, the soil ages. All that watering, dust, and nutrients taken up by the plant are beginning to affect its usefulness. Soil becomes dry and repels water or does not use it effectively.
Water can’t get into the growing medium or the soil can’t retain moisture, leaving the plant desperate for water. This affects the plant’s ability to draw nutrients from the soil. Sometimes water accumulates on the floor and stays for long periods of time.
When this happens, your soil has become hydrophobic. The only solution is to replace it.
3. The ground disintegrates
When soil becomes hydrophobic or dry and old, it cannot clump together and hold too much moisture. If you squeeze in a small amount of healthy, moist potting soil, it should hold its shape and stick together.
Old dry soil will crumble even if it has just been moistened. The plant will be deprived of nutrients and will suffer over time.
4. The plant is bound to the roots
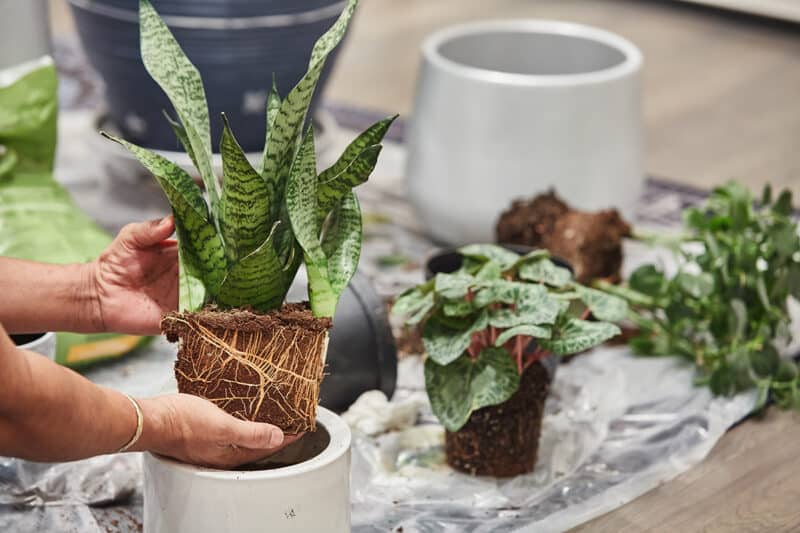
Plants like to spread their roots. The container prevents this, so it becomes too crowded.
You can see roots coming out of the bottom of container drainage holes, pushing through cracks or breaks, especially in plastic pots, or even working their way up to the surface of the soil. In some cases, the plant can be pushed from the top of the container.
This is common, especially when the plant is attached to the roots for too long and the soil remains dry.
5. Salt and minerals appear on the surface of the SelfI
Salts and minerals that are not absorbed often find their way to the surface as water passes through the ground. This is a good sign that the plant has taken in the nutrients it needs, and the excess is now unusable.
This excess accumulates and you must get rid of it.
6. The plant looks scruffy or unhealthy
Although neat, a scruffy, struggling plant can be rootbound.
Sometimes the roots wind around and around the inside of the container, rather than growing out of the sides or bottom drainage holes. When this happens, the roots are often very thick.
If you see circular roots or roots sticking out of drainage holes, it’s time to repot.
seven. The plant is too big

If your plant falls over because it is too heavy, you will need to repot it in a larger container.
Materials needed to repot houseplants
Jobs like this are much easier to do when you prepare everything you need in advance. Have everything there, ready to go. This is especially important if you are repotting several houseplants at once.
1. A planter or container
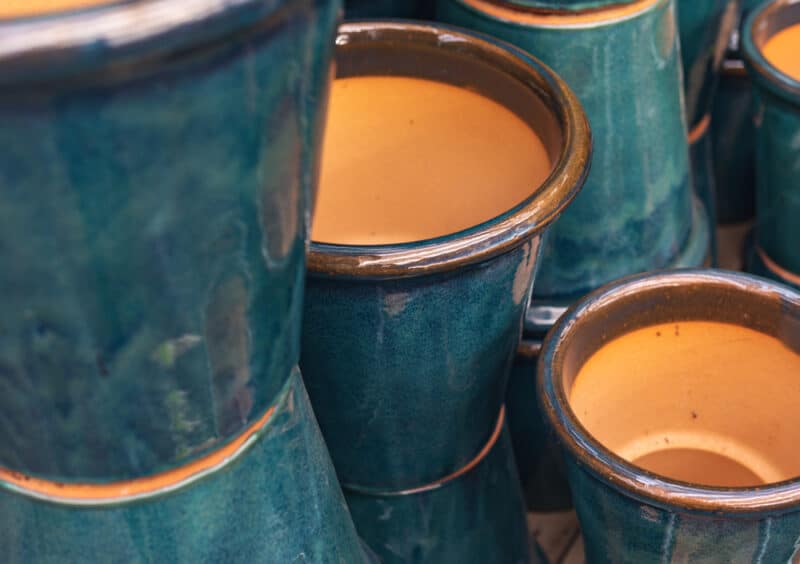
Make sure the containers you transfer the plant to are ready to use. You don’t want the plant exposed to the environment and then you have to get a container.
You can also reuse the same container if you are just replacing the soil. But you’ll want to hurry and clean it up using ten parts water to one part bleach before putting the plant back in place.
2. fresh soil
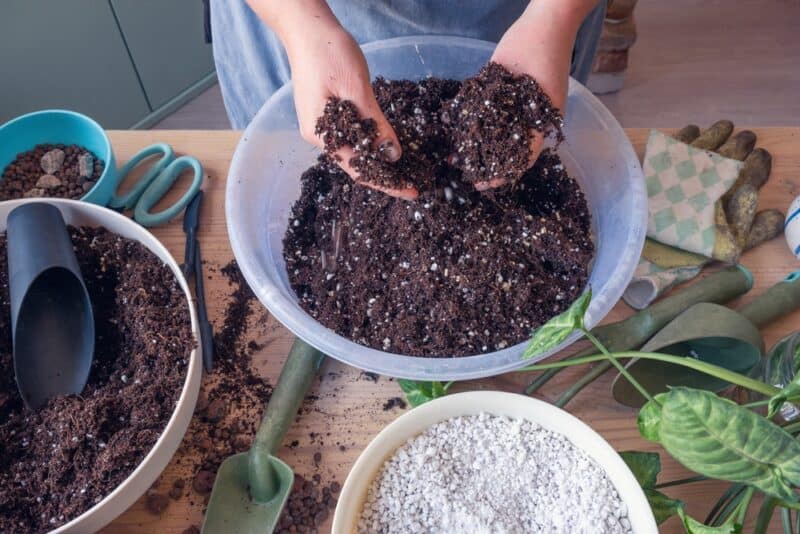
Make sure you have your proper potting soil on hand to fill the container. You don’t want your poor plant exposed while you run to the store for potting soil.
3. Gloves

It may seem surprising, but it can be a bit difficult to get the plants out of the pots. You also run the risk of cutting your hands or getting dirt in the wounds if you don’t wear gloves.
Most potting and seeding mix makers recommend gloves and even a mask if you’re in a low-air area. It certainly couldn’t hurt.
4. Tarp or lots of newspapers
It’s surprising how much old soil comes out of a container. Sometimes there is trapped water or dusty materials. You definitely want to contain the mess, and a tarp or lots of newspapers can help you do that.
You can also just do the job outside on a clean surface, assuming the weather is nice.
5. Watering can
Water is essential when repotting plants. Having it on hand saves you from having to go back and forth to the tap when your plant needs nutrients the most.
6. A garden trowel or knife (optional)
Sometimes you need a trowel or knife to carefully wedge or pry the plant out of the old container. Depending on the weather or how tightly rooted it is, it can be difficult to remove some plants.
Consider buying one specifically for repotting, rather than the one you also use in the outdoor garden, to avoid spreading disease.
seven. Shears
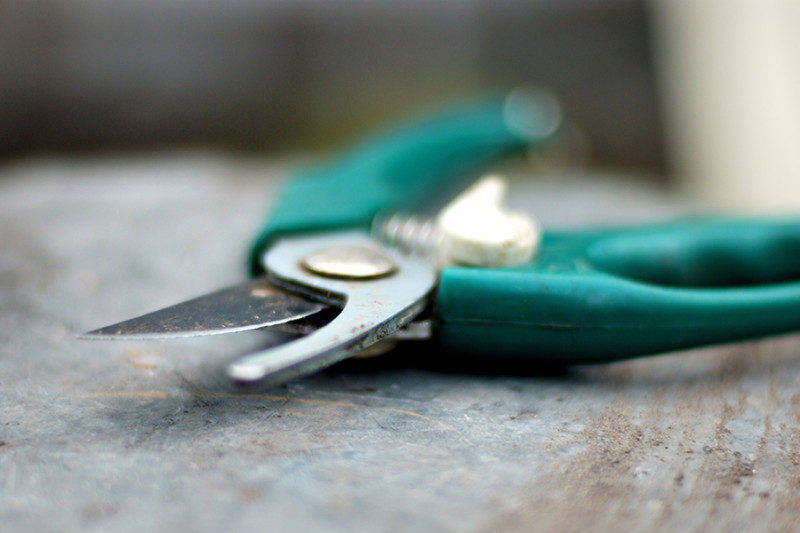
A pair of clean pruners or scissors can remove damaged or diseased roots or stems. To create a healthy, happy plant, you’ll probably need to prune.
8. Decorative ground cover (Optional)
It’s purely personal taste, but a cool container with lava rocks on top almost always looks good. Orchid bark or pebbles can also be a nice addition to your plant, depending on what it is.
How to repot your houseplants
Don’t be intimidated by this job. It’s actually easy if you’re careful, take your time, and get all your gear ready.
Water the plant an hour before starting the process. This helps loosen the soil, especially if it is compacted. Let the freshly watered plant sit for an hour.
Remove the plant

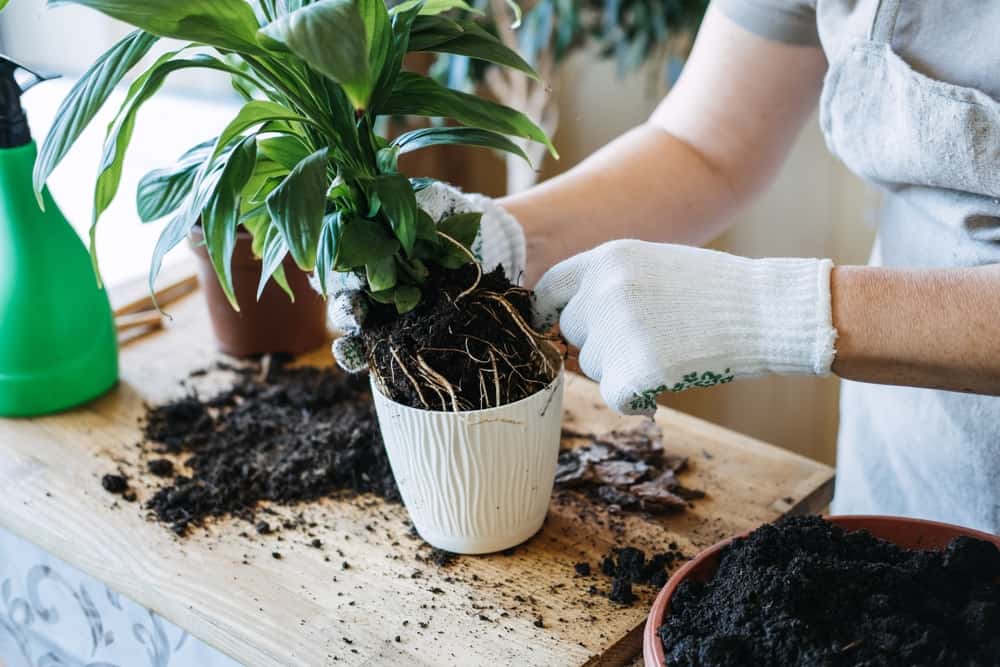
Support the plant by holding the stem or stems and tilt the container to the side. Pat the bottom and sides of the container to loosen the soil and loosen the plant. If it’s a snug fit, gently tug on the rod.
Still no luck? Use a knife or trowel and insert it between the inside of the pot and the root ball to loosen it.
You may need to work on it a bit, or it may just slip.
The key is to be gentle. Do not force anything. Once the plant has emerged, carefully remove all the soil from the root ball. You can also clean the soil with a light spray of lukewarm water.
Inspect the roots
Inspect the roots and remove any damaged or diseased sections. Prune back some of the excessively long roots. At this point, consider removing any roots that don’t fit in the new container, but only if you need to. Tease any tight areas to loosen them.
Place the fresh potting soil in the container. Press it gently. Don’t press too hard as you don’t want to prevent the plant from getting nutrients and oxygen.
Place in a new container

Place the plant on the new potting soil in the base of the chosen container and check that the root ball is slightly lower than the rim of the container. Add or remove from the mix as needed and make sure the plant is in the center.
Gently add more potting soil around the roots, making sure to keep the plant level and centered.
Once the potting mix reaches the top of the container, lightly press it down to about an inch below the lip. The roots like to be firmed up in the potting soil, but not so deep that they are too compacted.
Water well and move the plant into its home. If the area where the plant is normally located is cold or drafty, keep the container in a warm place with indirect sunlight for at least a week before placing it in its usual location.
Choosing a container for indoor plants
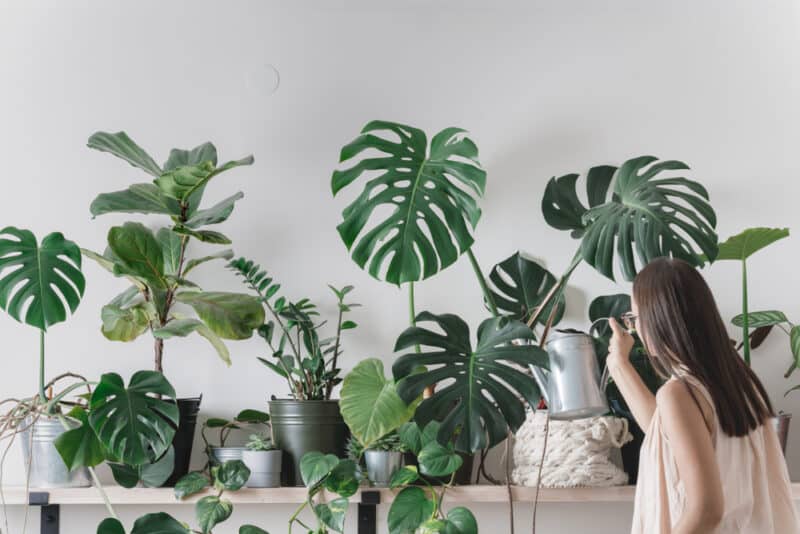
Besides the aesthetics of a container for your interior, there are other things you should consider as it really affects the plant.
Choose a container one size larger than the original. This is because a plant that is too big can make the plant look out of place and can contribute to root rot. It is also a waste of potting soil.
Plastic containers are lighter and therefore easier to move around, although a lightweight container tends to tip over if the plant gets too big or has unbalanced growth.
Clay or terracotta pots are heavier and therefore slightly more stable. They can also extend the life of the potting soil. Clay pots tend to draw excess water from the soil as well as unwanted nutrients that build up over time.
A disadvantage of clay pots is that you have to water more often to ensure the plant gets its preferred amount of water.
Make sure the container has drainage holes. This is necessary to prevent the potting soil from becoming waterlogged. Be careful how much water you use, as the drip tray below could overflow.
You should always empty the drip tray within approximately 30 minutes. If it continues to overflow after this time, you have overwatered your plant.
5 mistakes to avoid when repotting houseplants
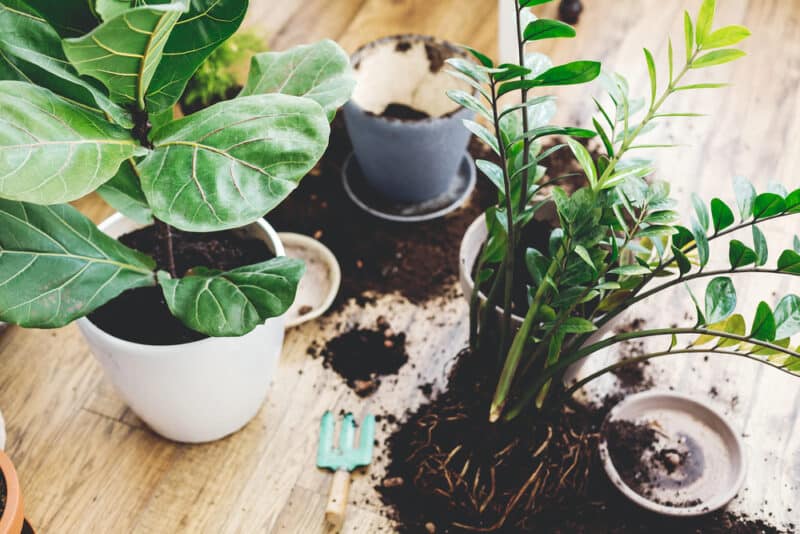
- Wrong pot size. If the container is too large, you can create too much space and end up with waterlogged soil. If it is too small, the roots will be compacted as soon as it is repotted.
- Does not provide good drainage. Drill a few holes before repotting the plant if necessary and ensure there is a good sized drip tray underneath.
- Remove too many roots or break the root ball. Be gentle when loosening the soil around the root ball. If it is well compacted, let it soak for a few hours or overnight to make the job easier. Cut excess roots only if necessary.
- Repot a flowering plant. Even the simplest houseplant needs perfect conditions to bloom. Repotting during flowering will disrupt this process.
- Repot when cold. If it’s too cold, the repotted plant may go into shock. Repot in summer.
Was this article helpful?
Yes No ×
We appreciate your helpful feedback!
Your response will be used to improve our content. The more feedback you give us, the better our pages will be.
Facebook pinterest